


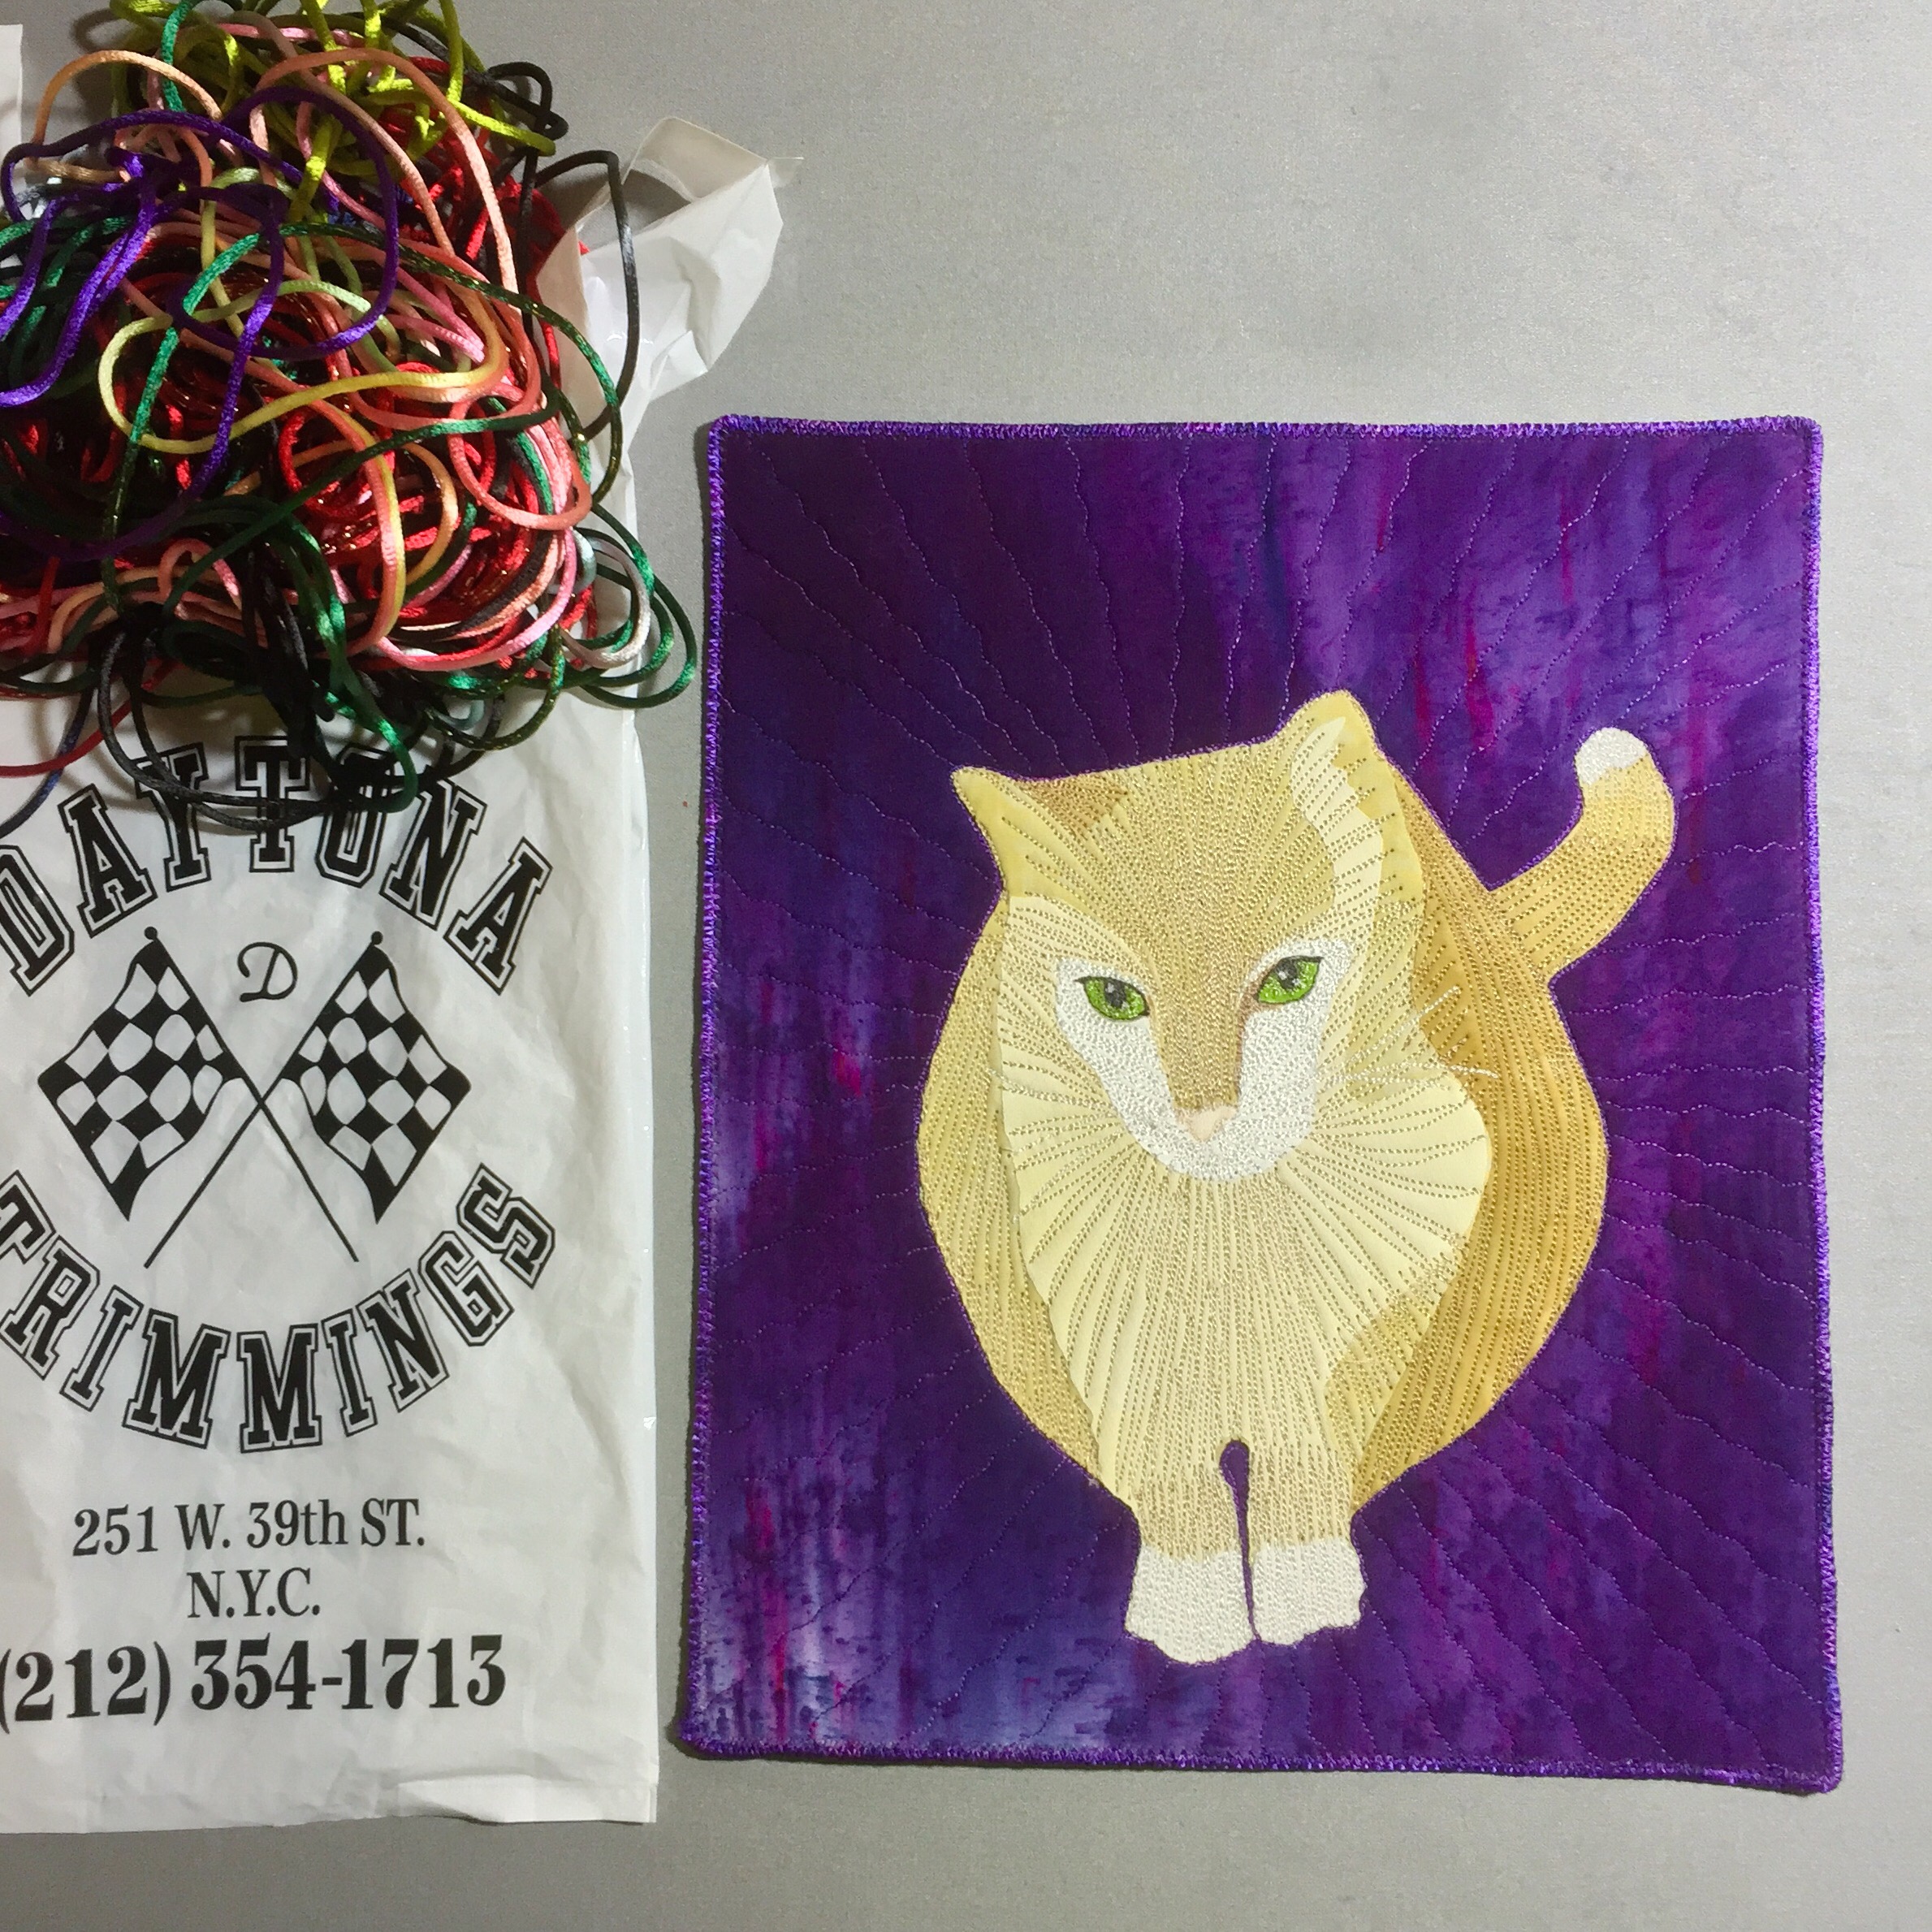
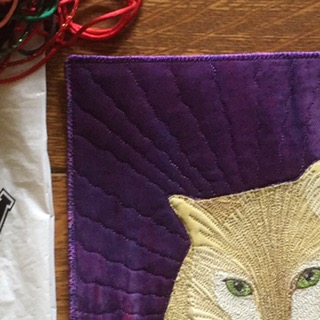
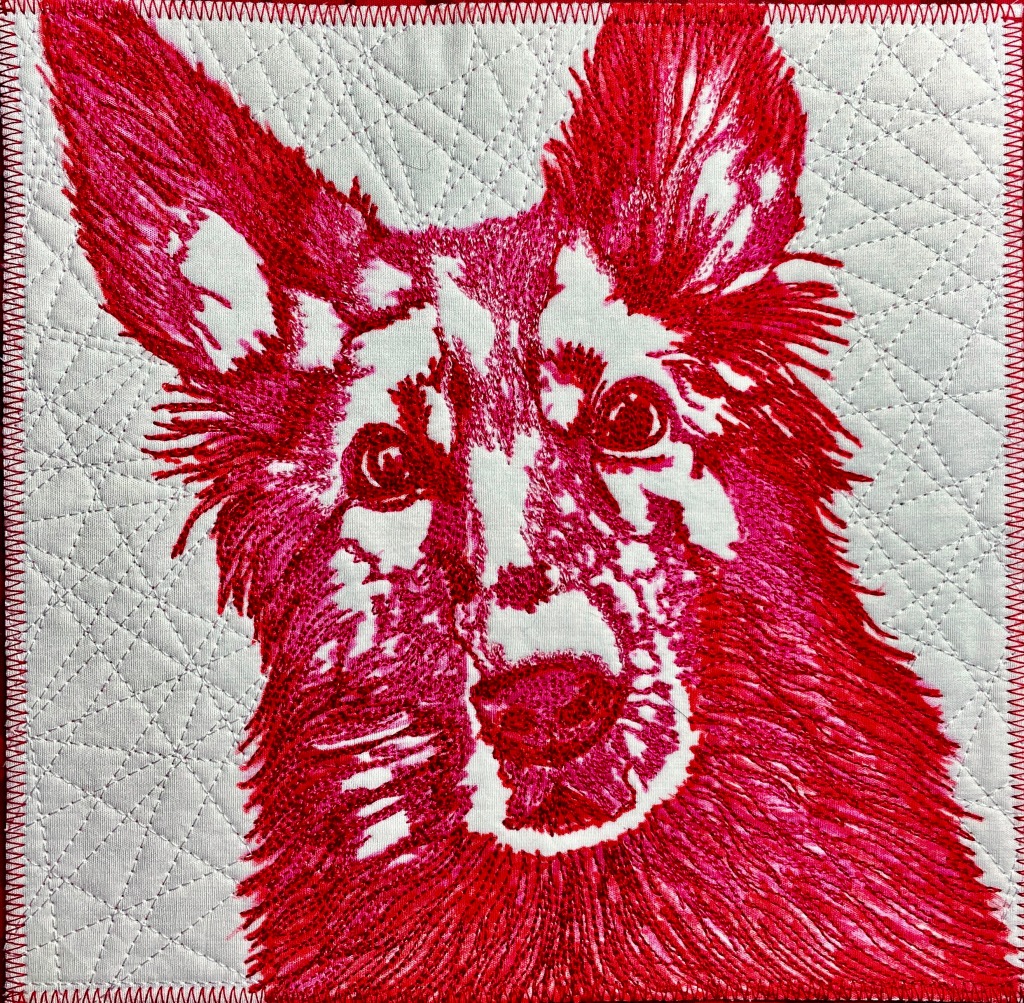
Part of my preparation for my Really Big Project includes producing samples of my small pet portrait quilts. This is a very streamlined version of my technique that is great fun (and you should see what my students have created with it!).
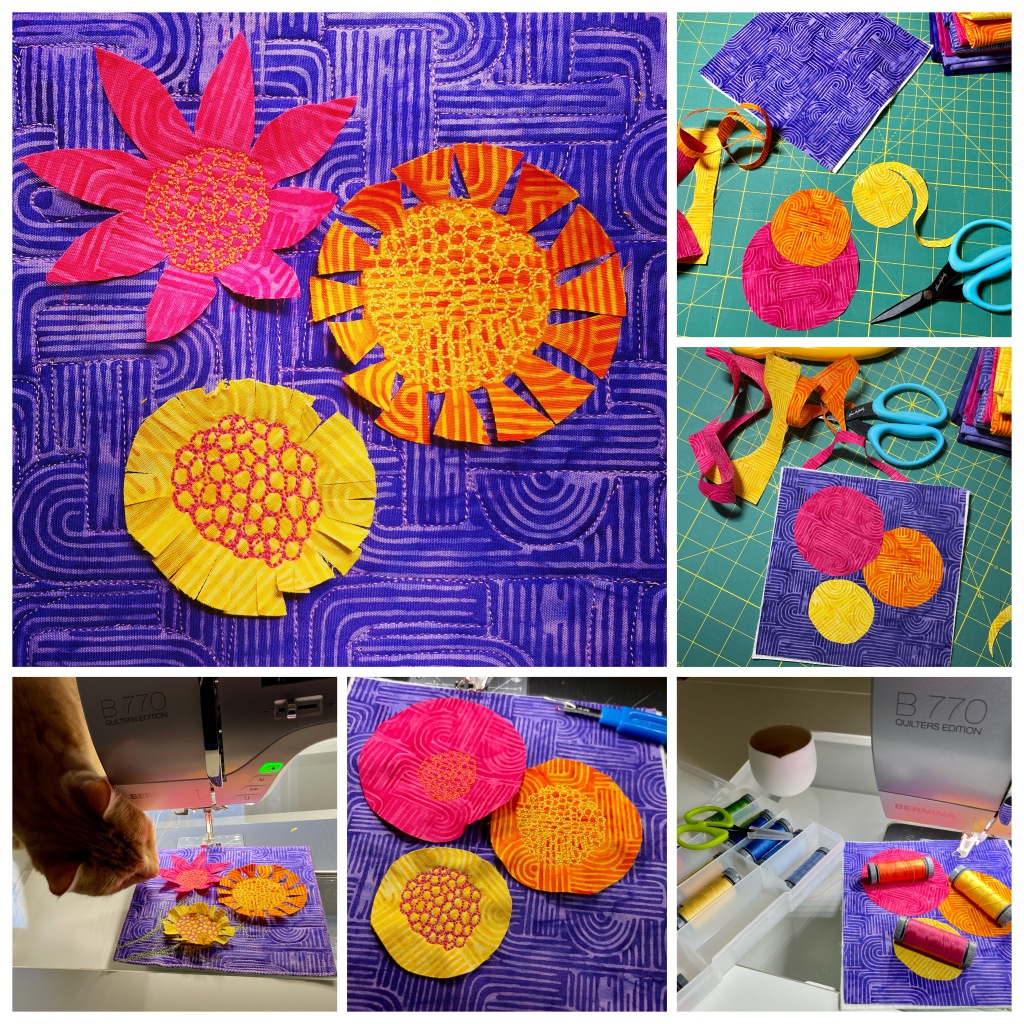
One of my favorite ways to finish small pieces uses inexpensive cording from a terrific trim shop in the garment district –address shown above for your next trip to NYC. (An added bonus in this store is the presence of two shop cats named Rick and Rack ;).) I keep lots of different colors in my studio.
To try this…
- First, trim your piece and run a zigzag stitch all around the piece to stabilize the layers

- Then, set the width of your stitch to maximum and lay the cording along the side of your piece. Hold it taut as you stitch:
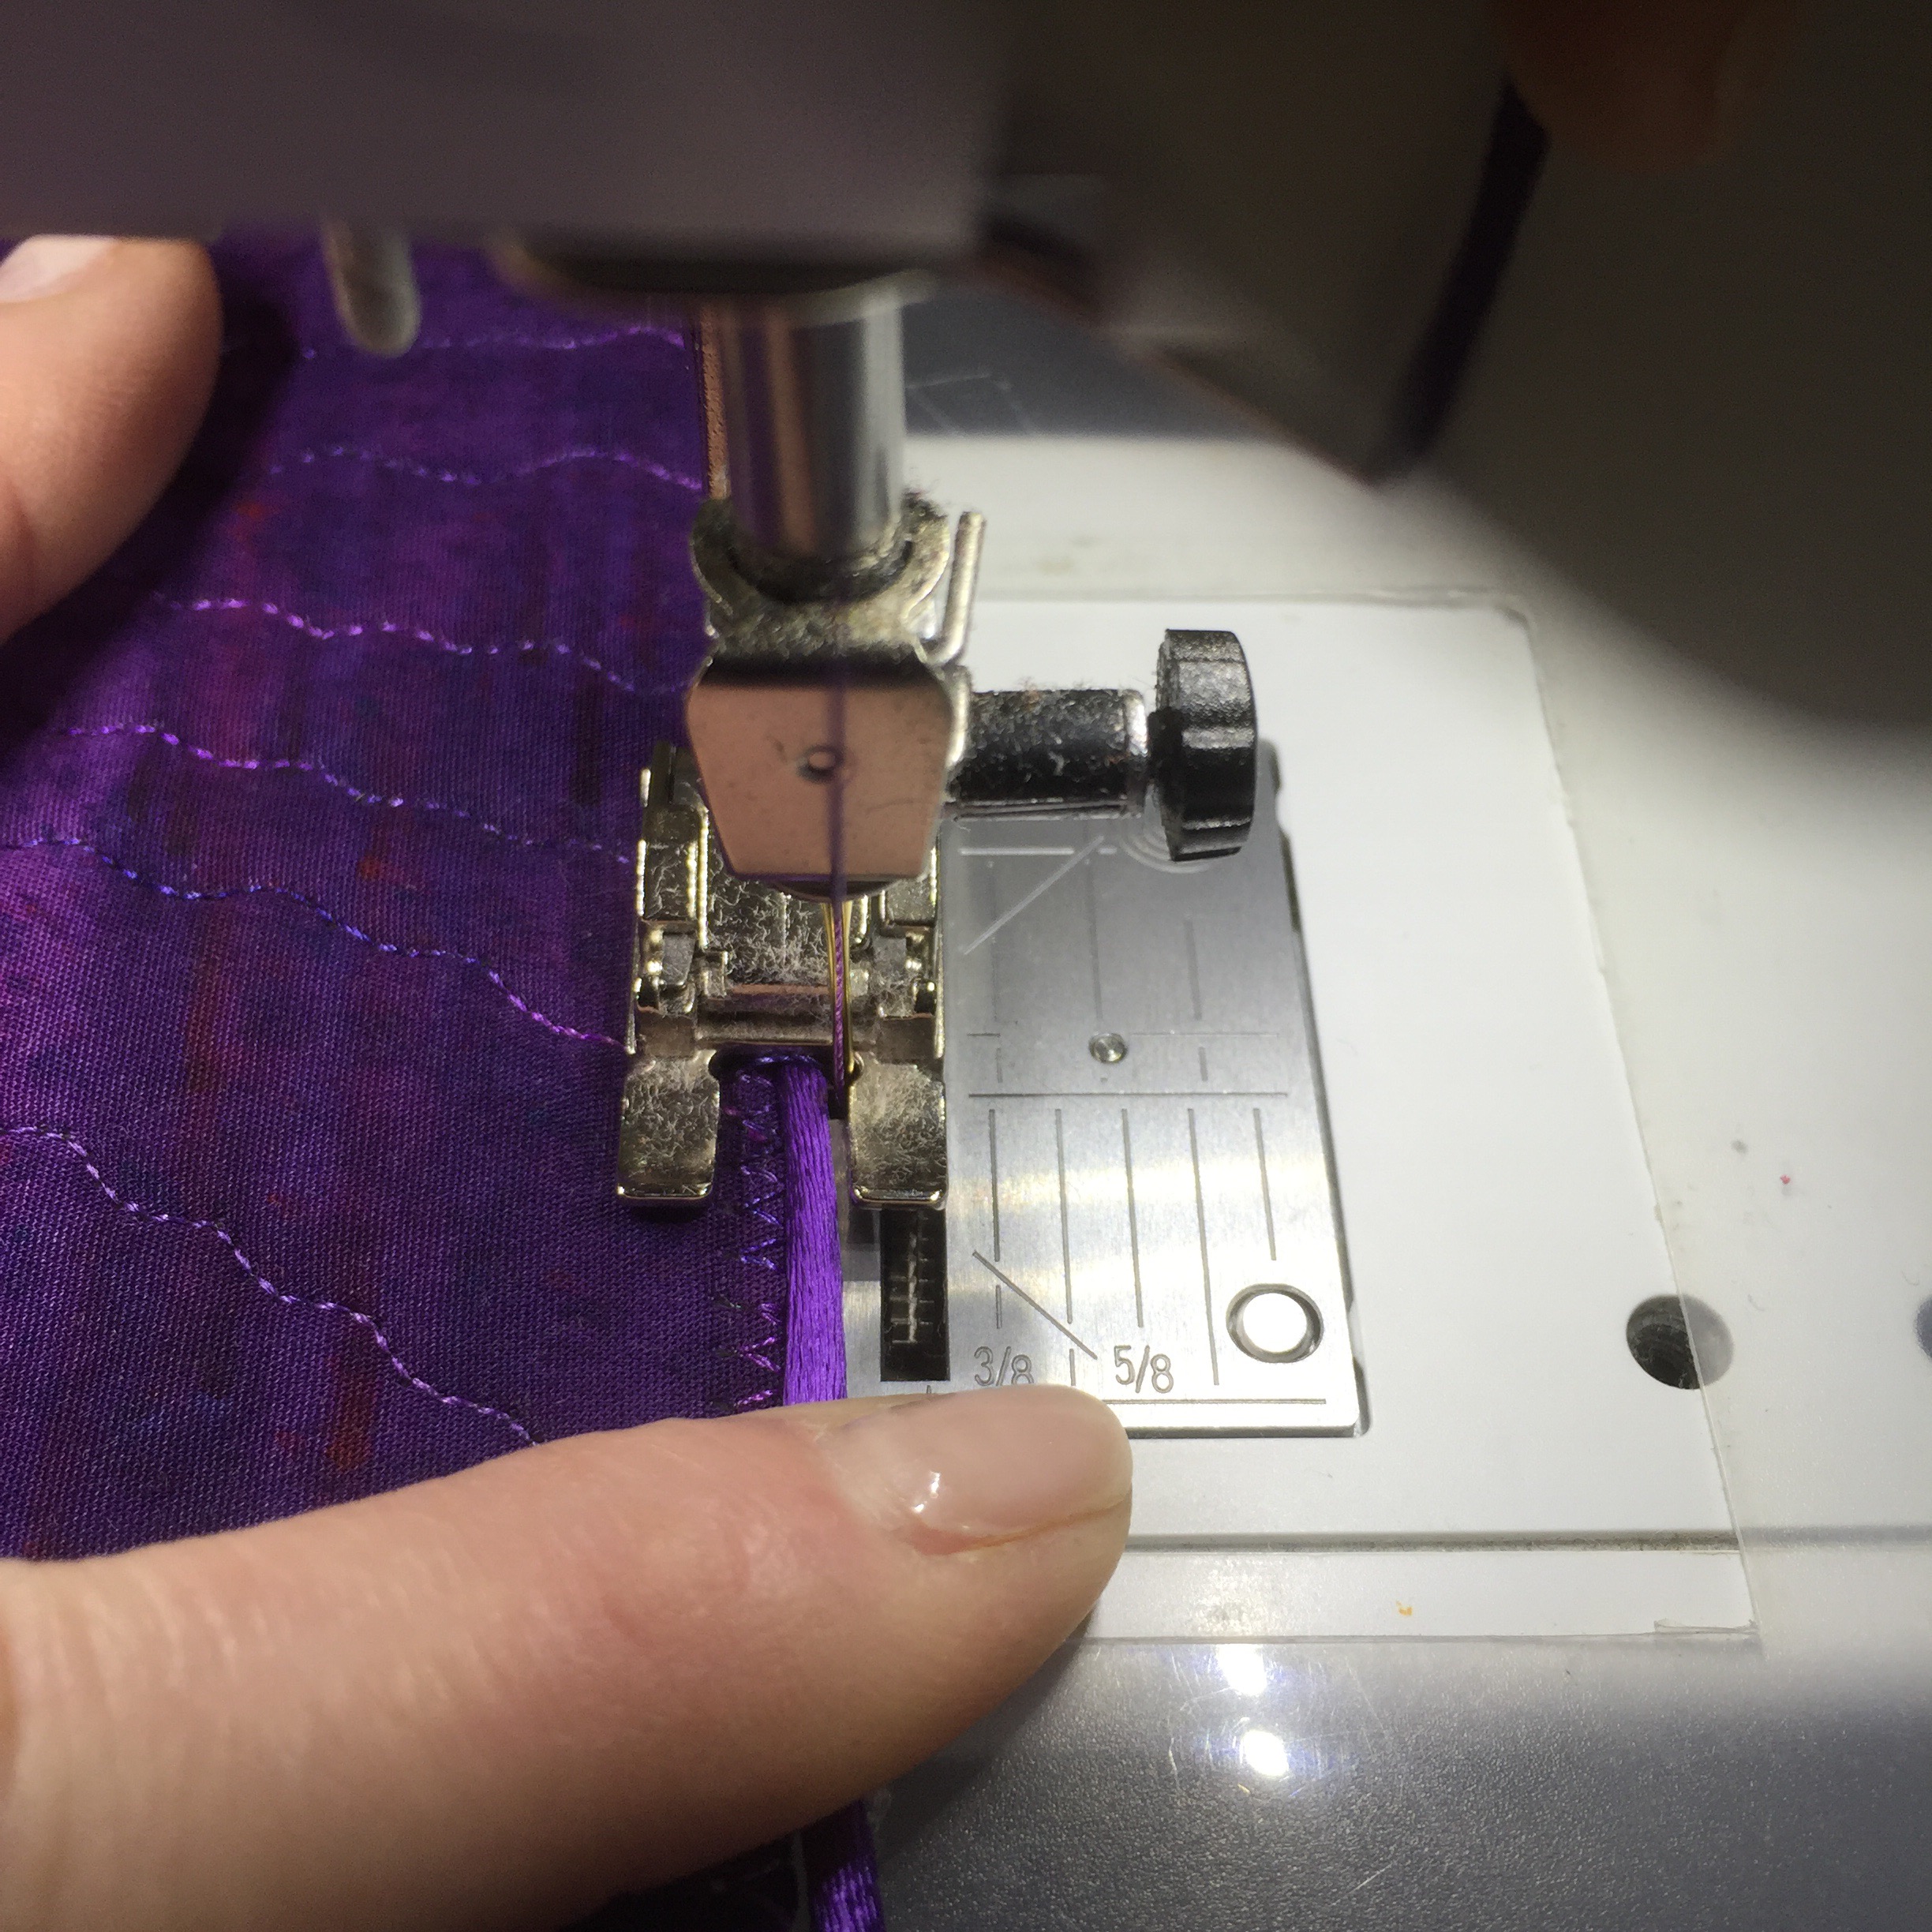
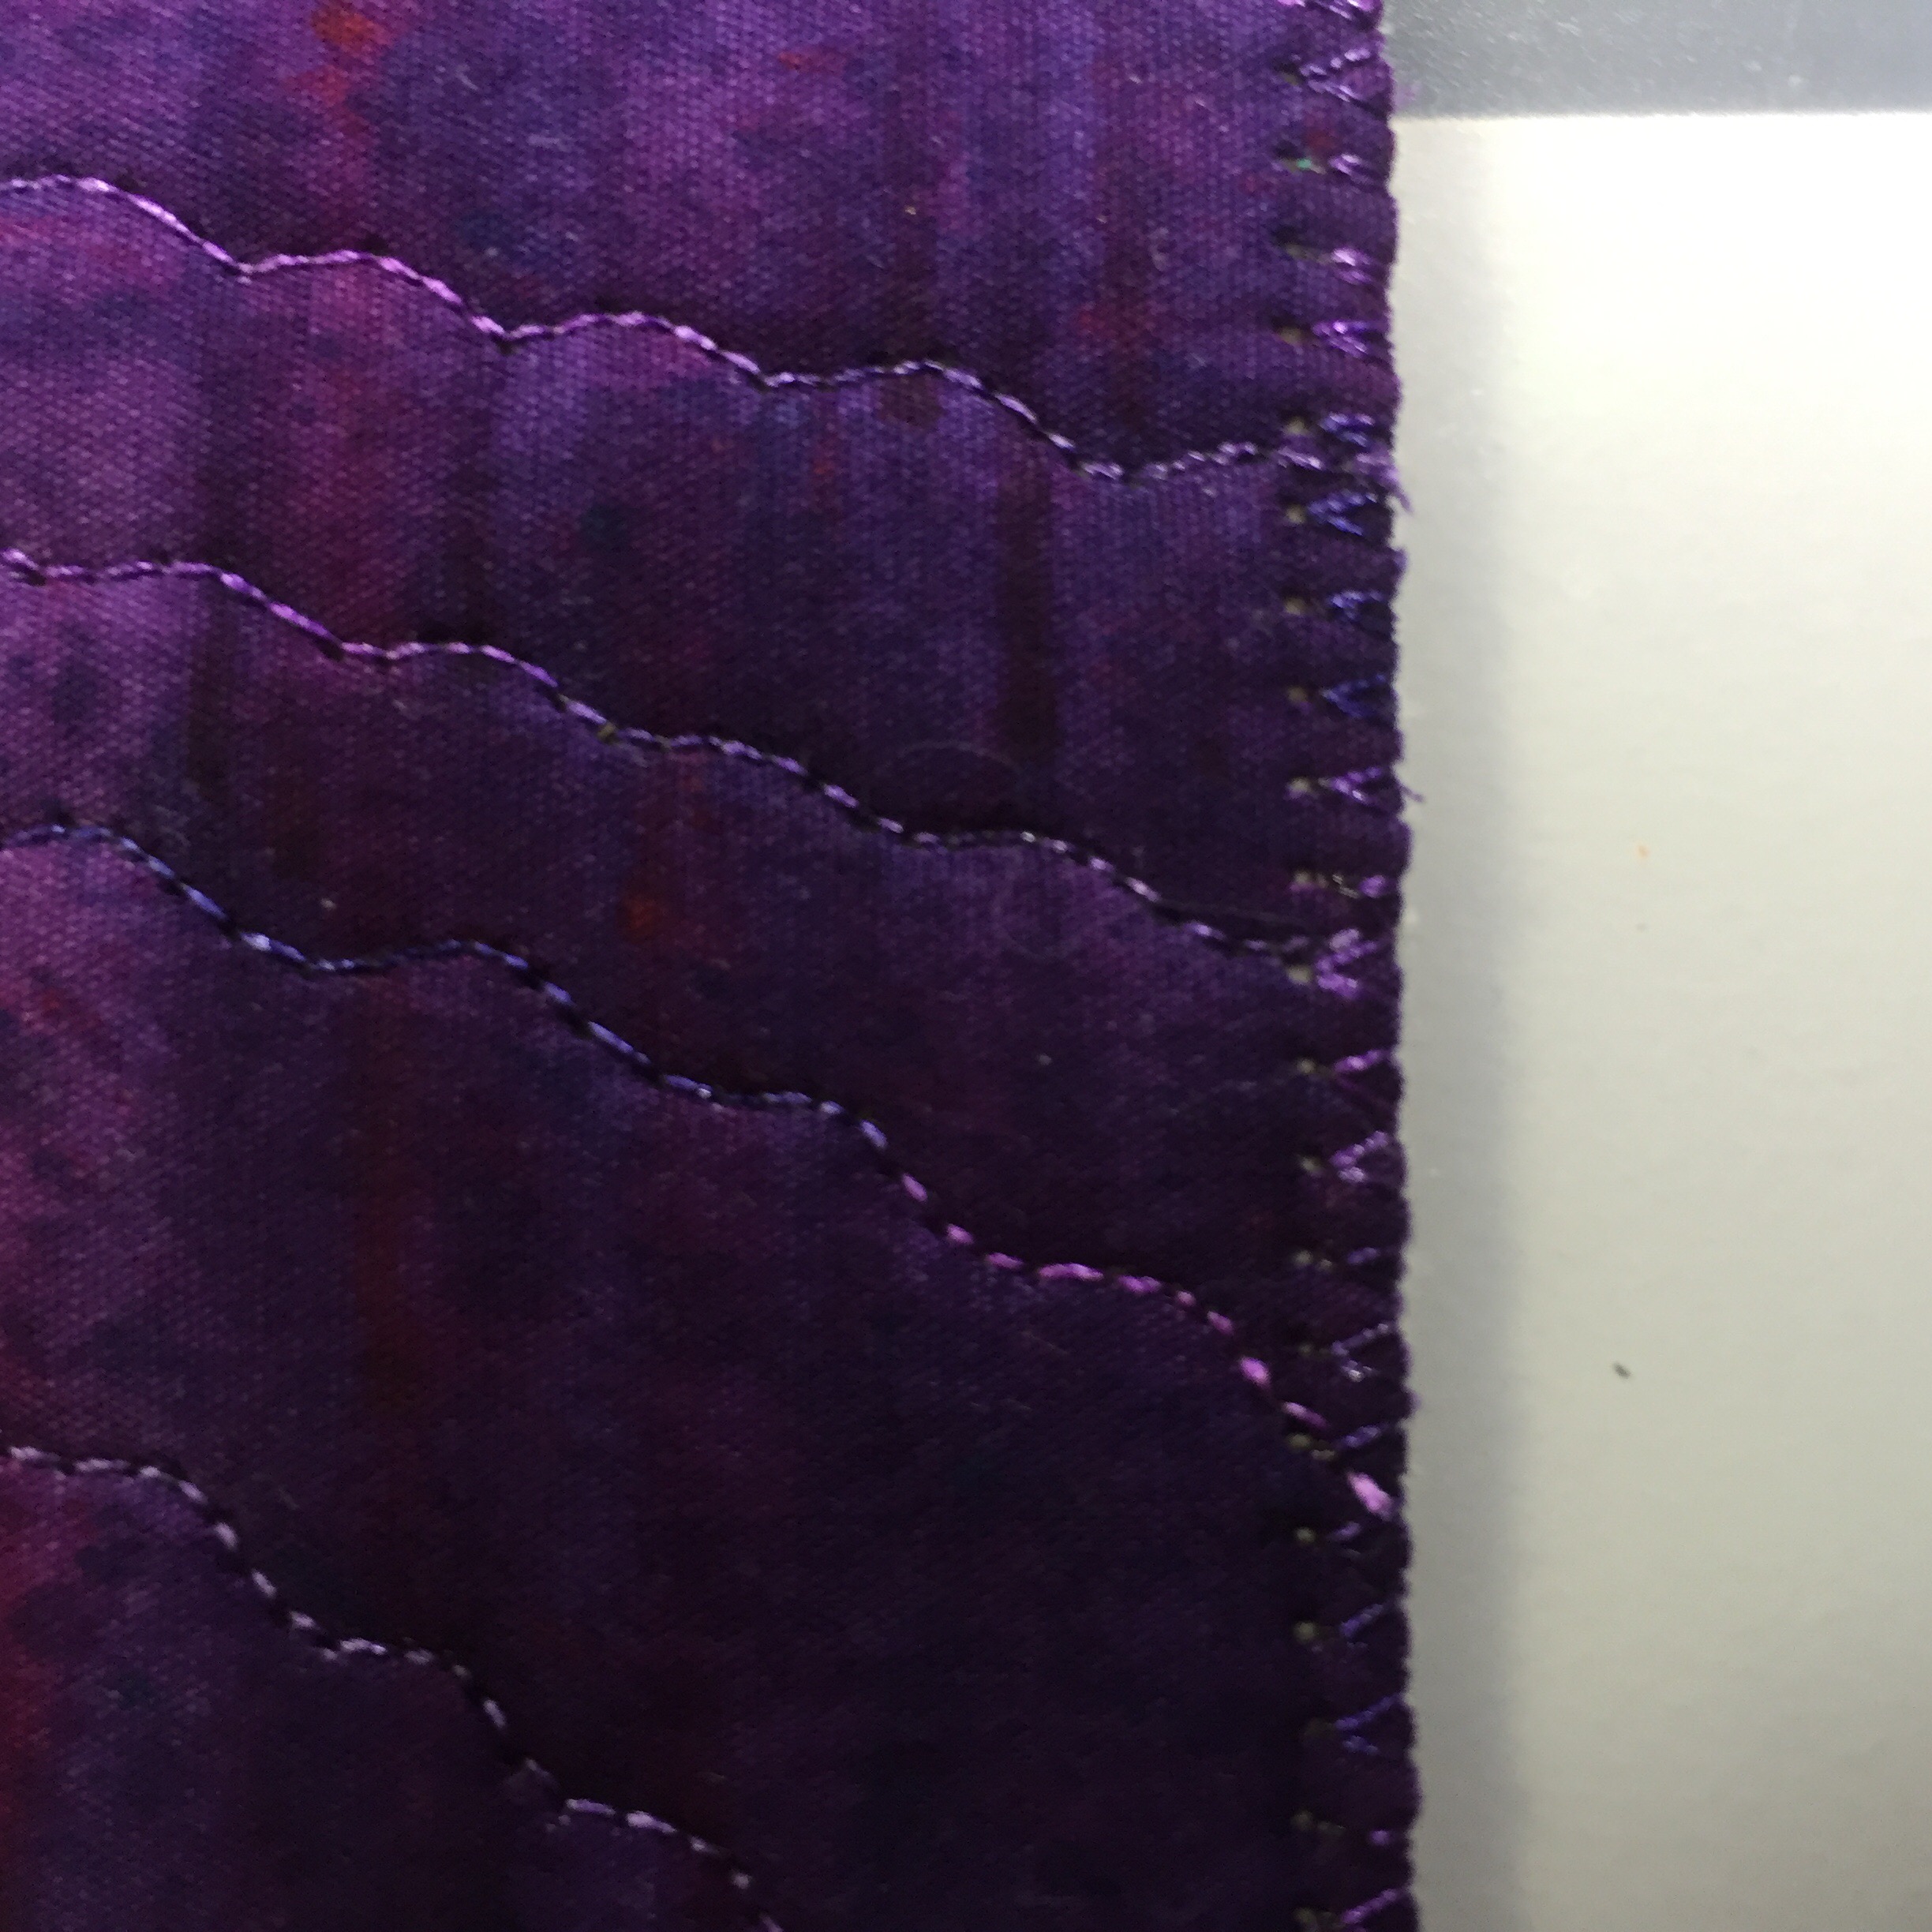
- As you approach each corner, slow down, then use needle up/down manually a few times to make sure the thread catches the cord. You will end up with a piece like this:

- For some pieces –think Christmas tree ornaments–this is perfect, simply tie at the base and at the ends of the cord. For a small quilt, you will probably want to trim (carefully! It can shred), then stitch all around the piece one more time, tucking those ends in as you stitch past that corner. Ta da, a very neat finished edge (and some extra color if you use variegated thread as I did here):


Wishing you lots of quilting and a/c this weekend!☀️🔥


You must be logged in to post a comment.