So it was another afternoon in the home improvement store, husband off in Aisle 356 hunting for another inexplicable (to me) item. I wandered into the aisle containing colorful polyester rope and thought, aha, bowls.
My fabric bowl mania began with the traditional wrapping-fabric-strips-around-clothesline technique…and I love these bowls for organizing supplies. But, as I stated at these brightly-colored packs, it occurred to me that I could skip the fabric step entirely! And make use of the ginormous thread stash that magically grows after you buy a longarm.
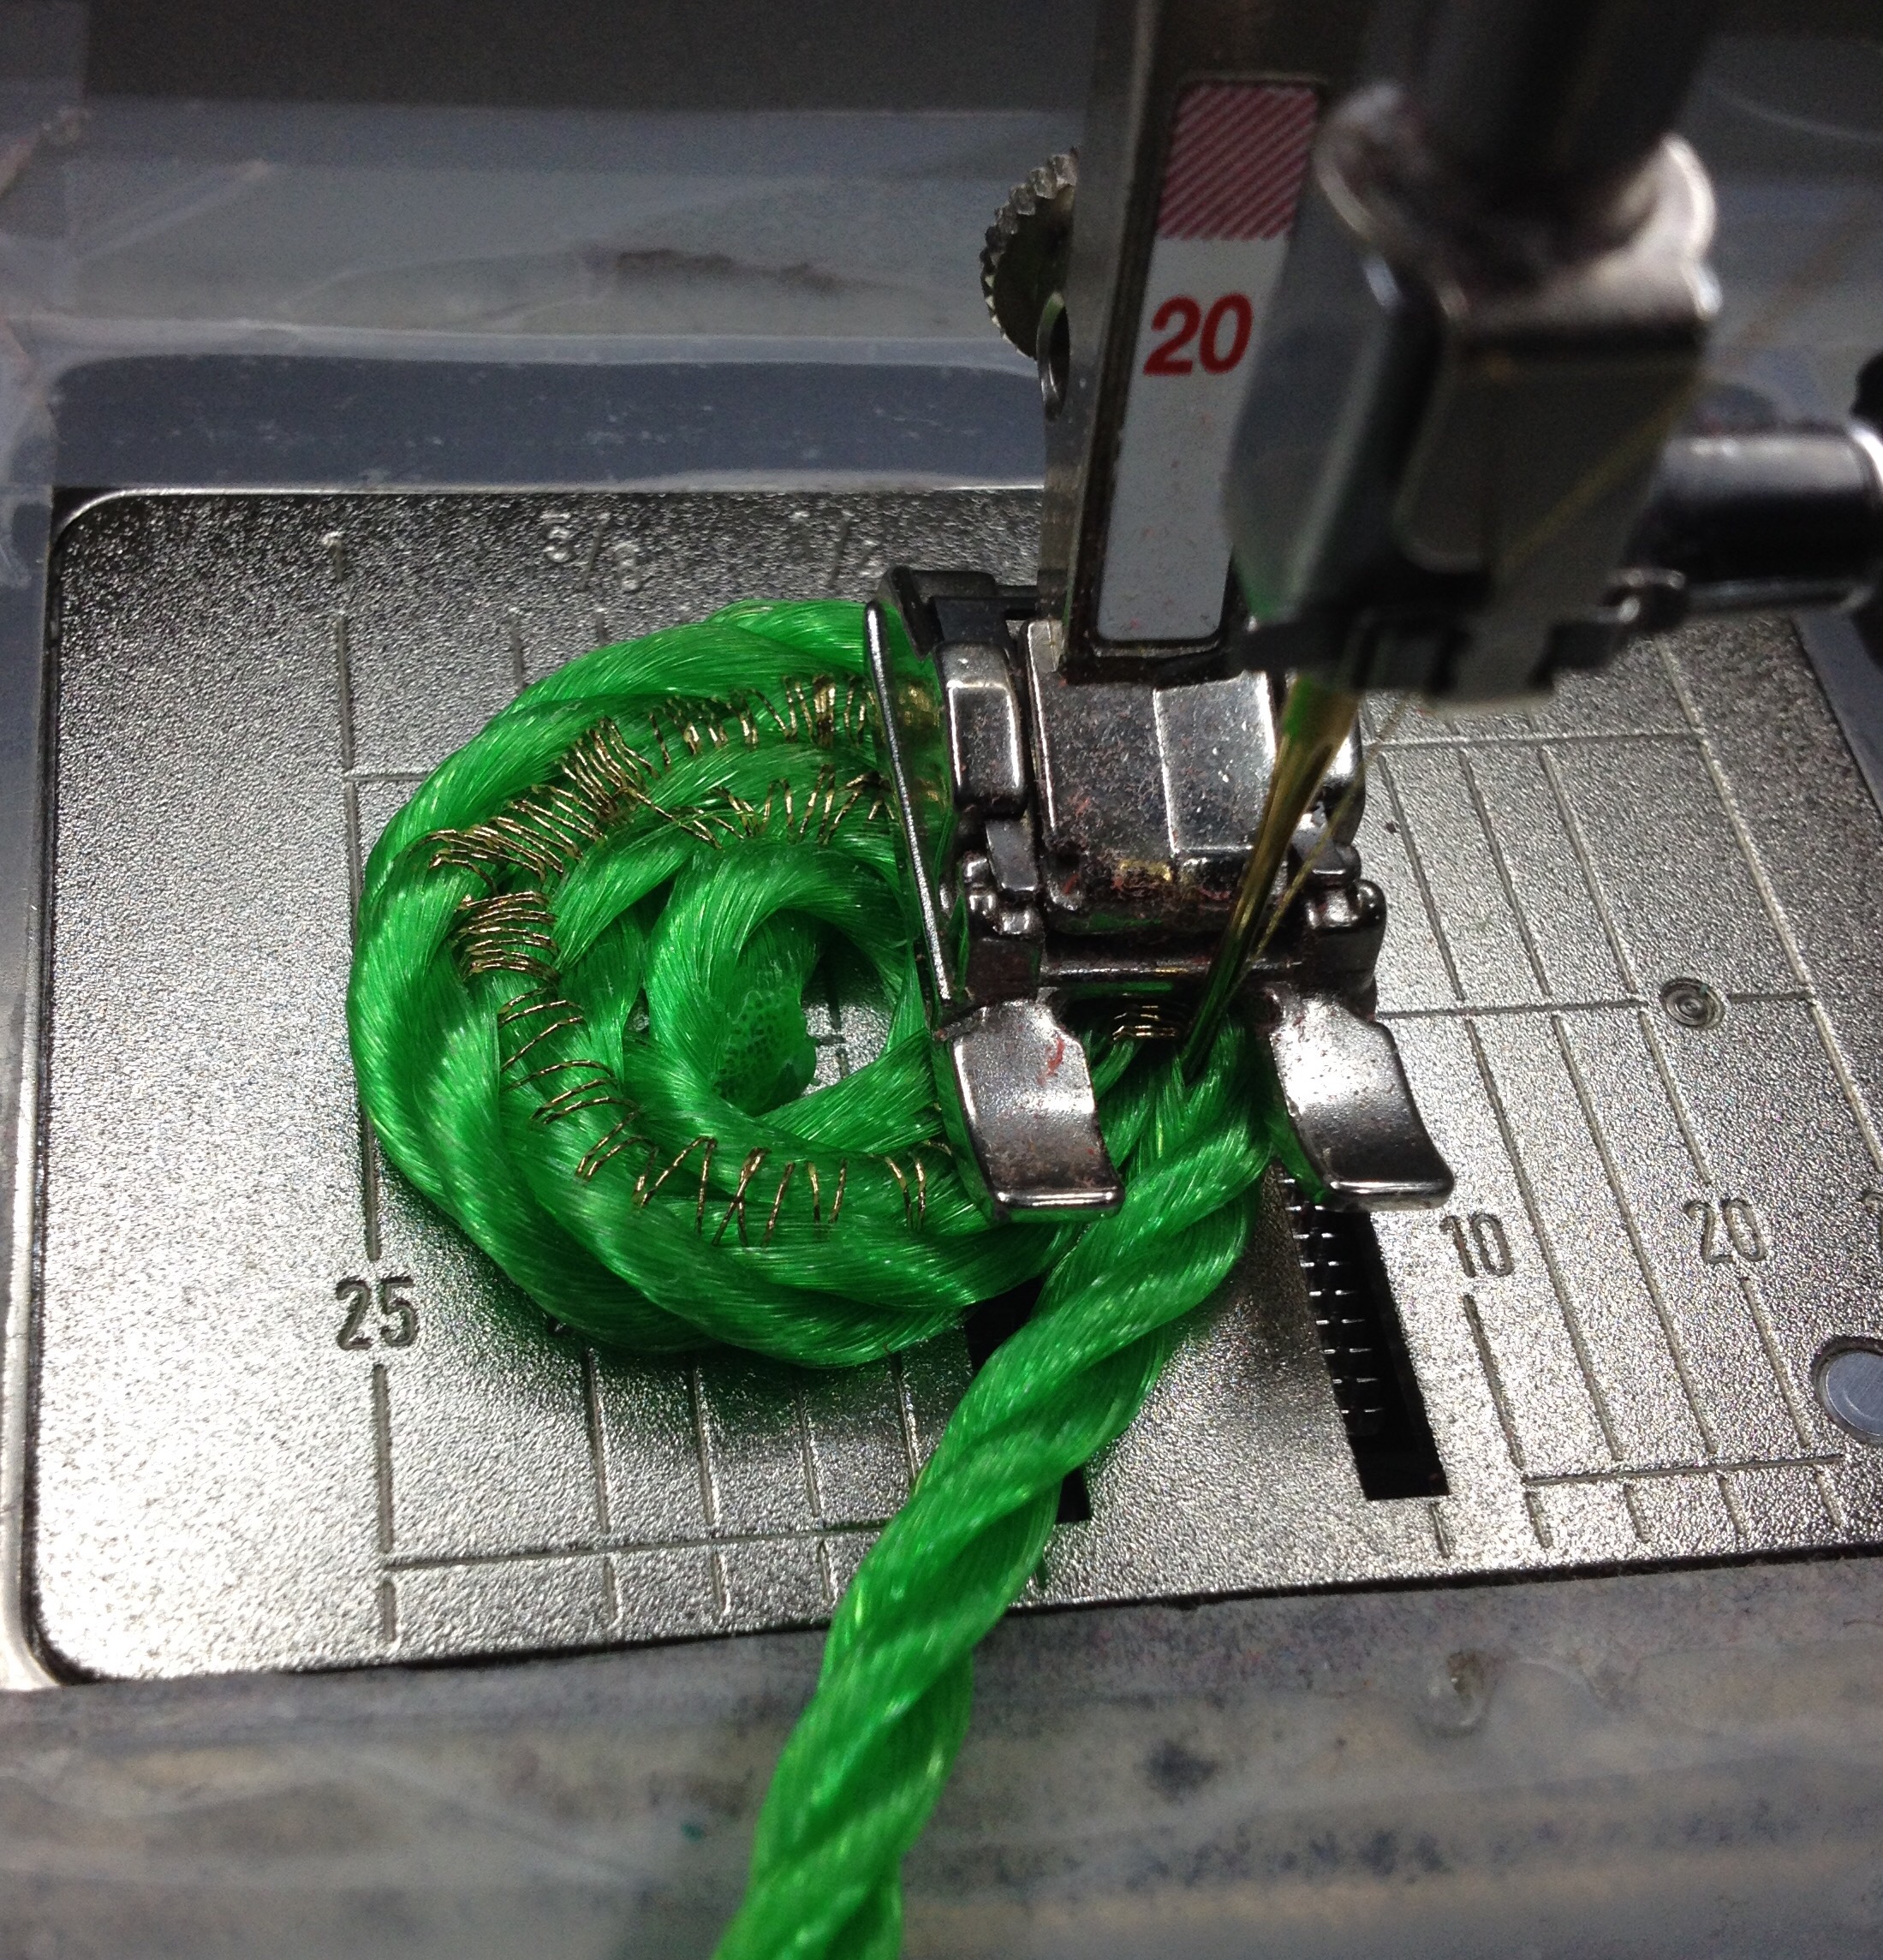
As is the case with the traditional bowls, starting the coil is the biggest challenge:
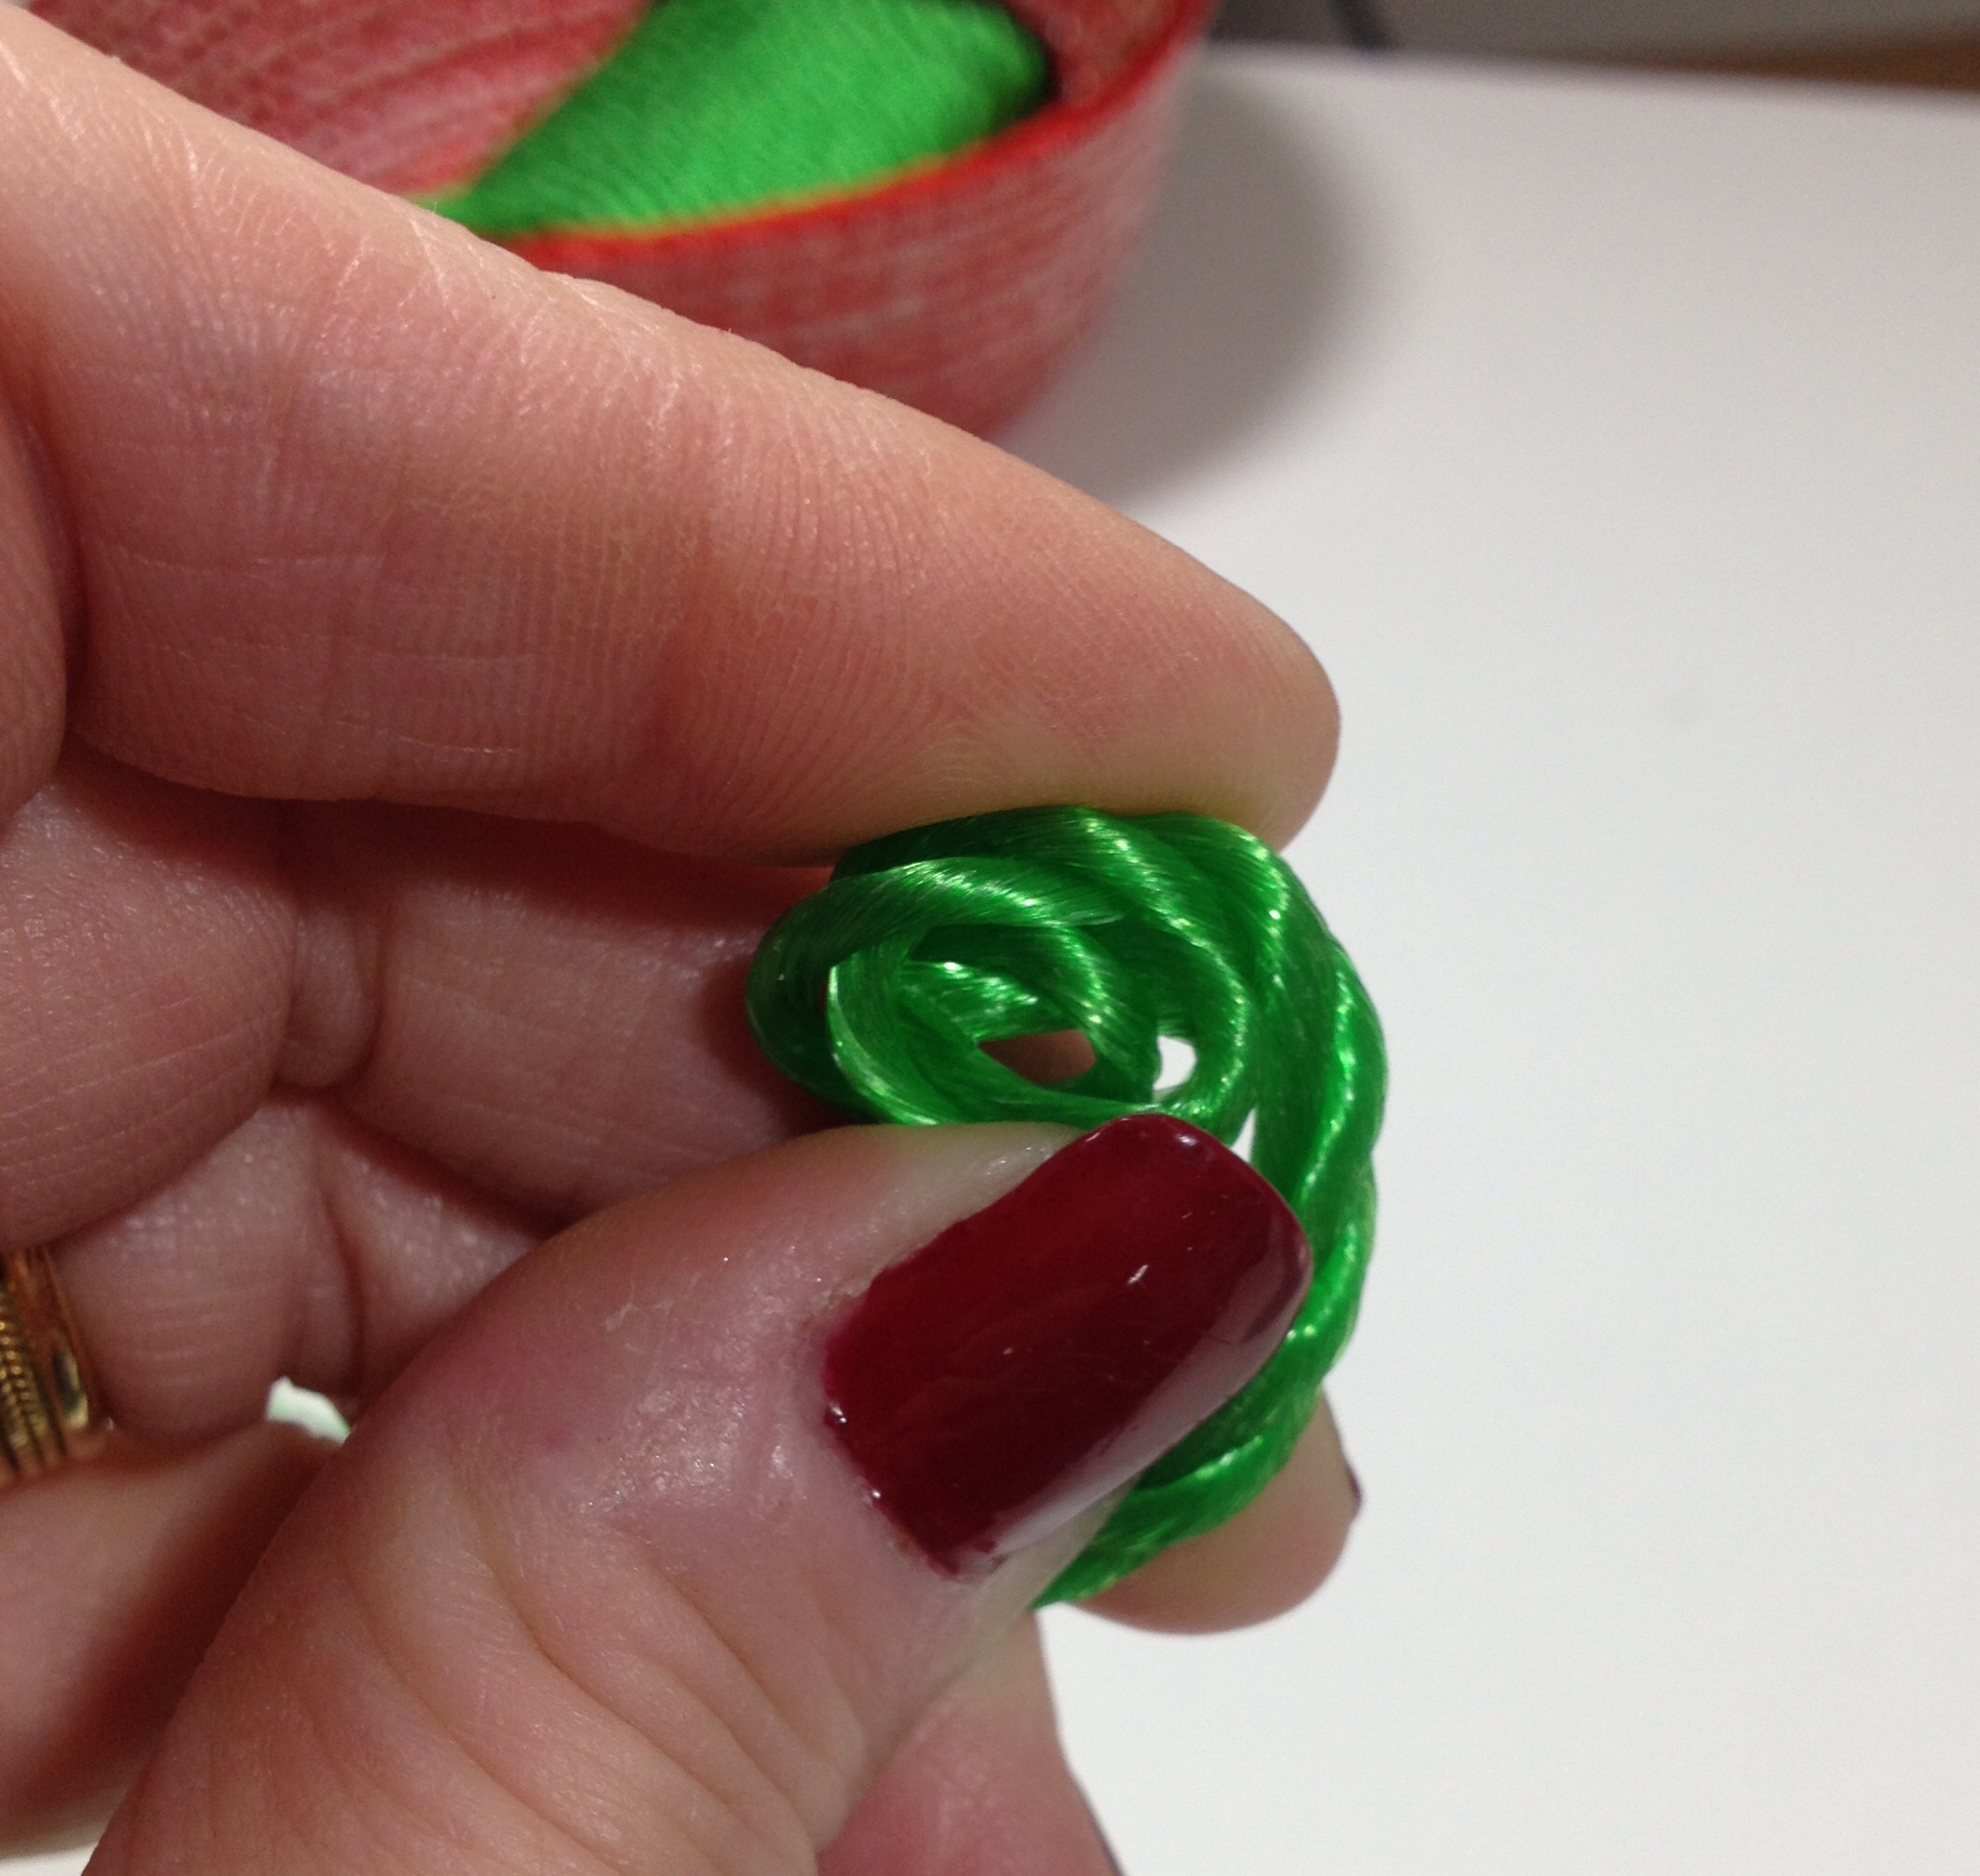
I find it easier to cool the rope in a clockwise pattern. You will need to hold onto this very tightly, and it helps to increase the presser foot pressure at the beginning. Zig-zag stitch very slowly at first:
Then, as the circle grows, you can stitch more quickly and it essentially begins to make itself:

When the circle is large enough, tip it towards your machine and the stitching begins to form rows of the wall of the bowl. Once you get the hang of it, you will probably want to make dozens, this is the ultimate immediate-gratification project!
A few VERY important pointers:
- Use a top stitch needle, either 90 or 100
- Do not try to stitch through the melted hard end of the rope at the beginning…this will ensure a broken needle (trust me 🙄)
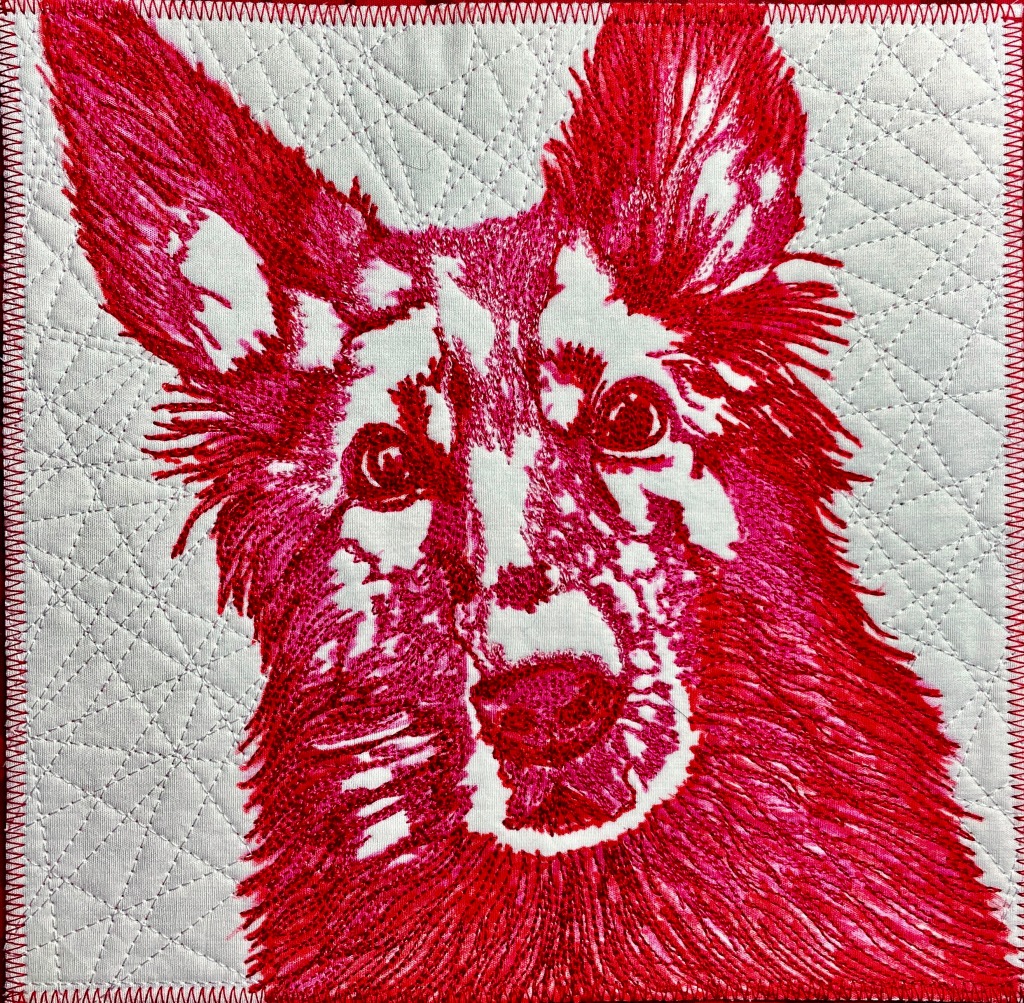
- Use a strong thread…I like to use fairly heavyweight (at least 40wt) threads. Shiny trilobal polyesters (like Magnifico by Superior, shown in the photo below) create a beautiful effect if you send a tight stitch…for the red and green bowls I used Superior Threads’ Metallic, another favorite of mine
- Finishing the bowl requires a little heat…or the rope will fray. I use the small tip of my multi-tip craft iron to do this…carefully stroke the end until it melts
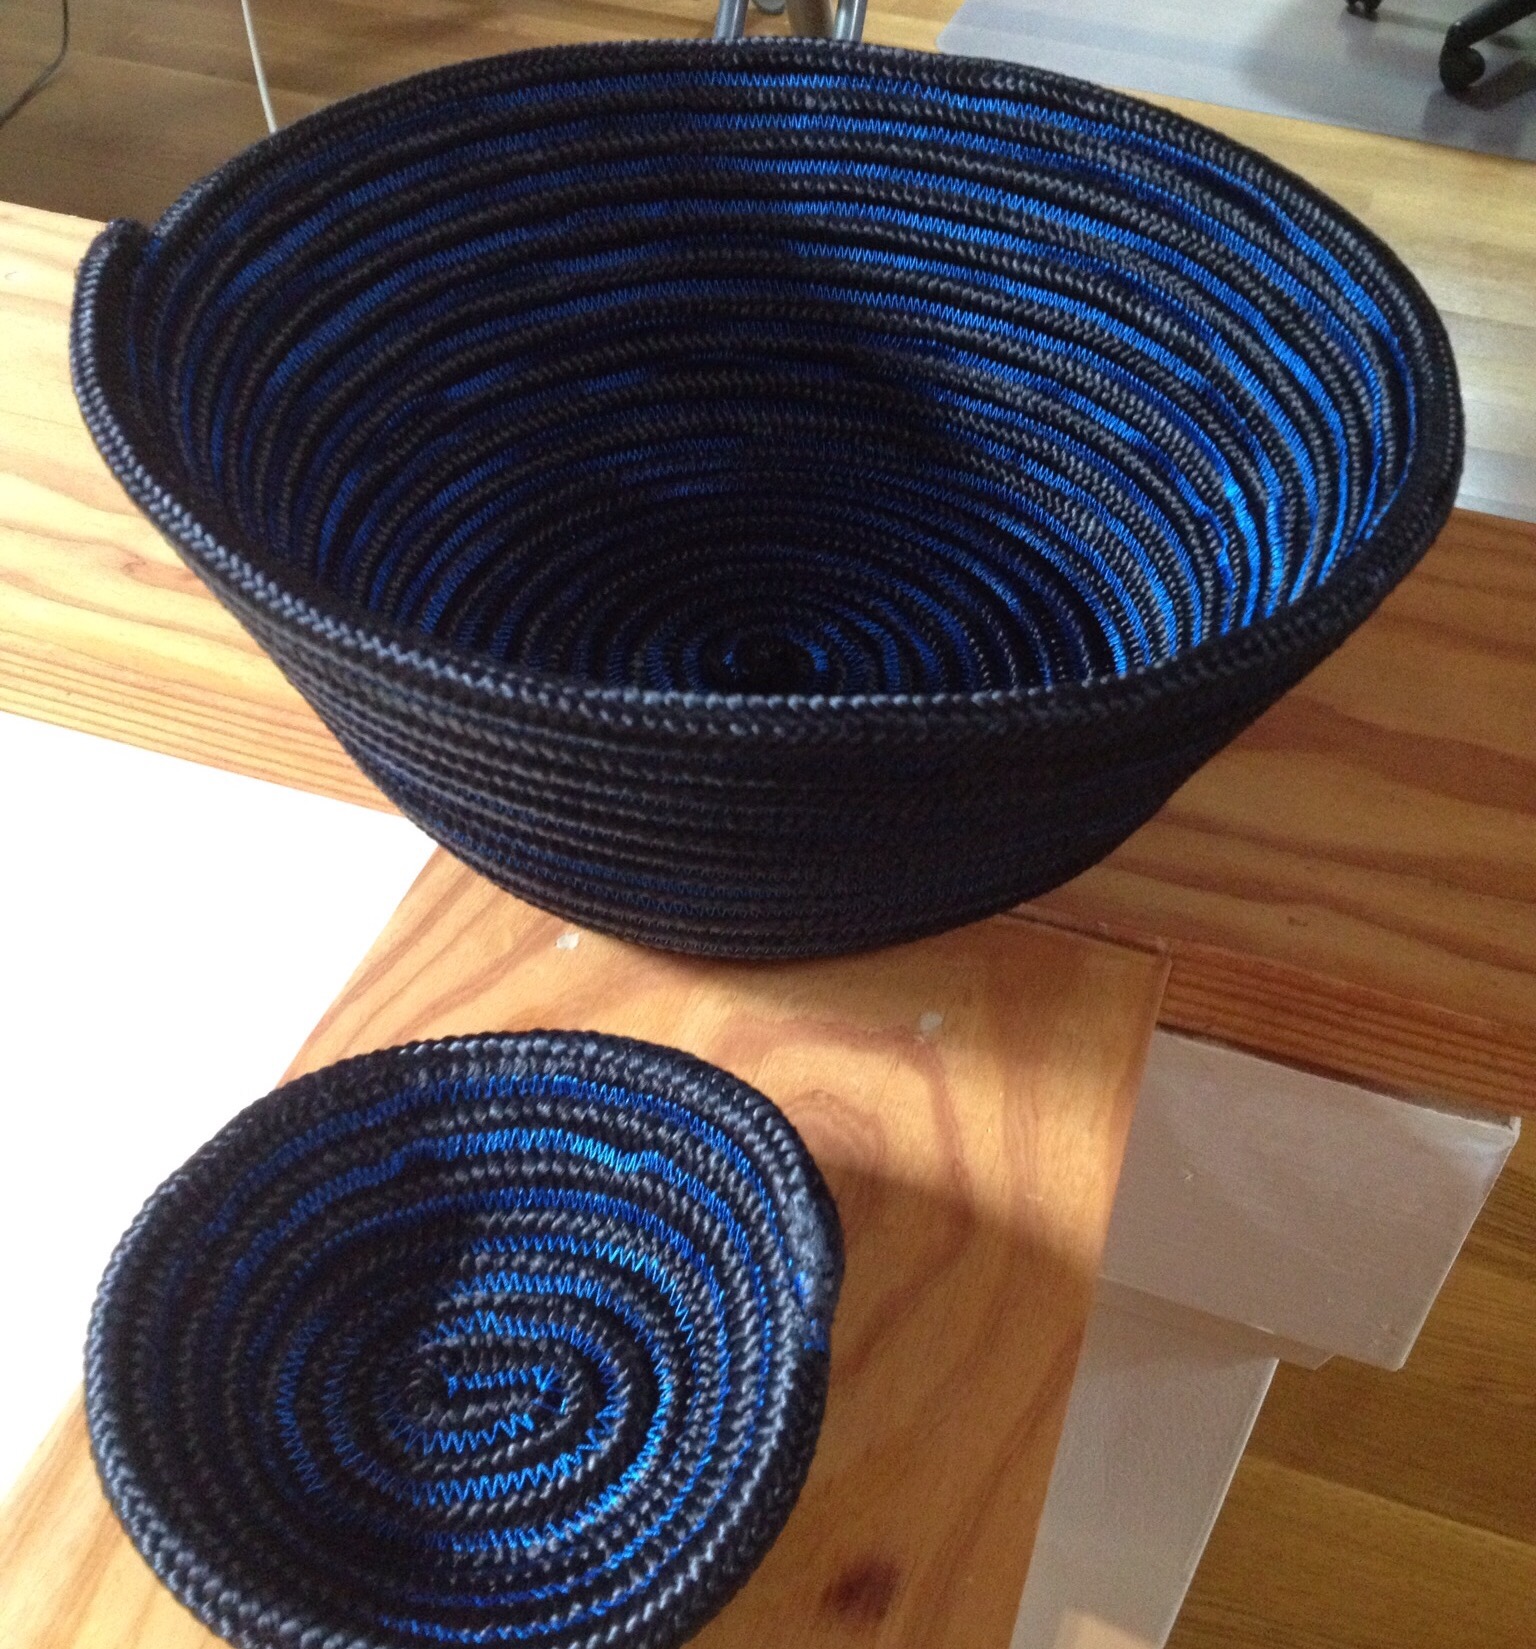
If you cannot find bright colors in your nearby store, buy black…it shows off your colorful threads to great effect:
Happy bowling!