


Continuing my obsession with Janine’s new fabric collection and the coordinating Aurifil thread collection, I thought it would be fun to experiment with a case to hold all of our necessities (well I’m still working on the lipstick…).
This project is a fantastic use of small pieces of fabric and my favorite Pellon fusibles. Precise measurements will depend on your phone!
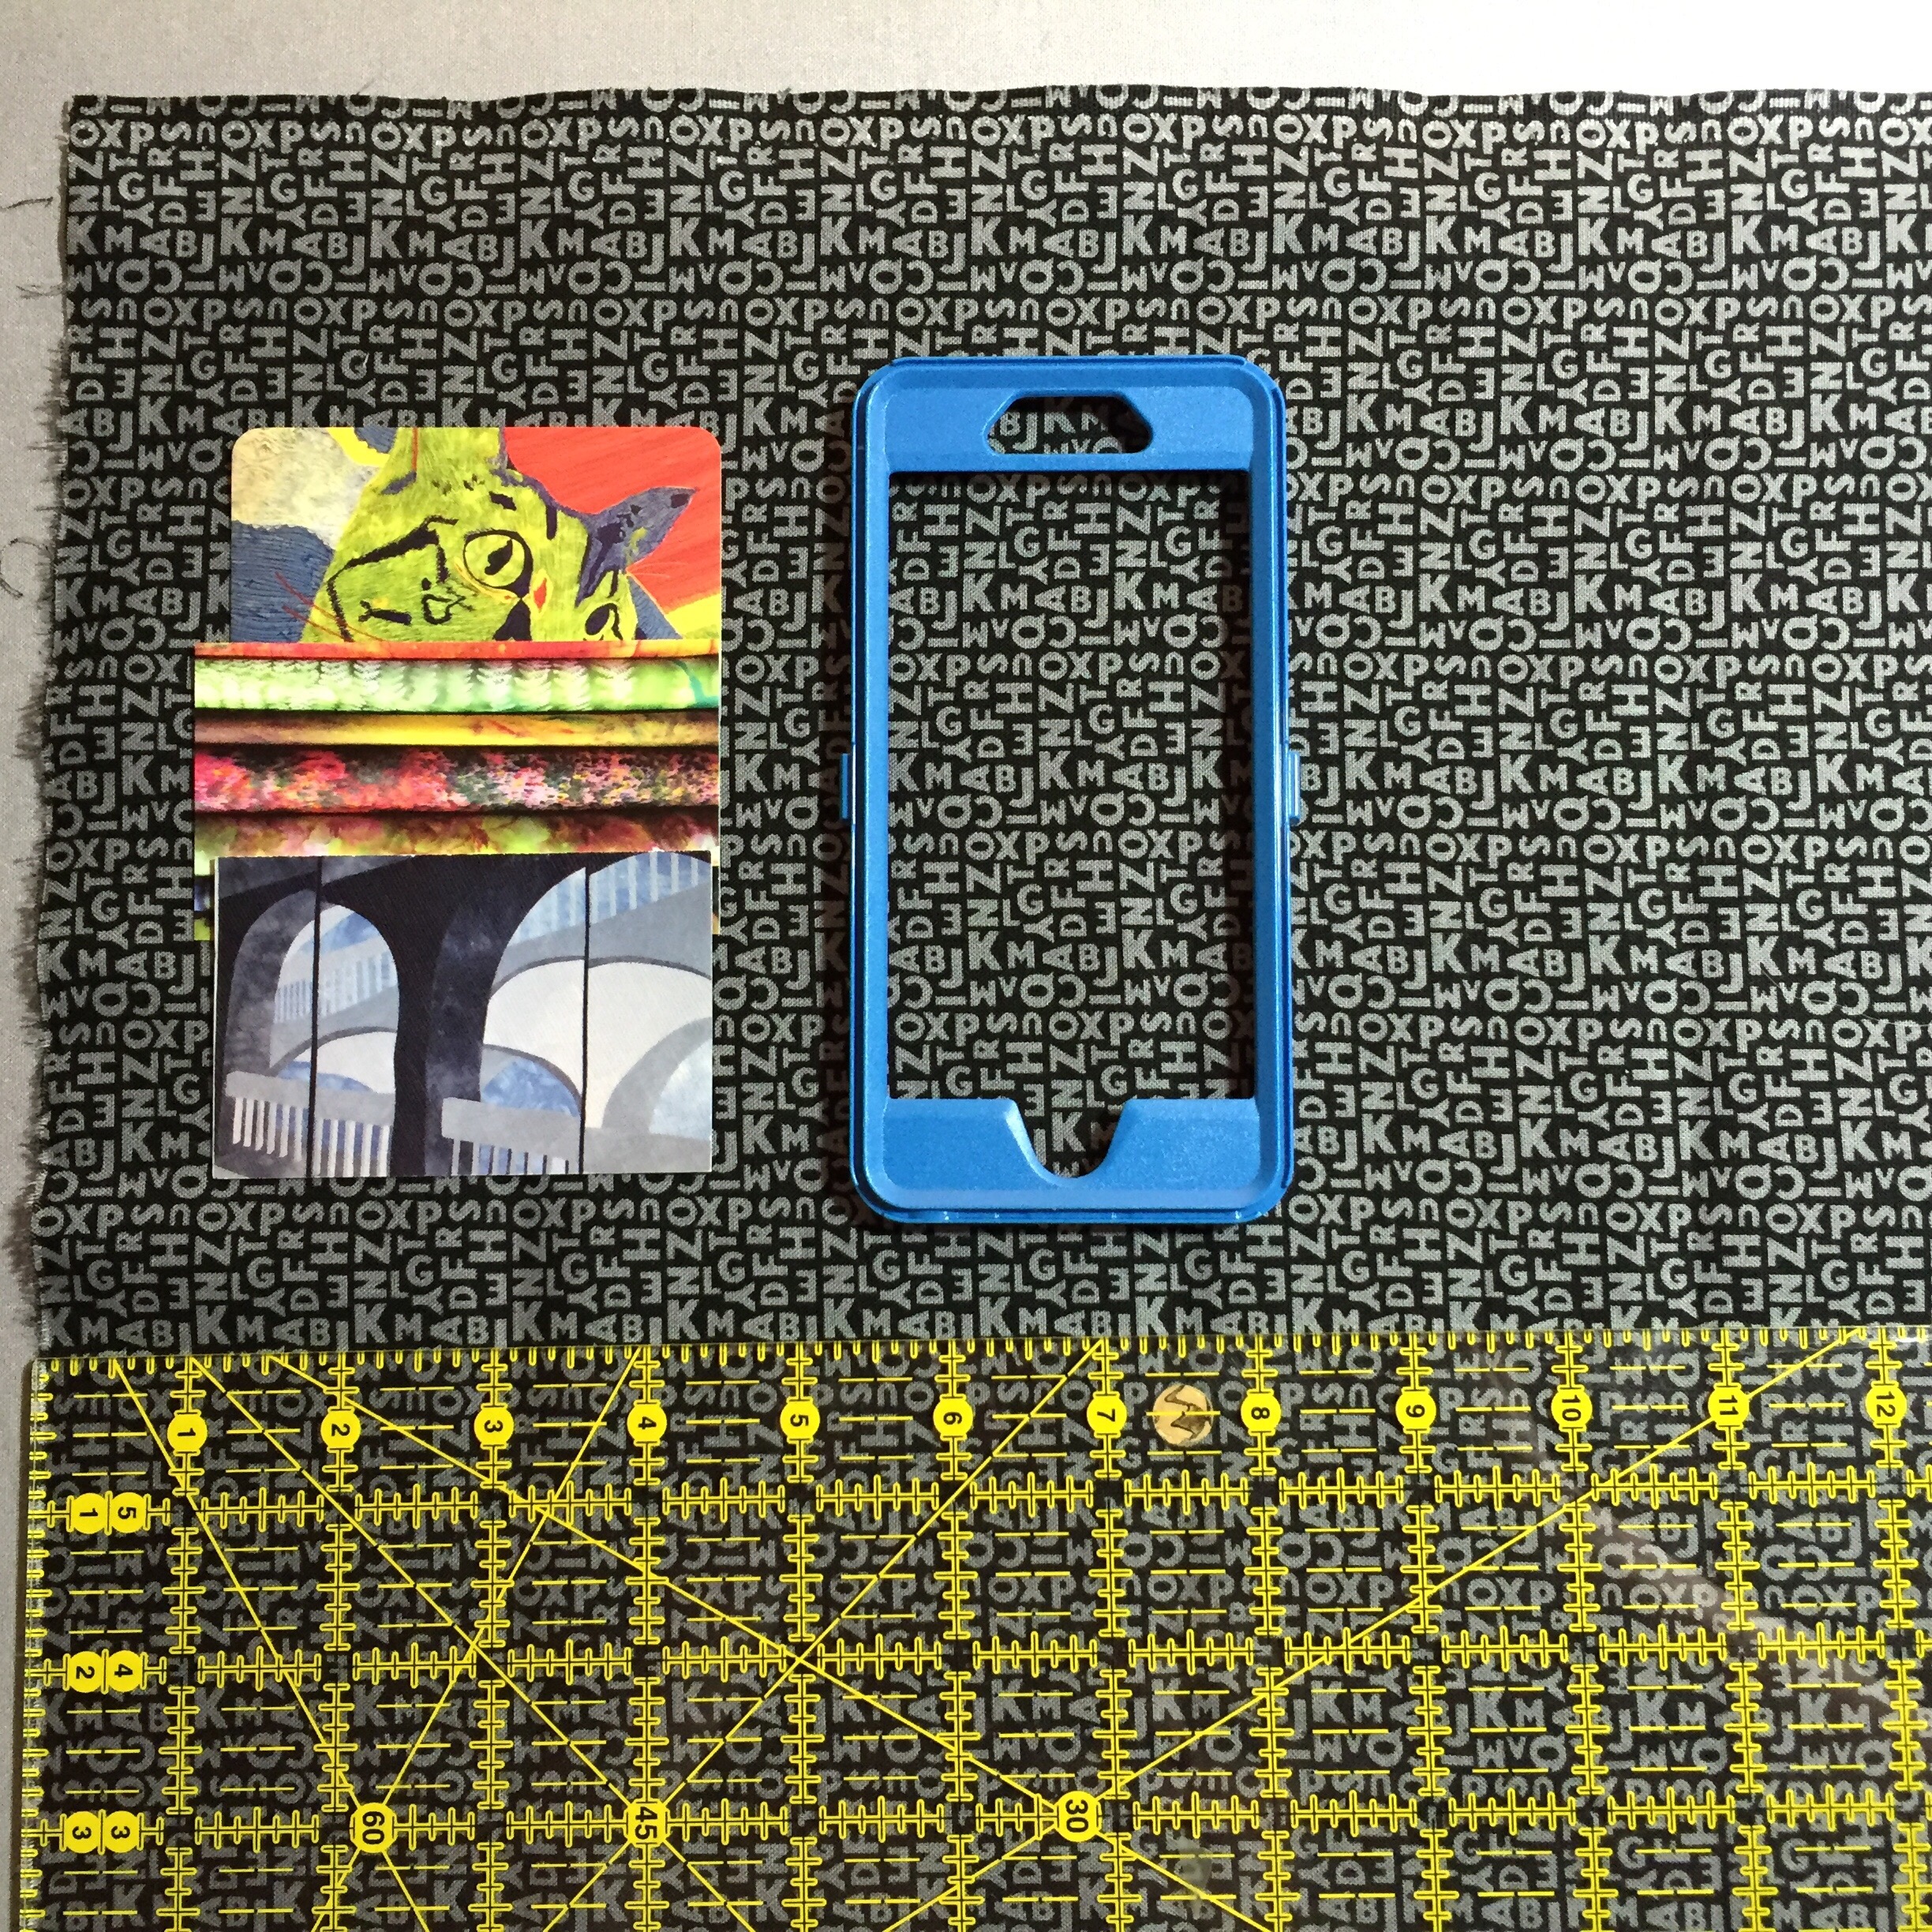
So, line up some credit cards or business cards on the left, and your phone on the right…plus enough fabric to create a pocket for the phone.
Work on the card-holder piece first. For this, you will need a long piece of fabric that is 4″ wide (my only exact recommendation!) and long enough to fold up 3 or 4 times to hold cards. The finished length will be identical to your desired length of finished piece (remember, the size of your phone determines this measurement).
Press some fusible stabilizer to the back of the fabric (you may have done around if you took my tote bag class in the past…I used Pellon Decor bond here). Then, experiment with the folds (you may want more or less of the cards to peek over the edges) and press into an accordion shape like this:
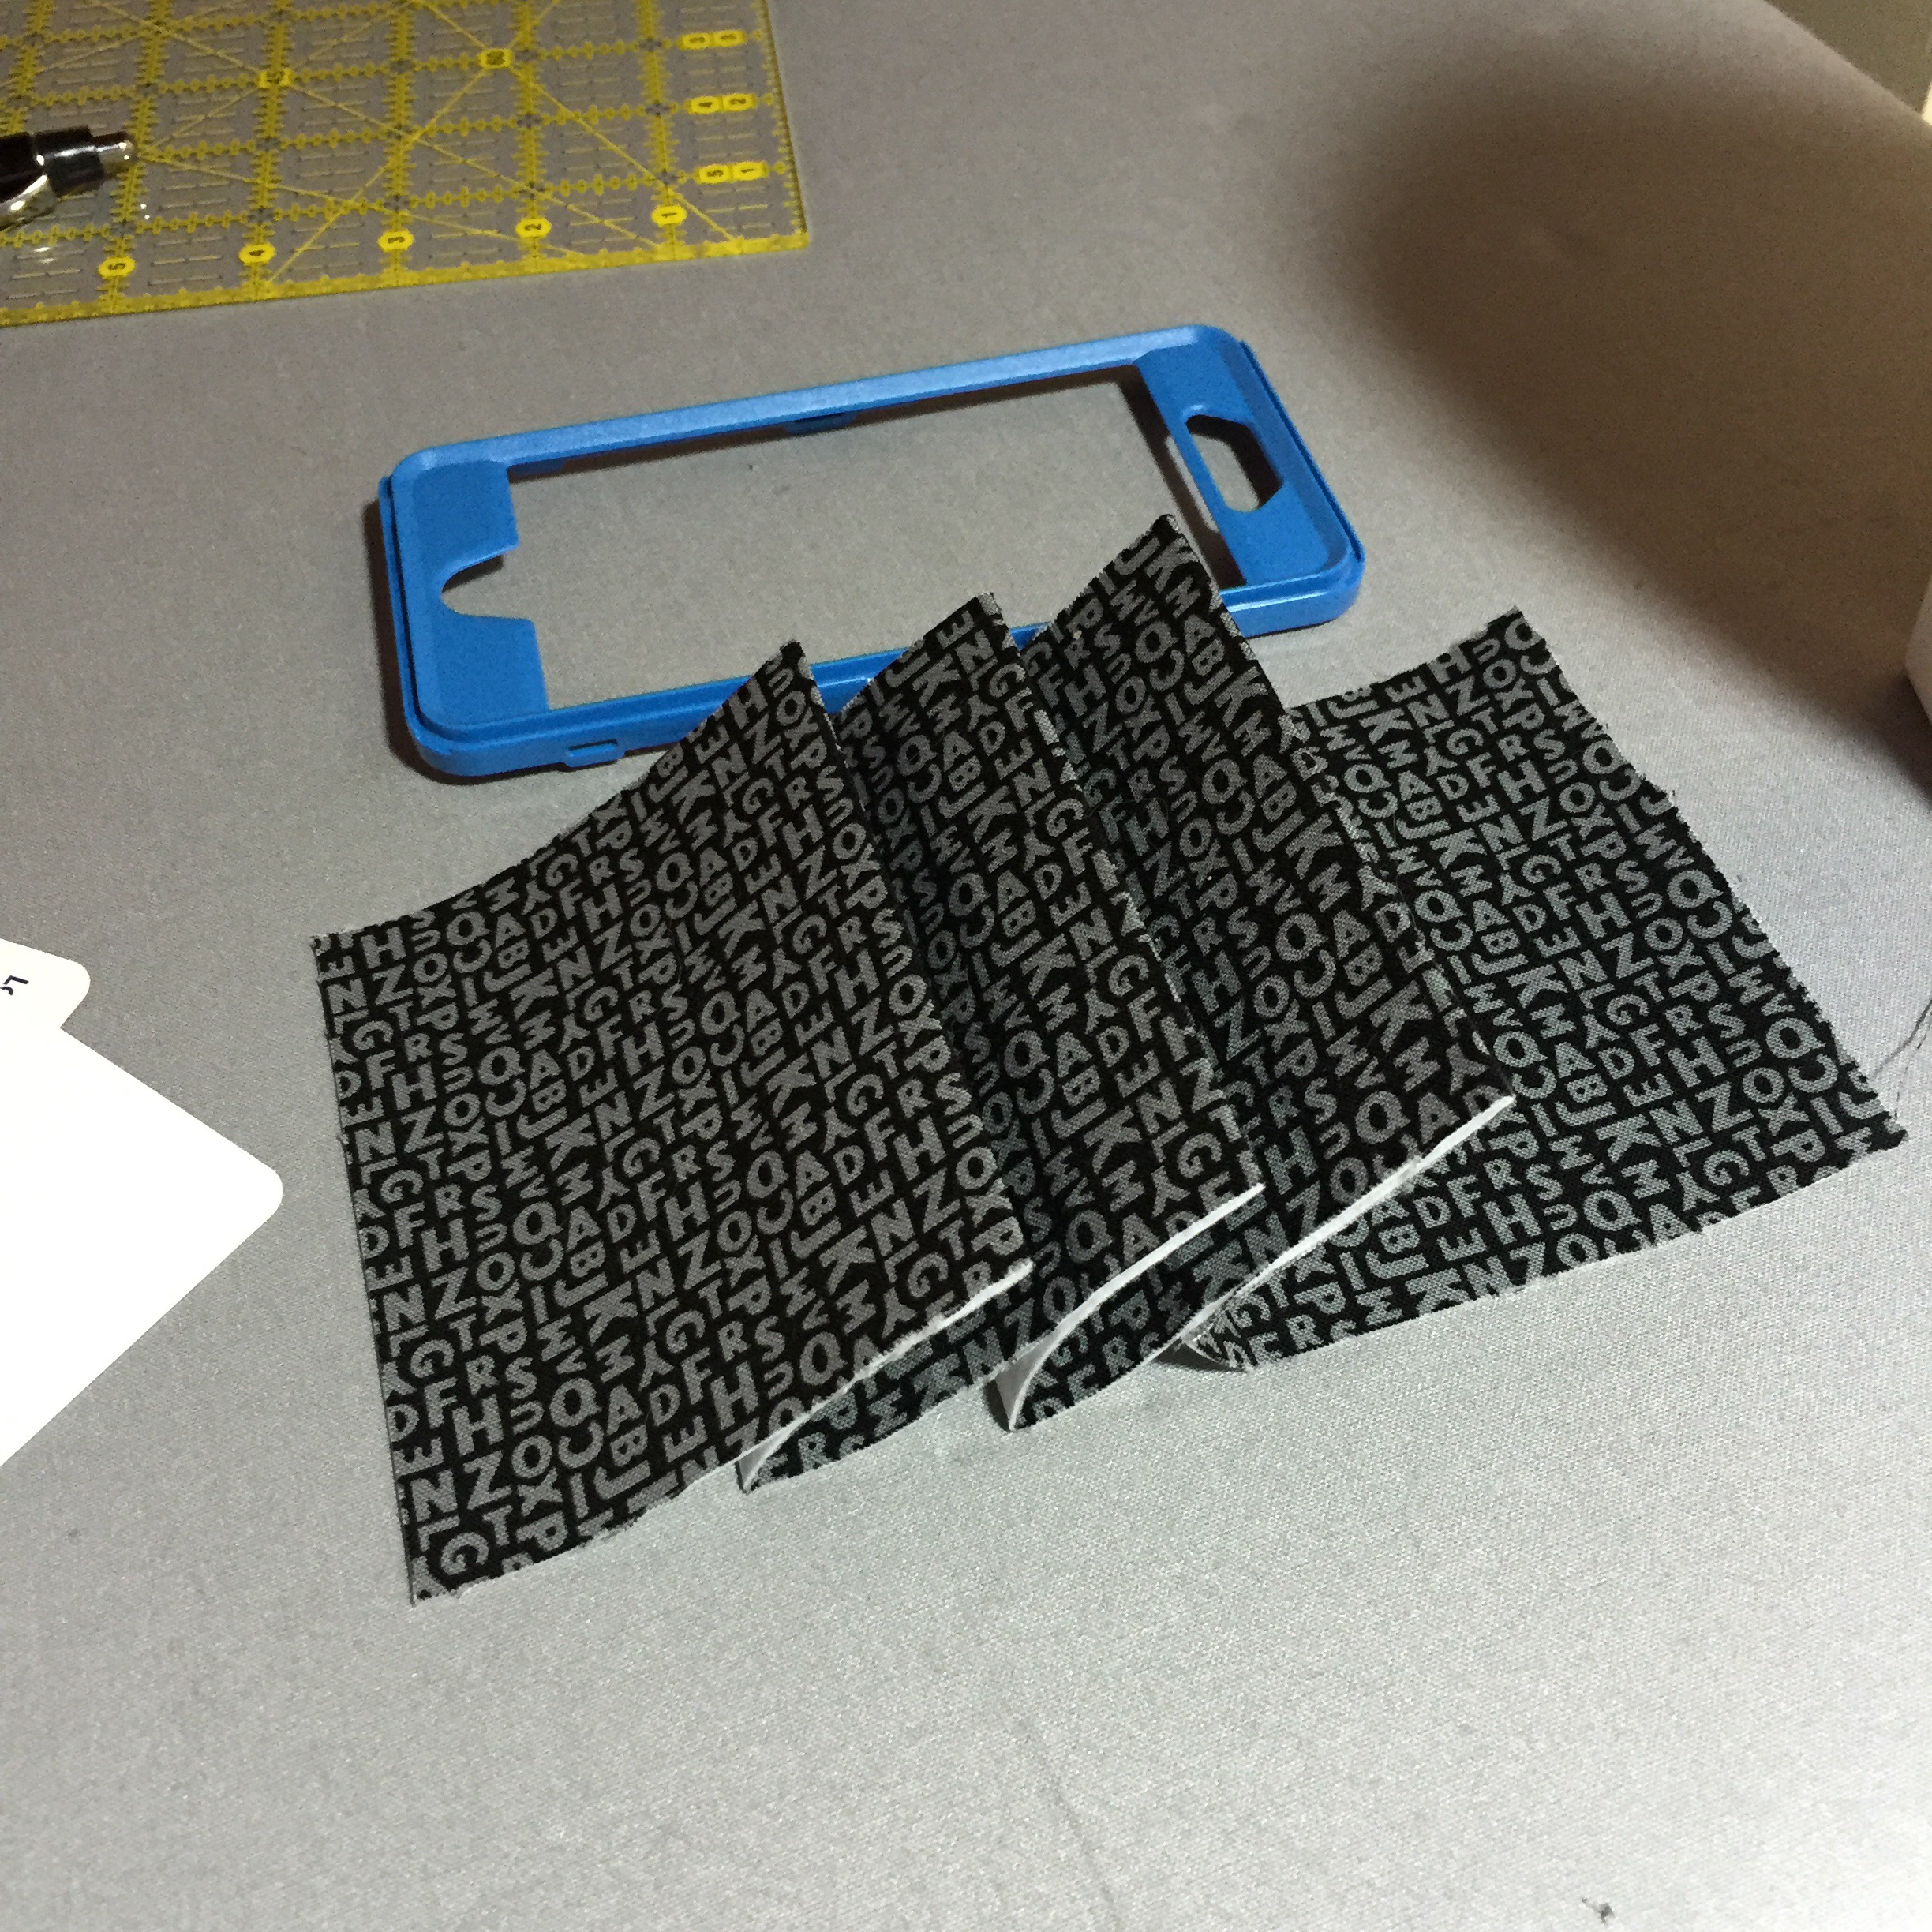
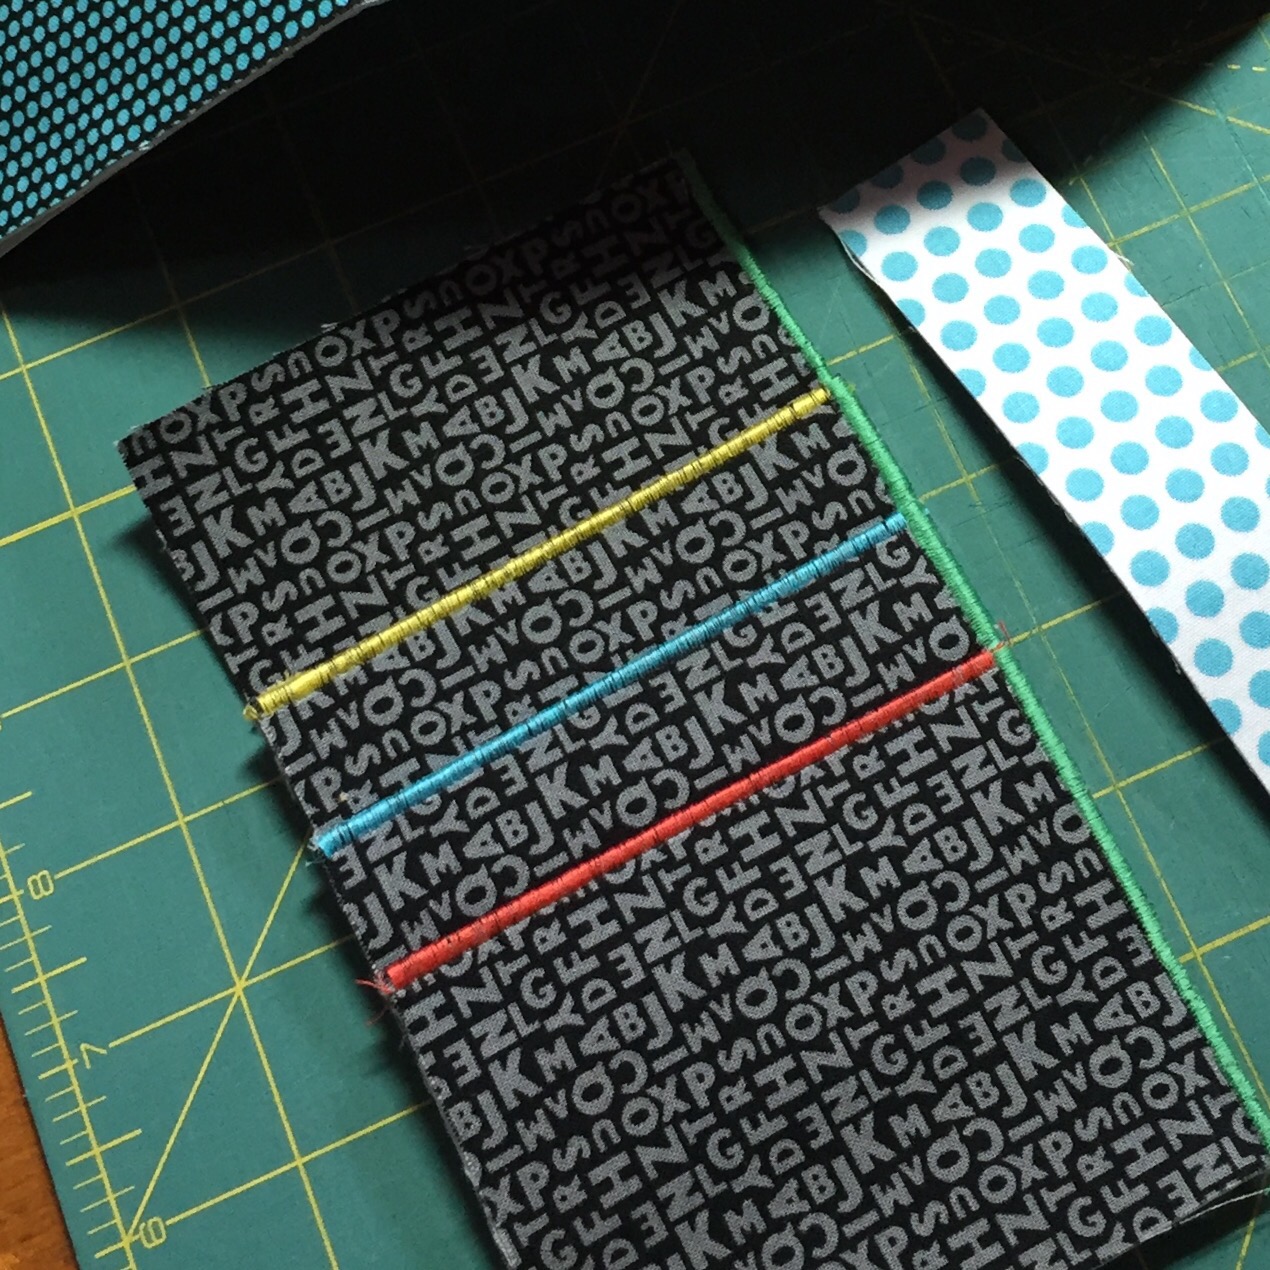
If you like these folds, they are at 3″ and 1.75″ intervals. I strongly recommend cutting a longer piece than you think you might need so that you’ll have enough to trim! Stitch each of these folds with a pretty thread…them stitch down the right side (this will be the opening to the slot for paper money). Make sure to use a large enough Topstitch needle…either 90 or 100…because you will be stitching through lots of layers!
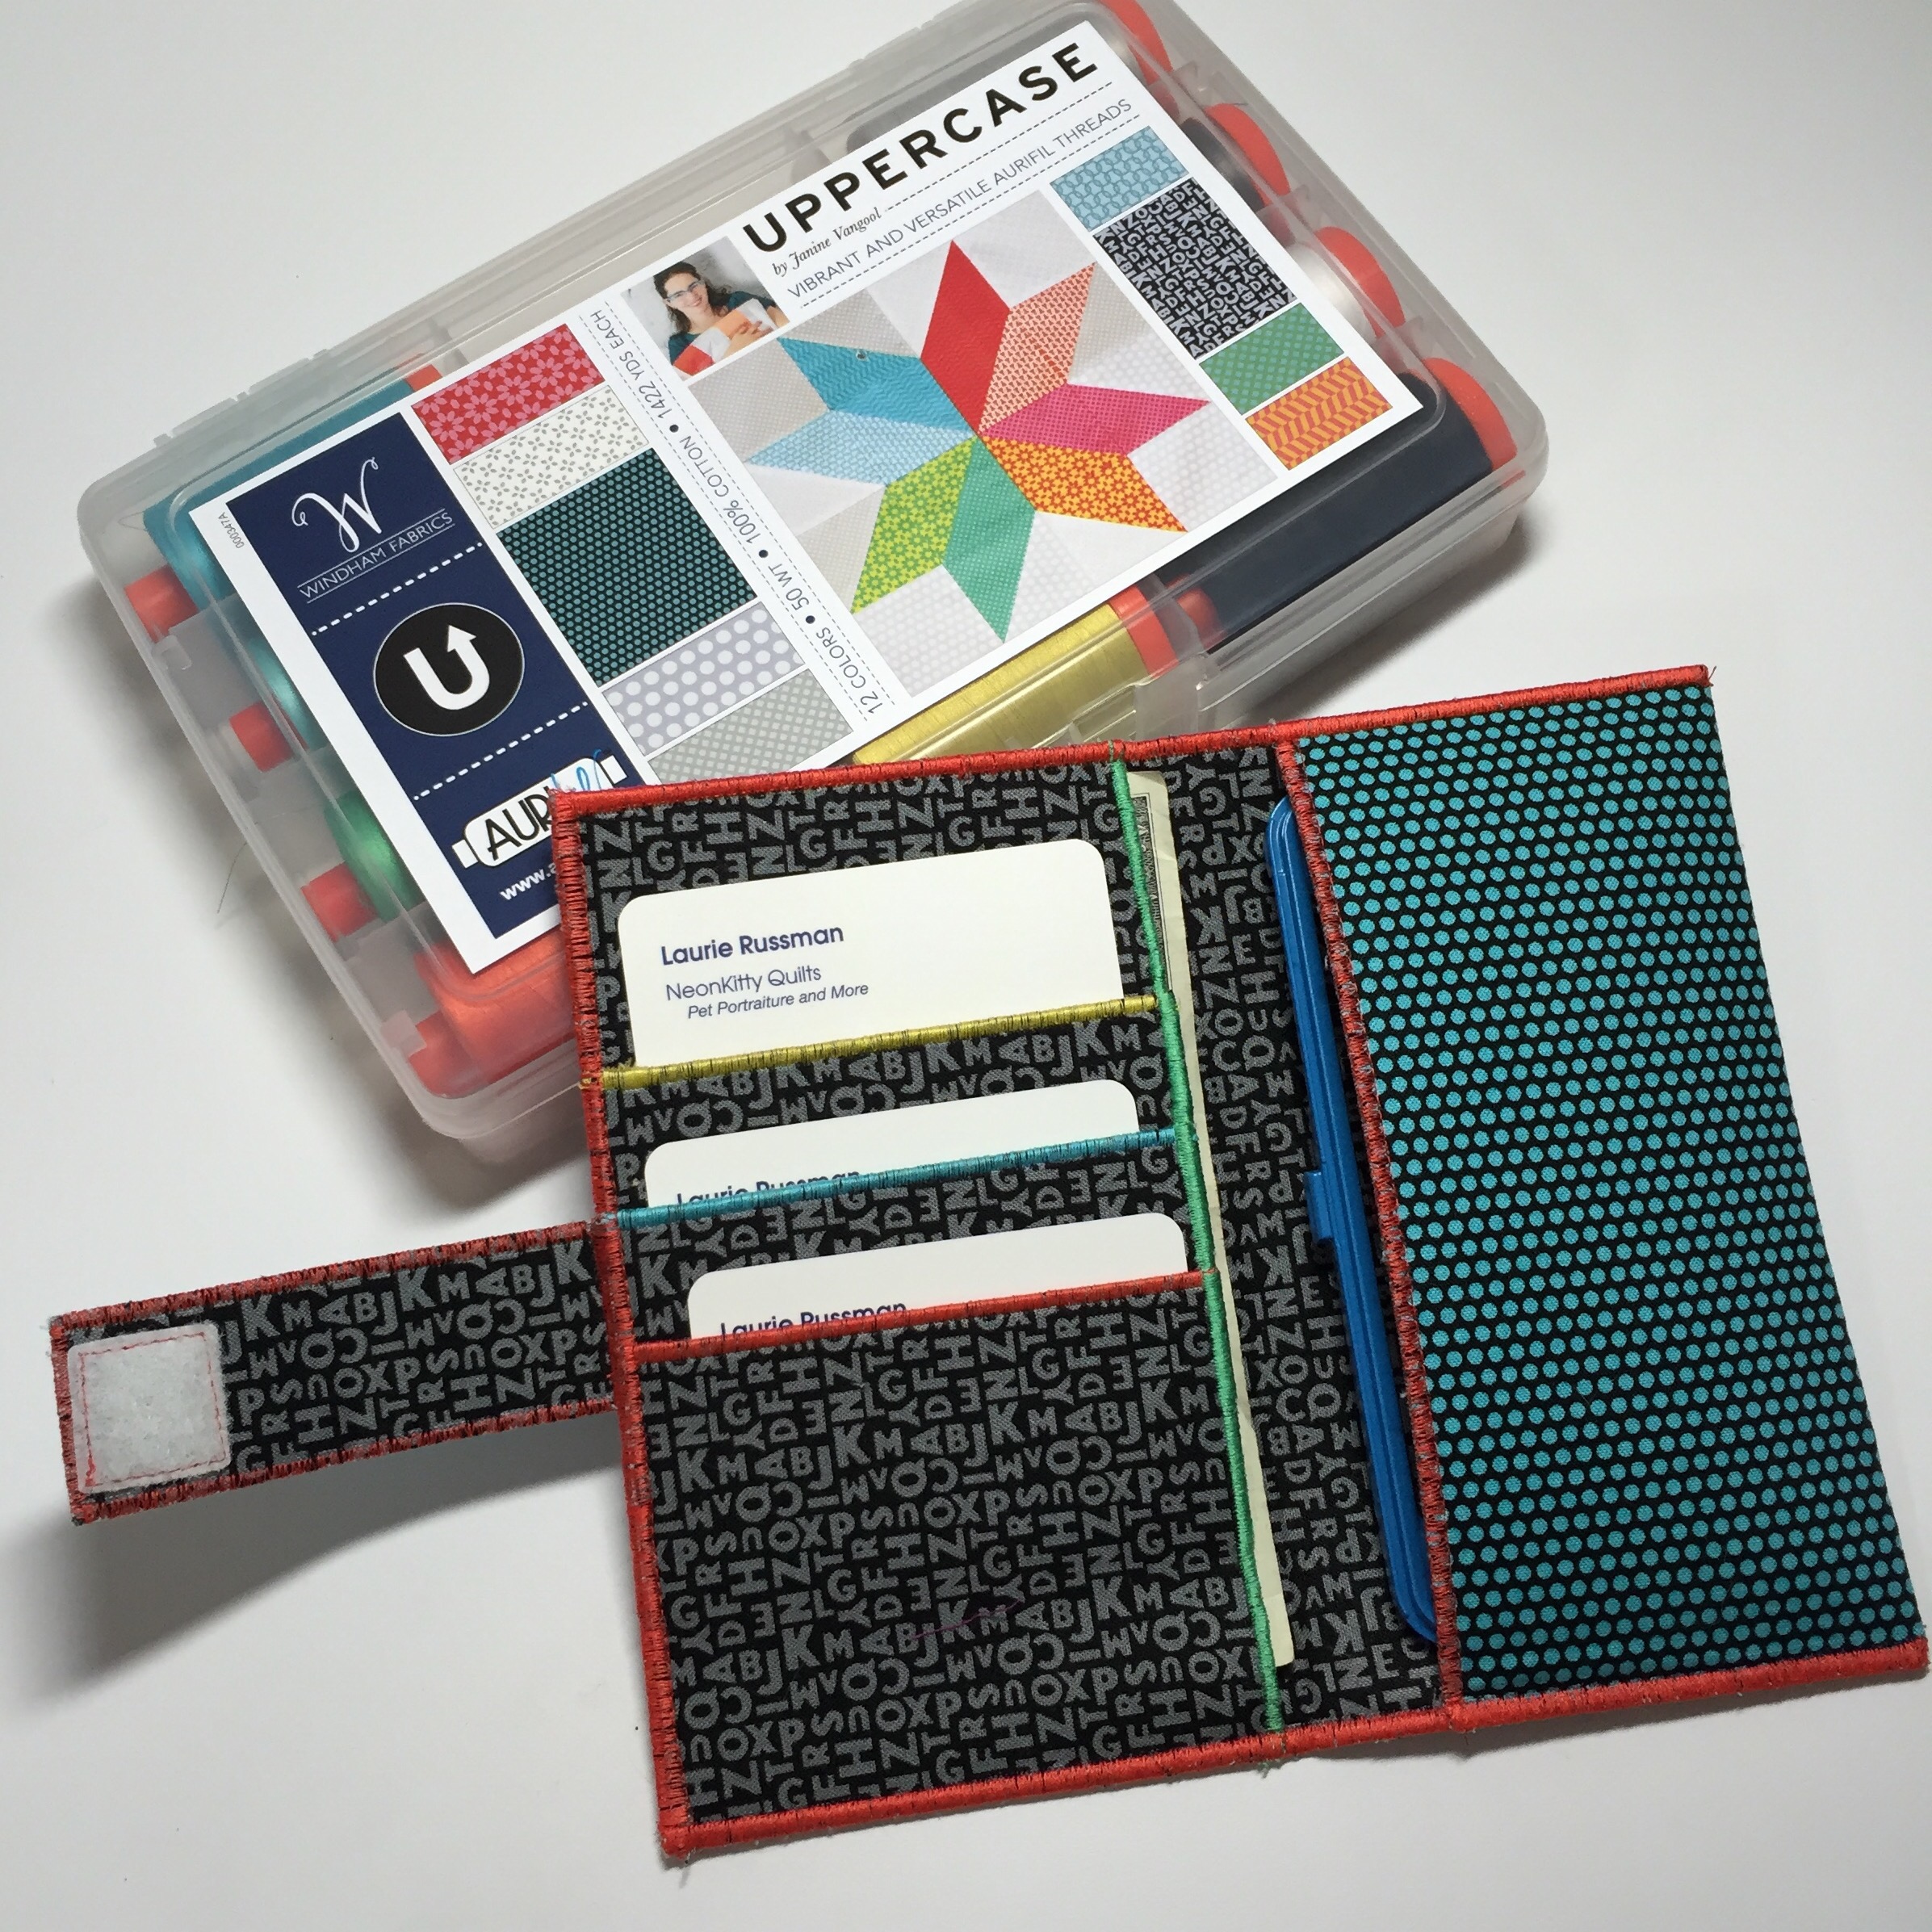
Next, fuse a fabric to each side of a piece of very stiff fusible (I love Peltex II)…this will be the body of your piece, so begin with a piece that is at least 15″ wide, and the length of your phone + a margin (for my model, about 2″ total). You will also want a piece for a tab that will include a closure, either a snap or a hook/loop pair of dots.

Zig-zag or satin stitch around both long sides and one short side. Stitch snap or one side of the hook/loop dot to the very center of the outside piece. Then, attach tab to unstitched short side. (It might be helpful to remember that this is how it will look when completed…my round dot is too close to the fold, centered would be better!)

Carefully line up the card-holder on the left inside (unstitched) edge and attach the 3 rough edges to the larger piece with a line of zigzag stitching. If desired, stitch around piece again. All set for running errands :)!


You must be logged in to post a comment.