


 I think of pre-cut “jelly rolls” as excellent emergency supplies. They rock when you have, umm, forgotten a key item while away from your studio 🙄 and thus cannot work on that art quilt in progress…or, as instant baby quilt ingredients anytime!
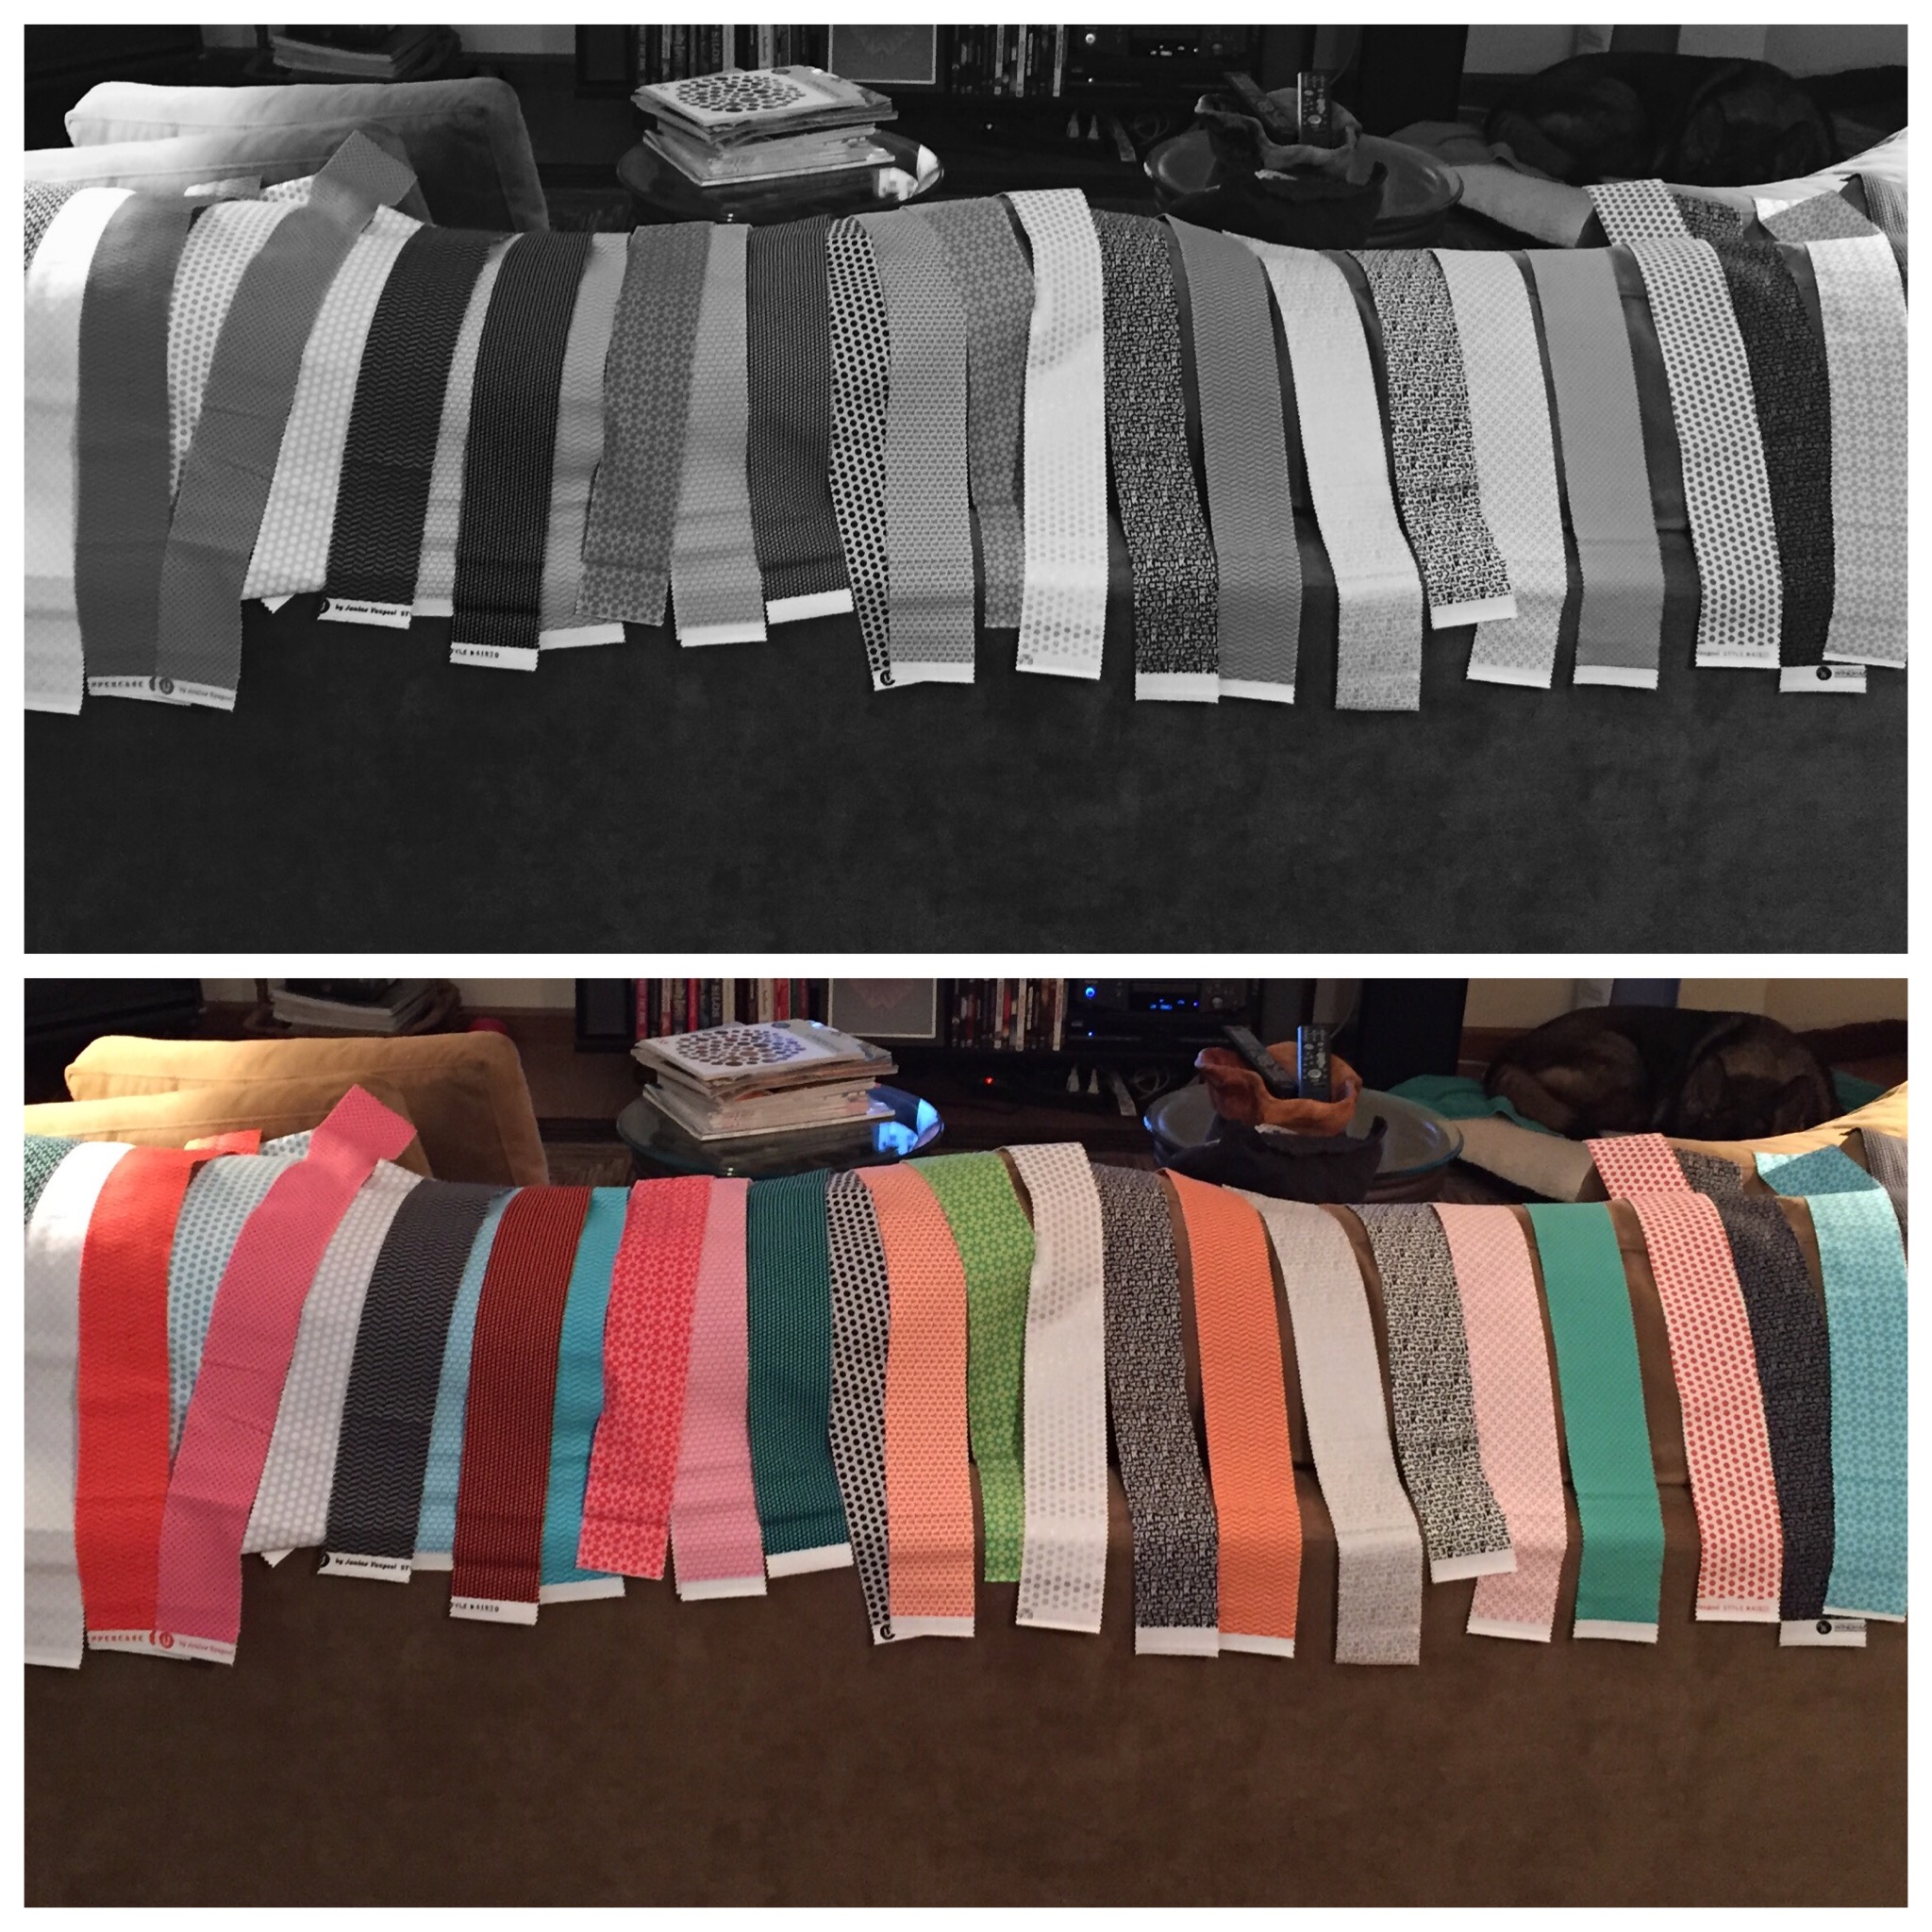
I like to line the strips up first to identify value…

…using a black and white photo to assist. See that turquoise? I would never have expected it to read as light as it does.
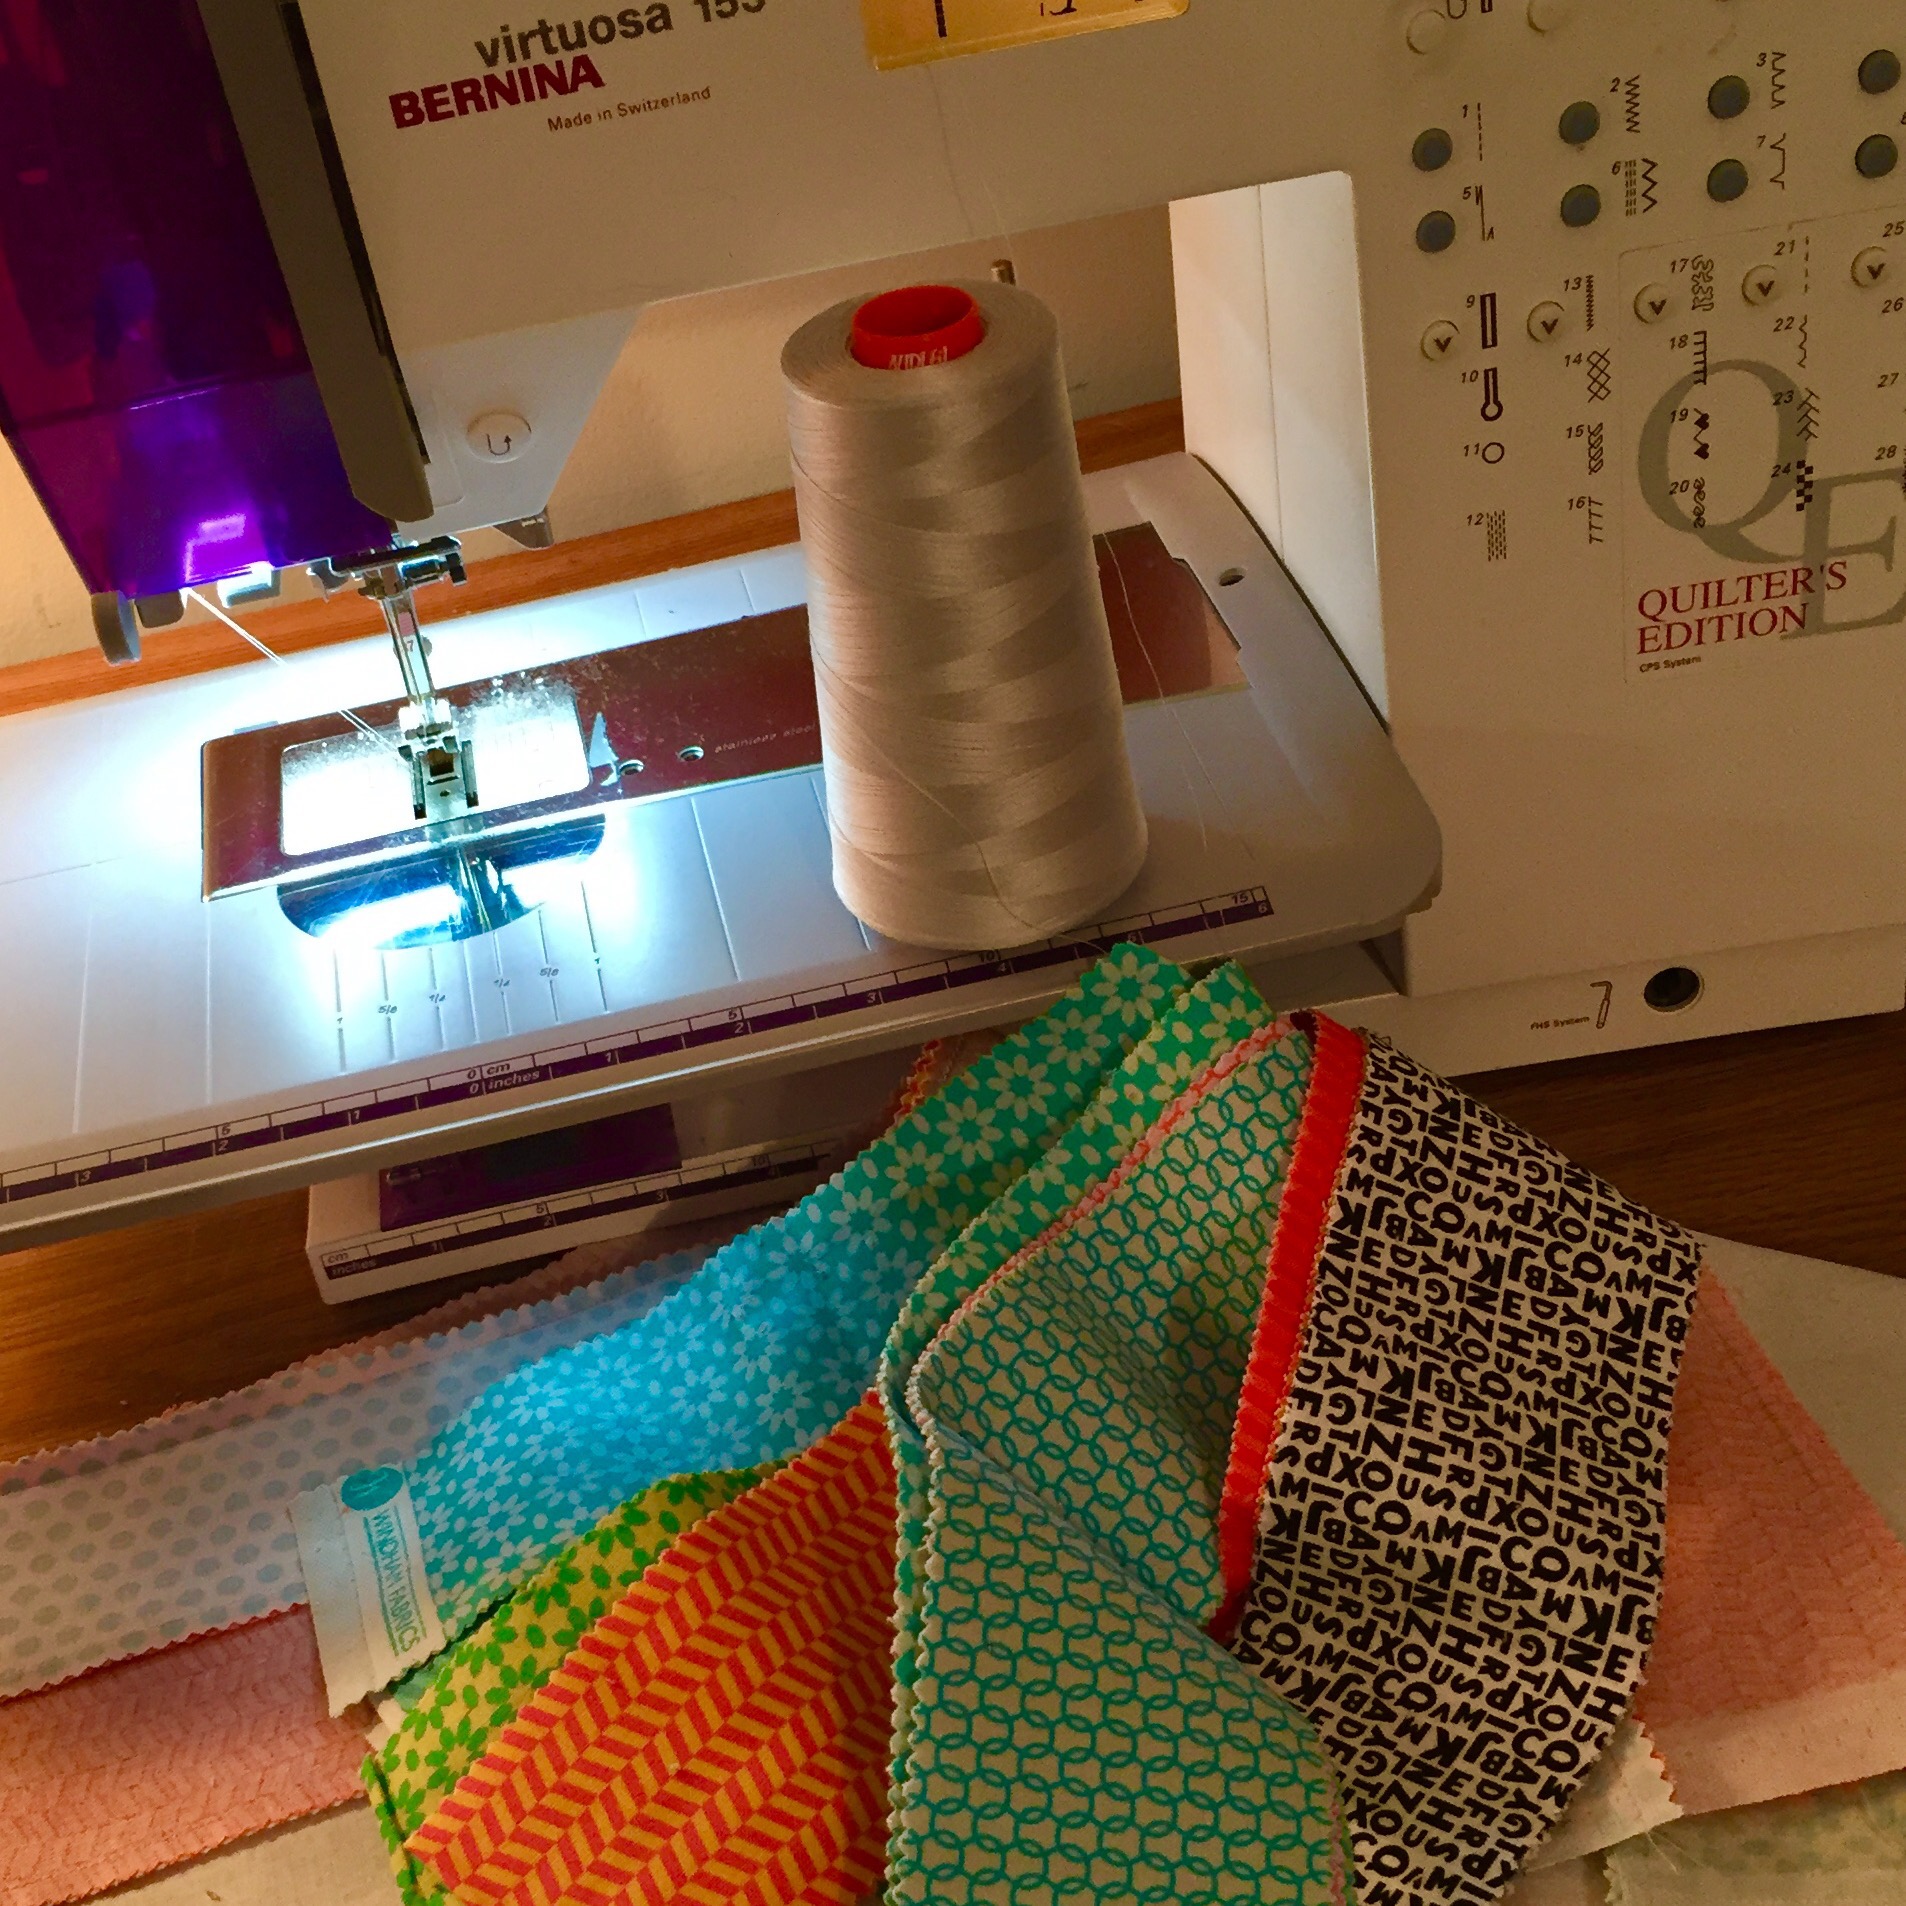
Then I try my best to distribute the strips to maximize contrast and bring a little sparkle to the mix:
For this piece, I pulled out the duplicates…these 8 strips will come on handy for a border.
Lots of very zen stitching to join the strips…
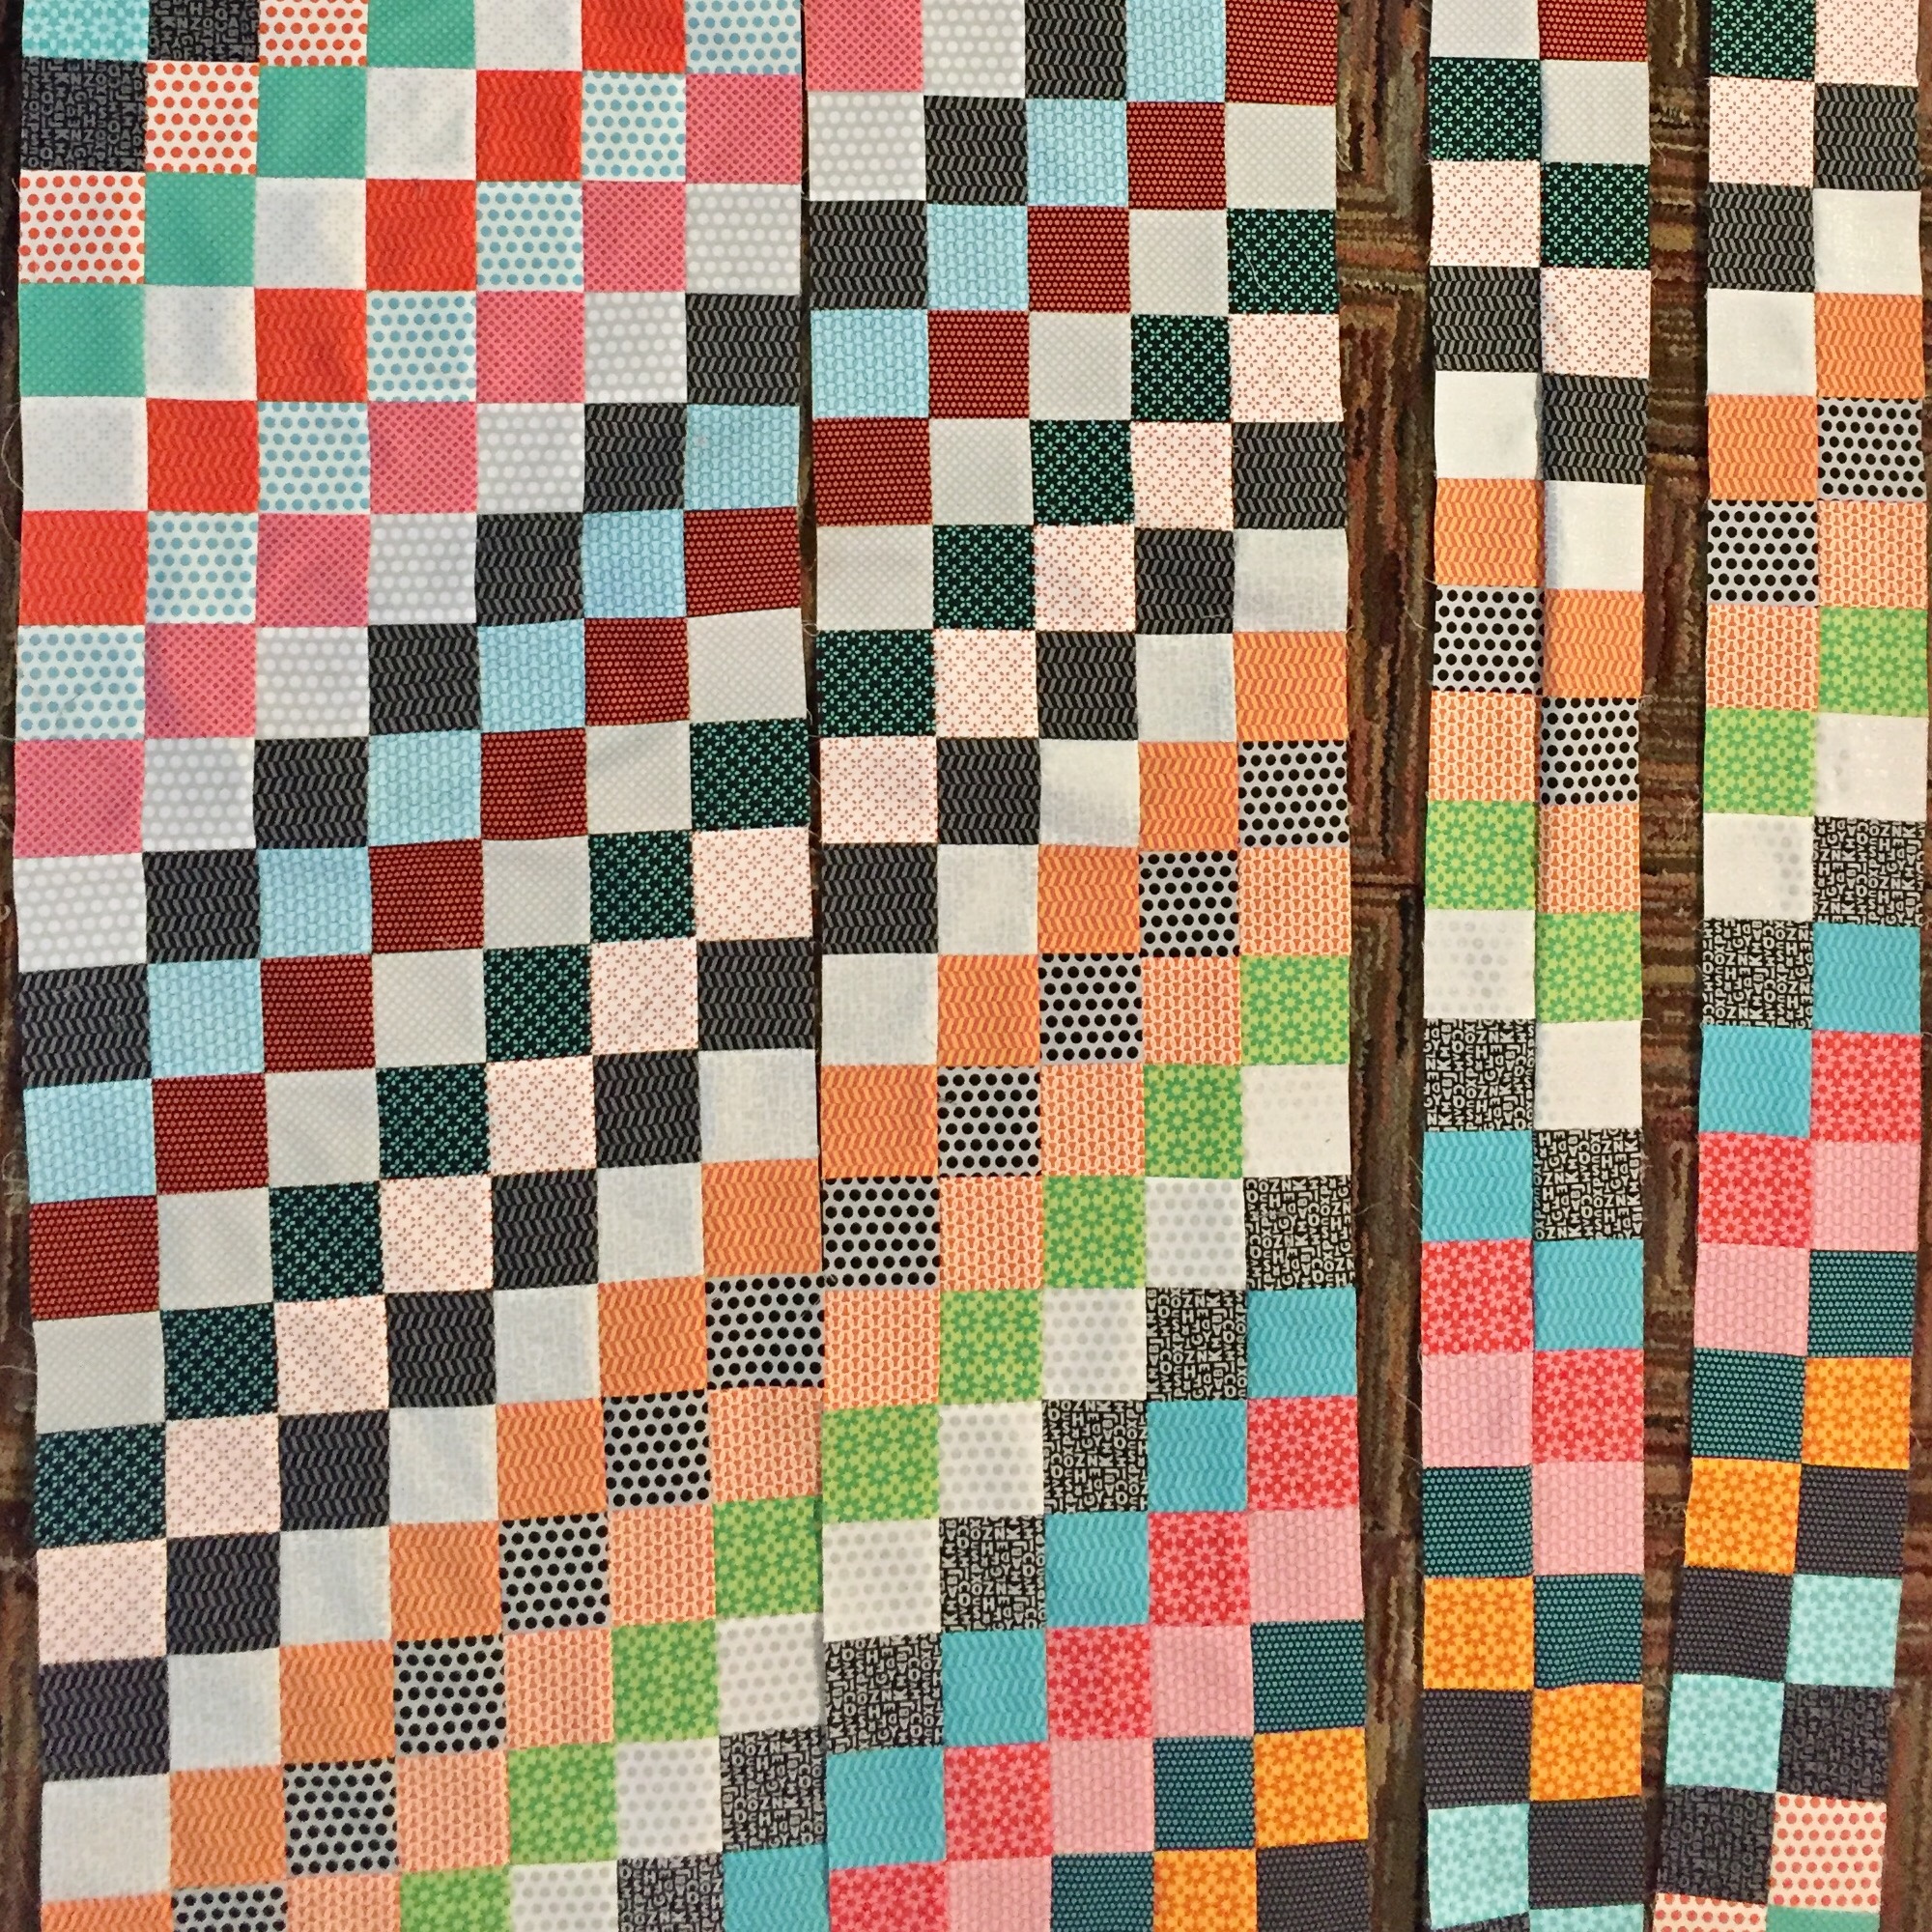
After stitching the last one, stitch THAT one back to the first to form a tube…press carefully…and slice. Of course here is where you can slice unevenly and create bargello…I wanted to keep it simple and keep the emphasis on Janine’s awesome fabric (so I opted for 2 1/2″ slices to create perfect squares).

Time for the seam ripper! Detach each ring one square down for a very simple effect. (Basically making a quarter of that traditional Round the World pattern). Decide which strip will be your starting point…

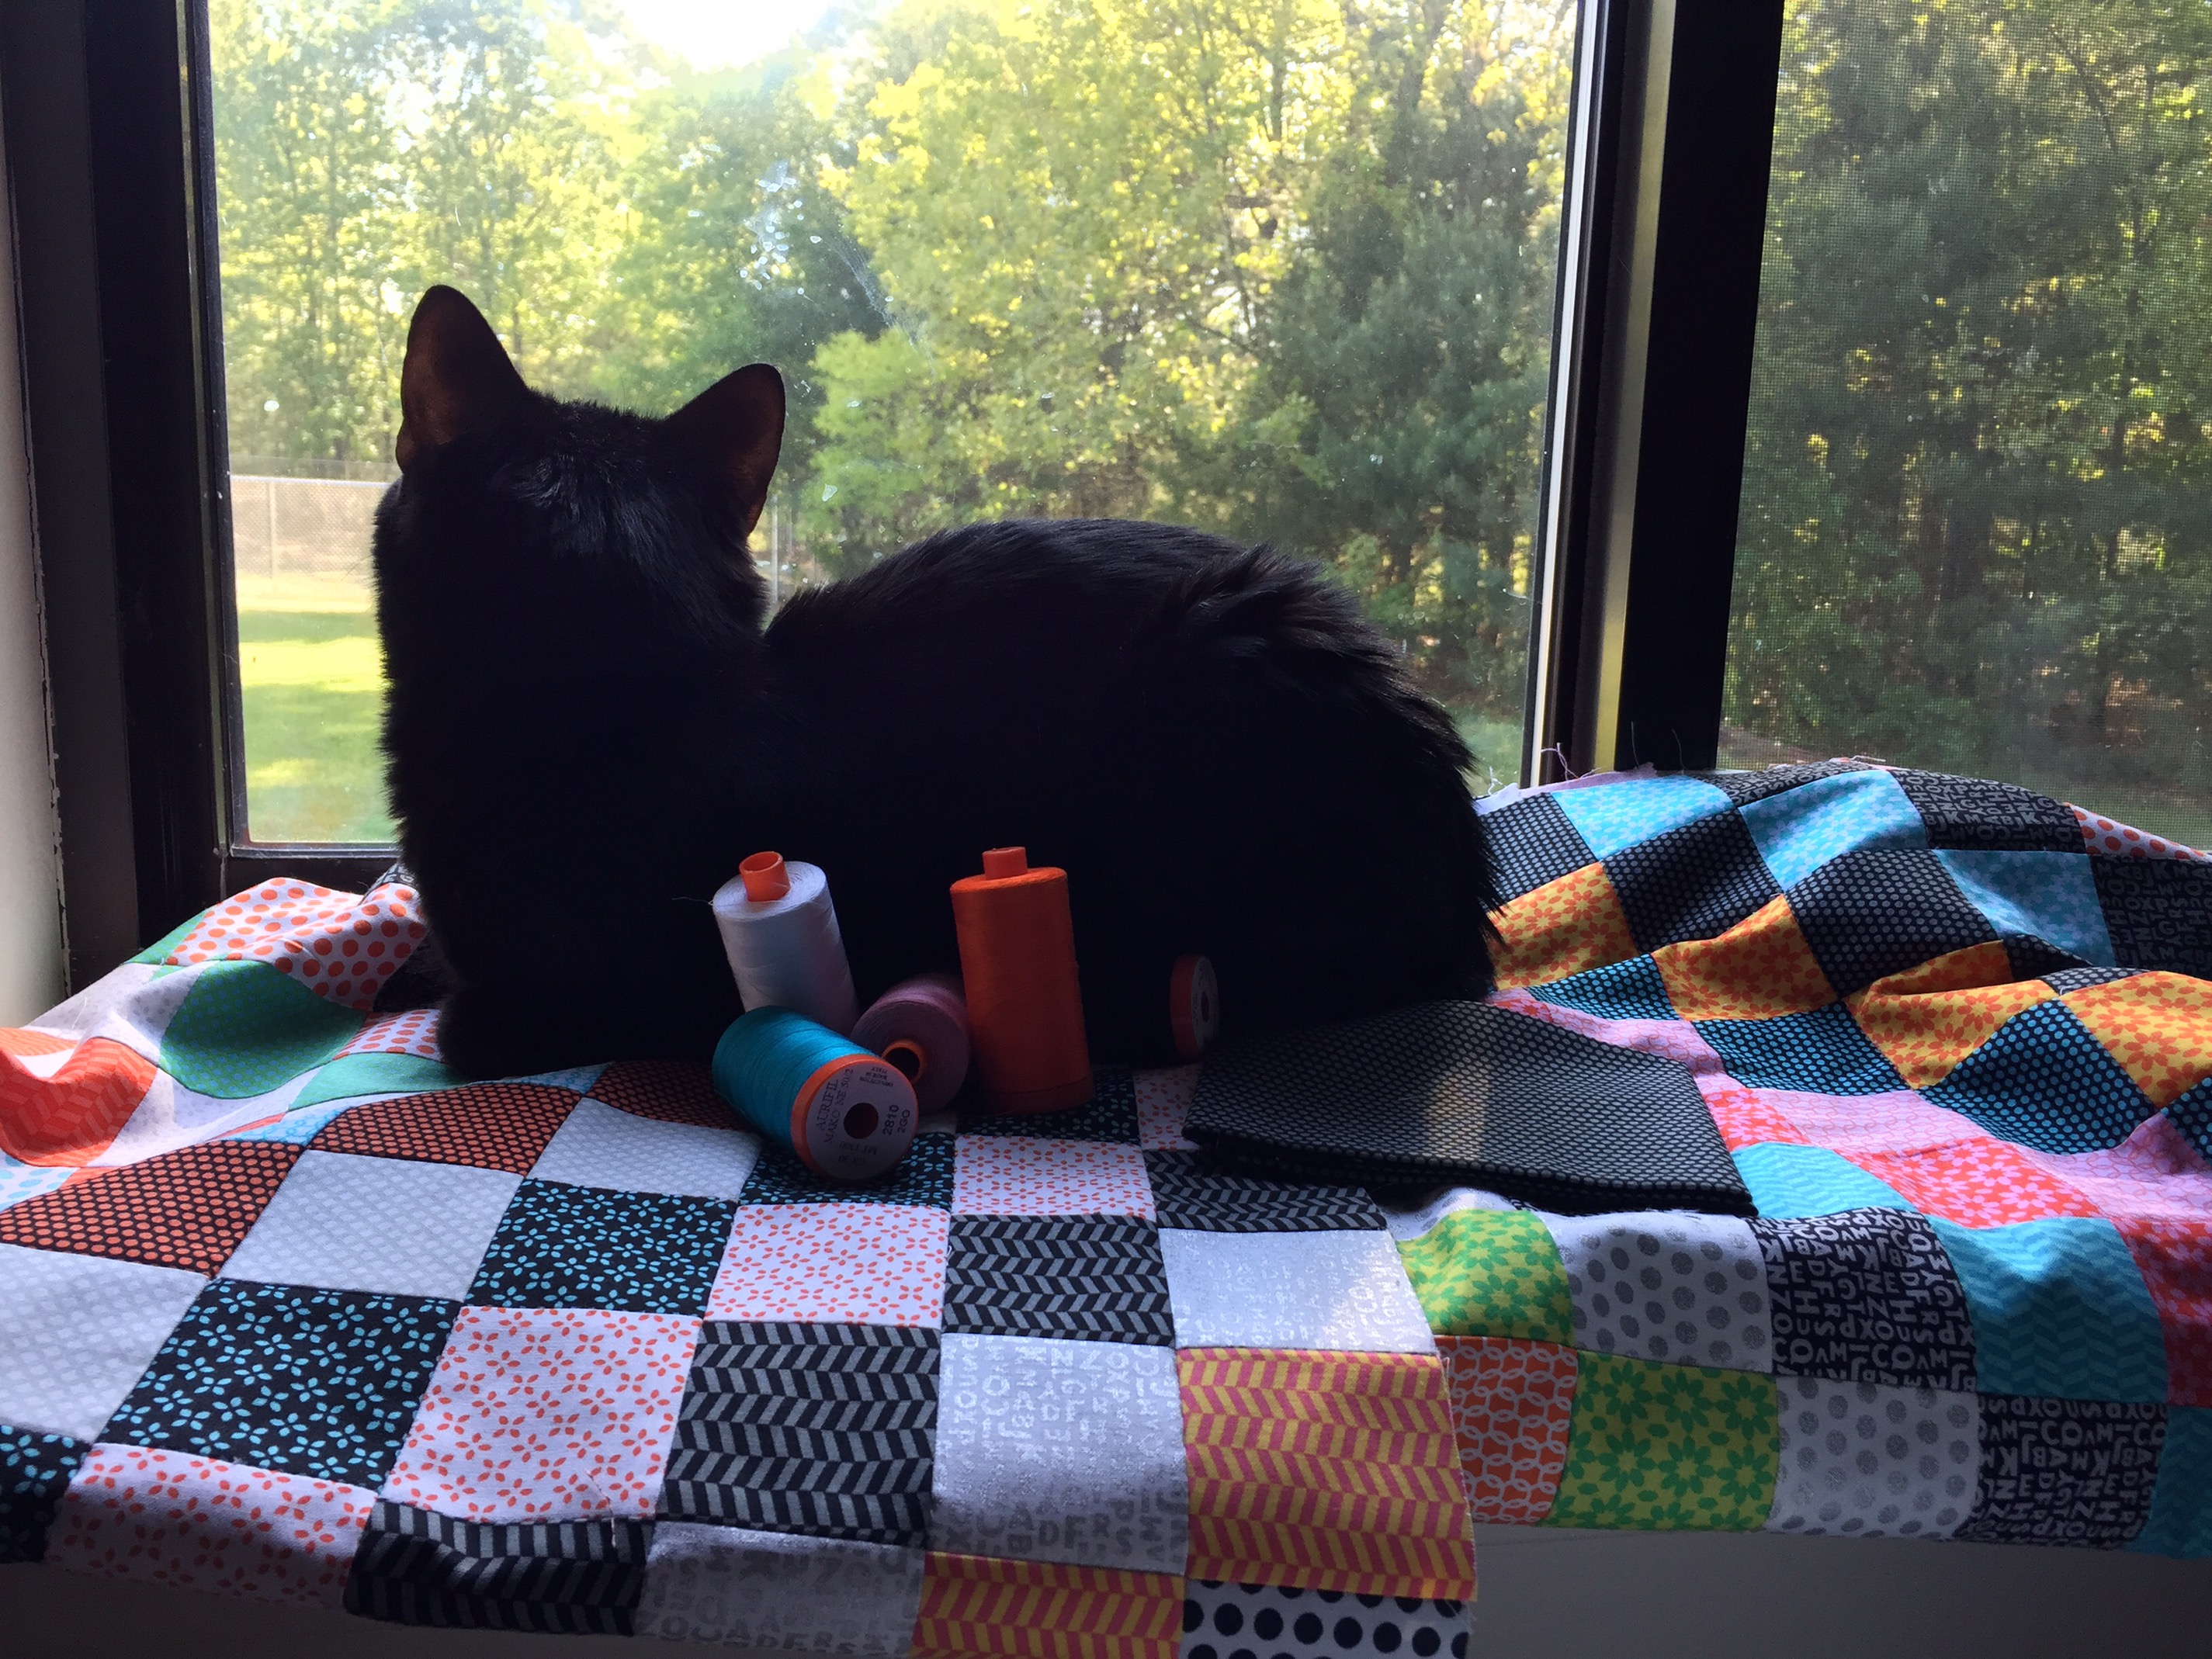
I like to piece with abutting seams, so I then press the seam allowances in alternating directions. Double check each time before you begin stitching or you’ll end up doing this 🙄:
Pressed and ready for border strips and some Aurifil quilting! Jackson helpfully offered to help hold the spools ;)…
Happy weekend — here’s to lots of ☀️ and stitching!


You must be logged in to post a comment.