


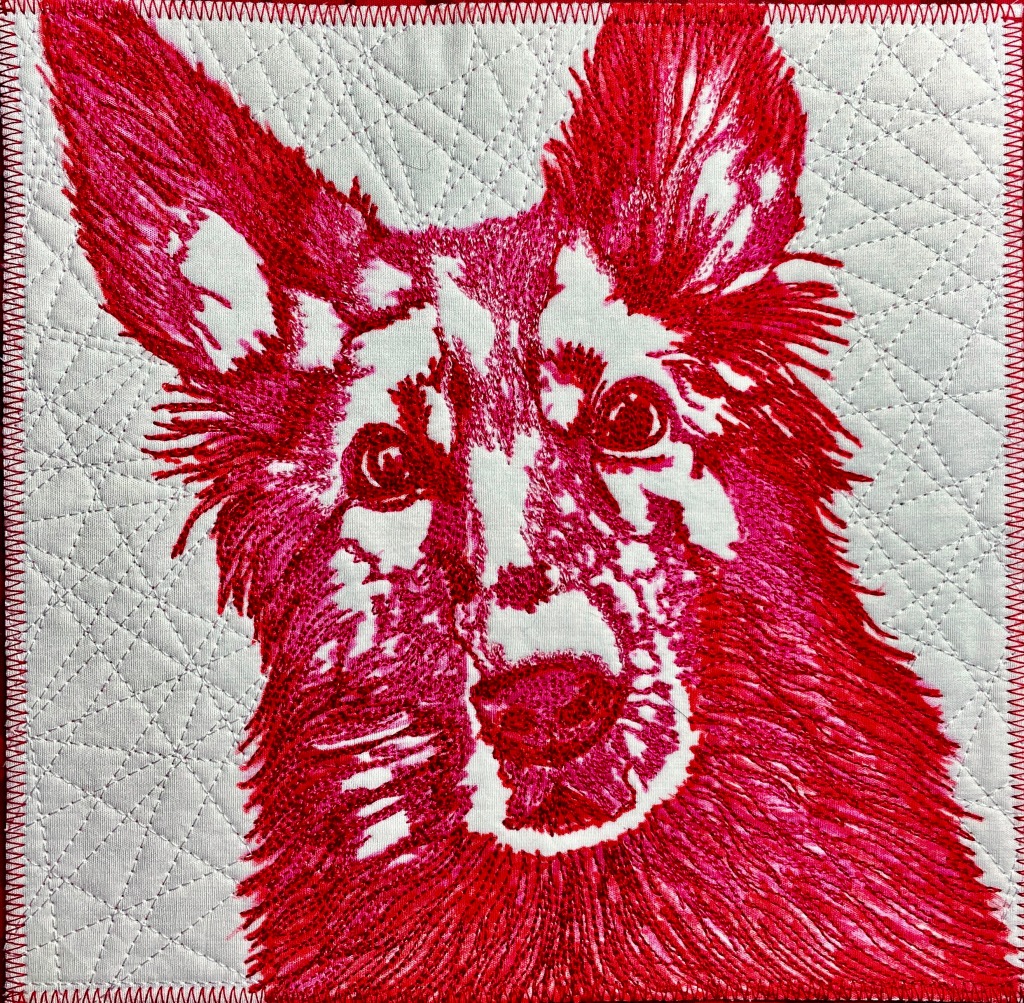
A delay at your commuter train station can be a perfect opportunity for a little creativity! This piece began with a pretty mundane picture of one side of the waiting area at the South Norwalk MetroNorth train station…a wall of glass interrupted only by a television and a large clock. By cropping the photo and running it through a neon filter in one of my favorite apps, MegaPhoto (filter #143), I ended up with a quilt-worthy image:

The red lines you see are from another app, GridaPic, which enables me to enlarge the image and print ‘cells’ out which – when taped together – become the pattern for a larger piece.
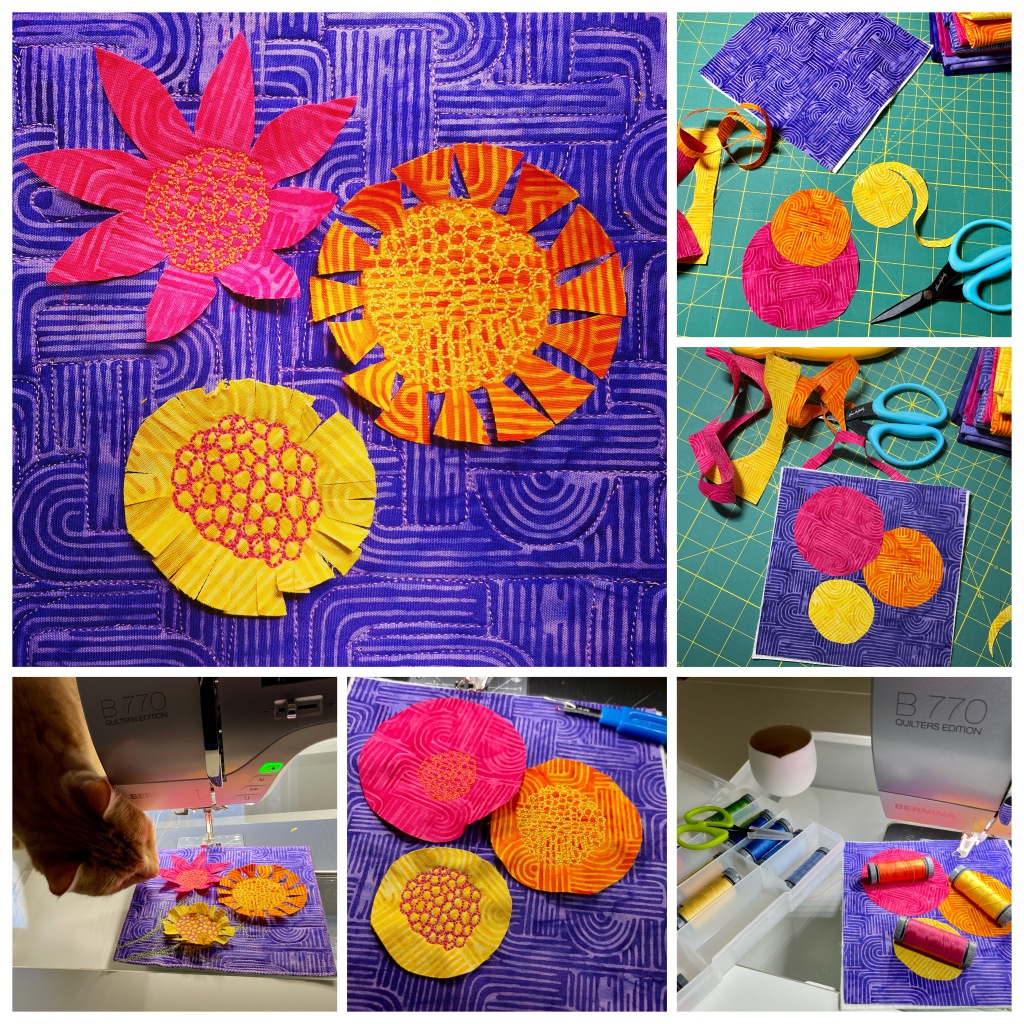
Next step, pull the right colors from my stash and MistyFuse all of them:
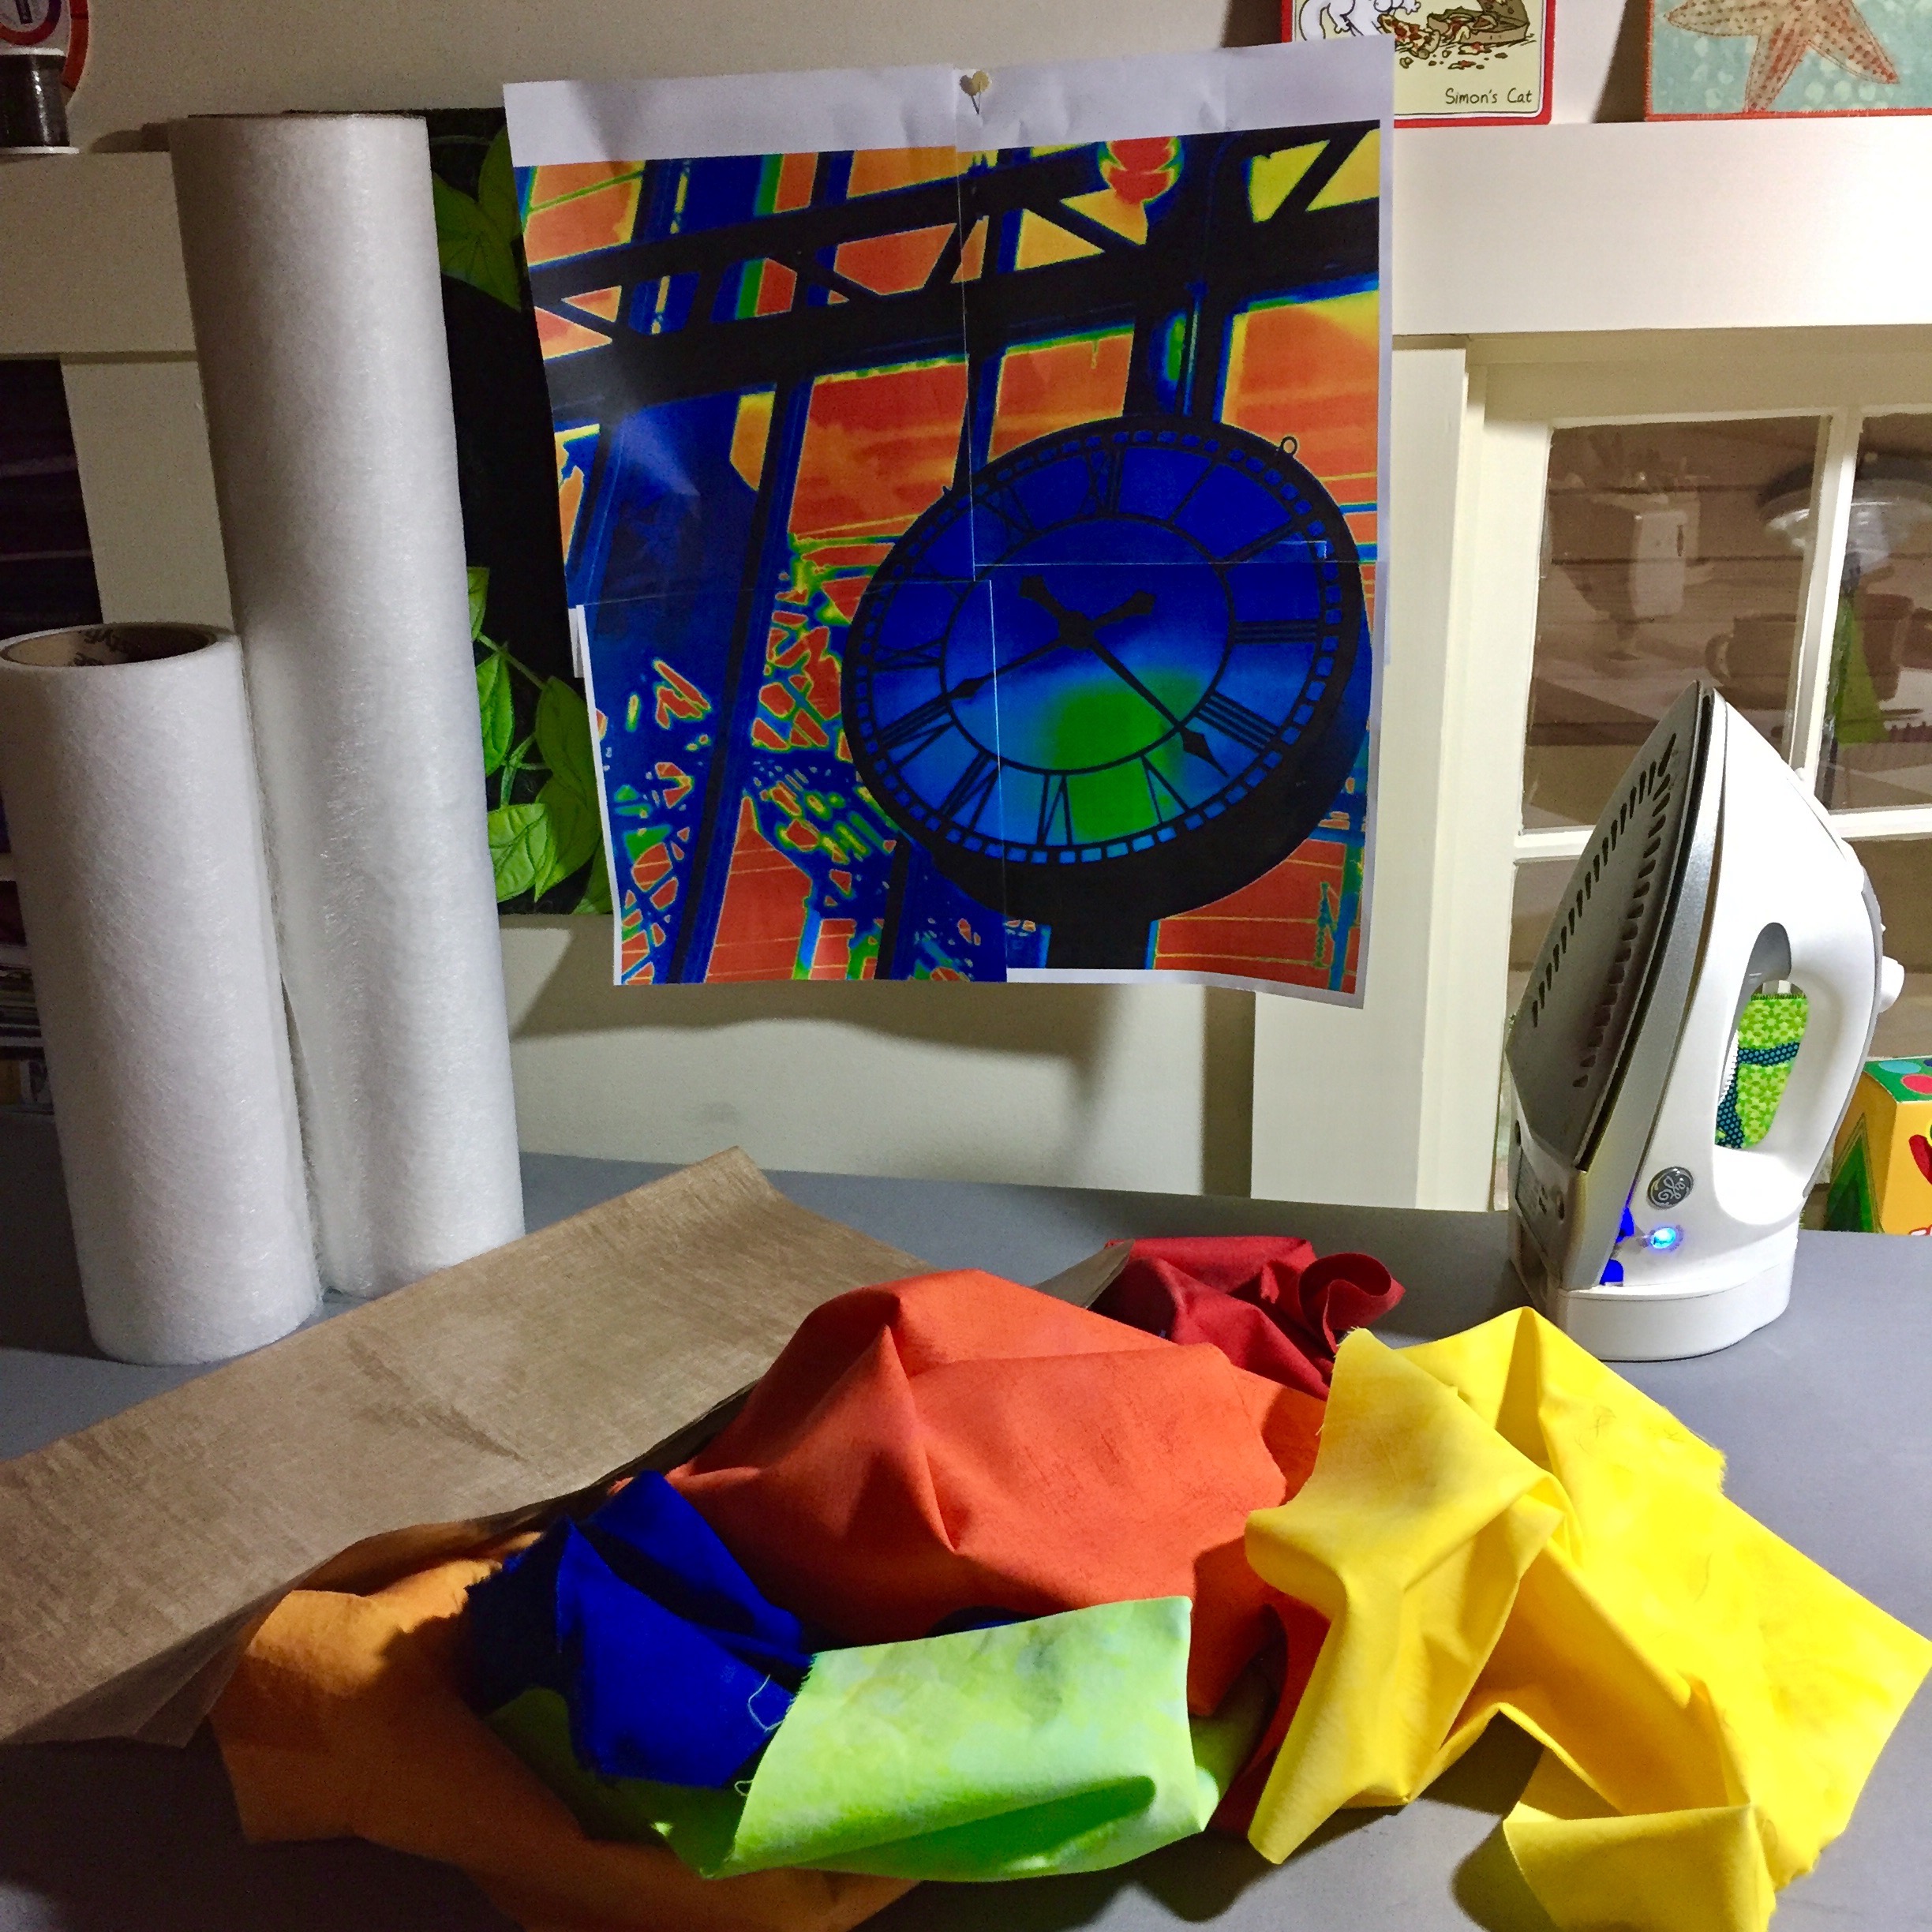
See those large rolls of MistyFuse? Simply the best…I cannot recommend them enough. On to composition…after studying this image, I decided to make the yellow batik the base and fuse other colors onto it, then ink as needed.
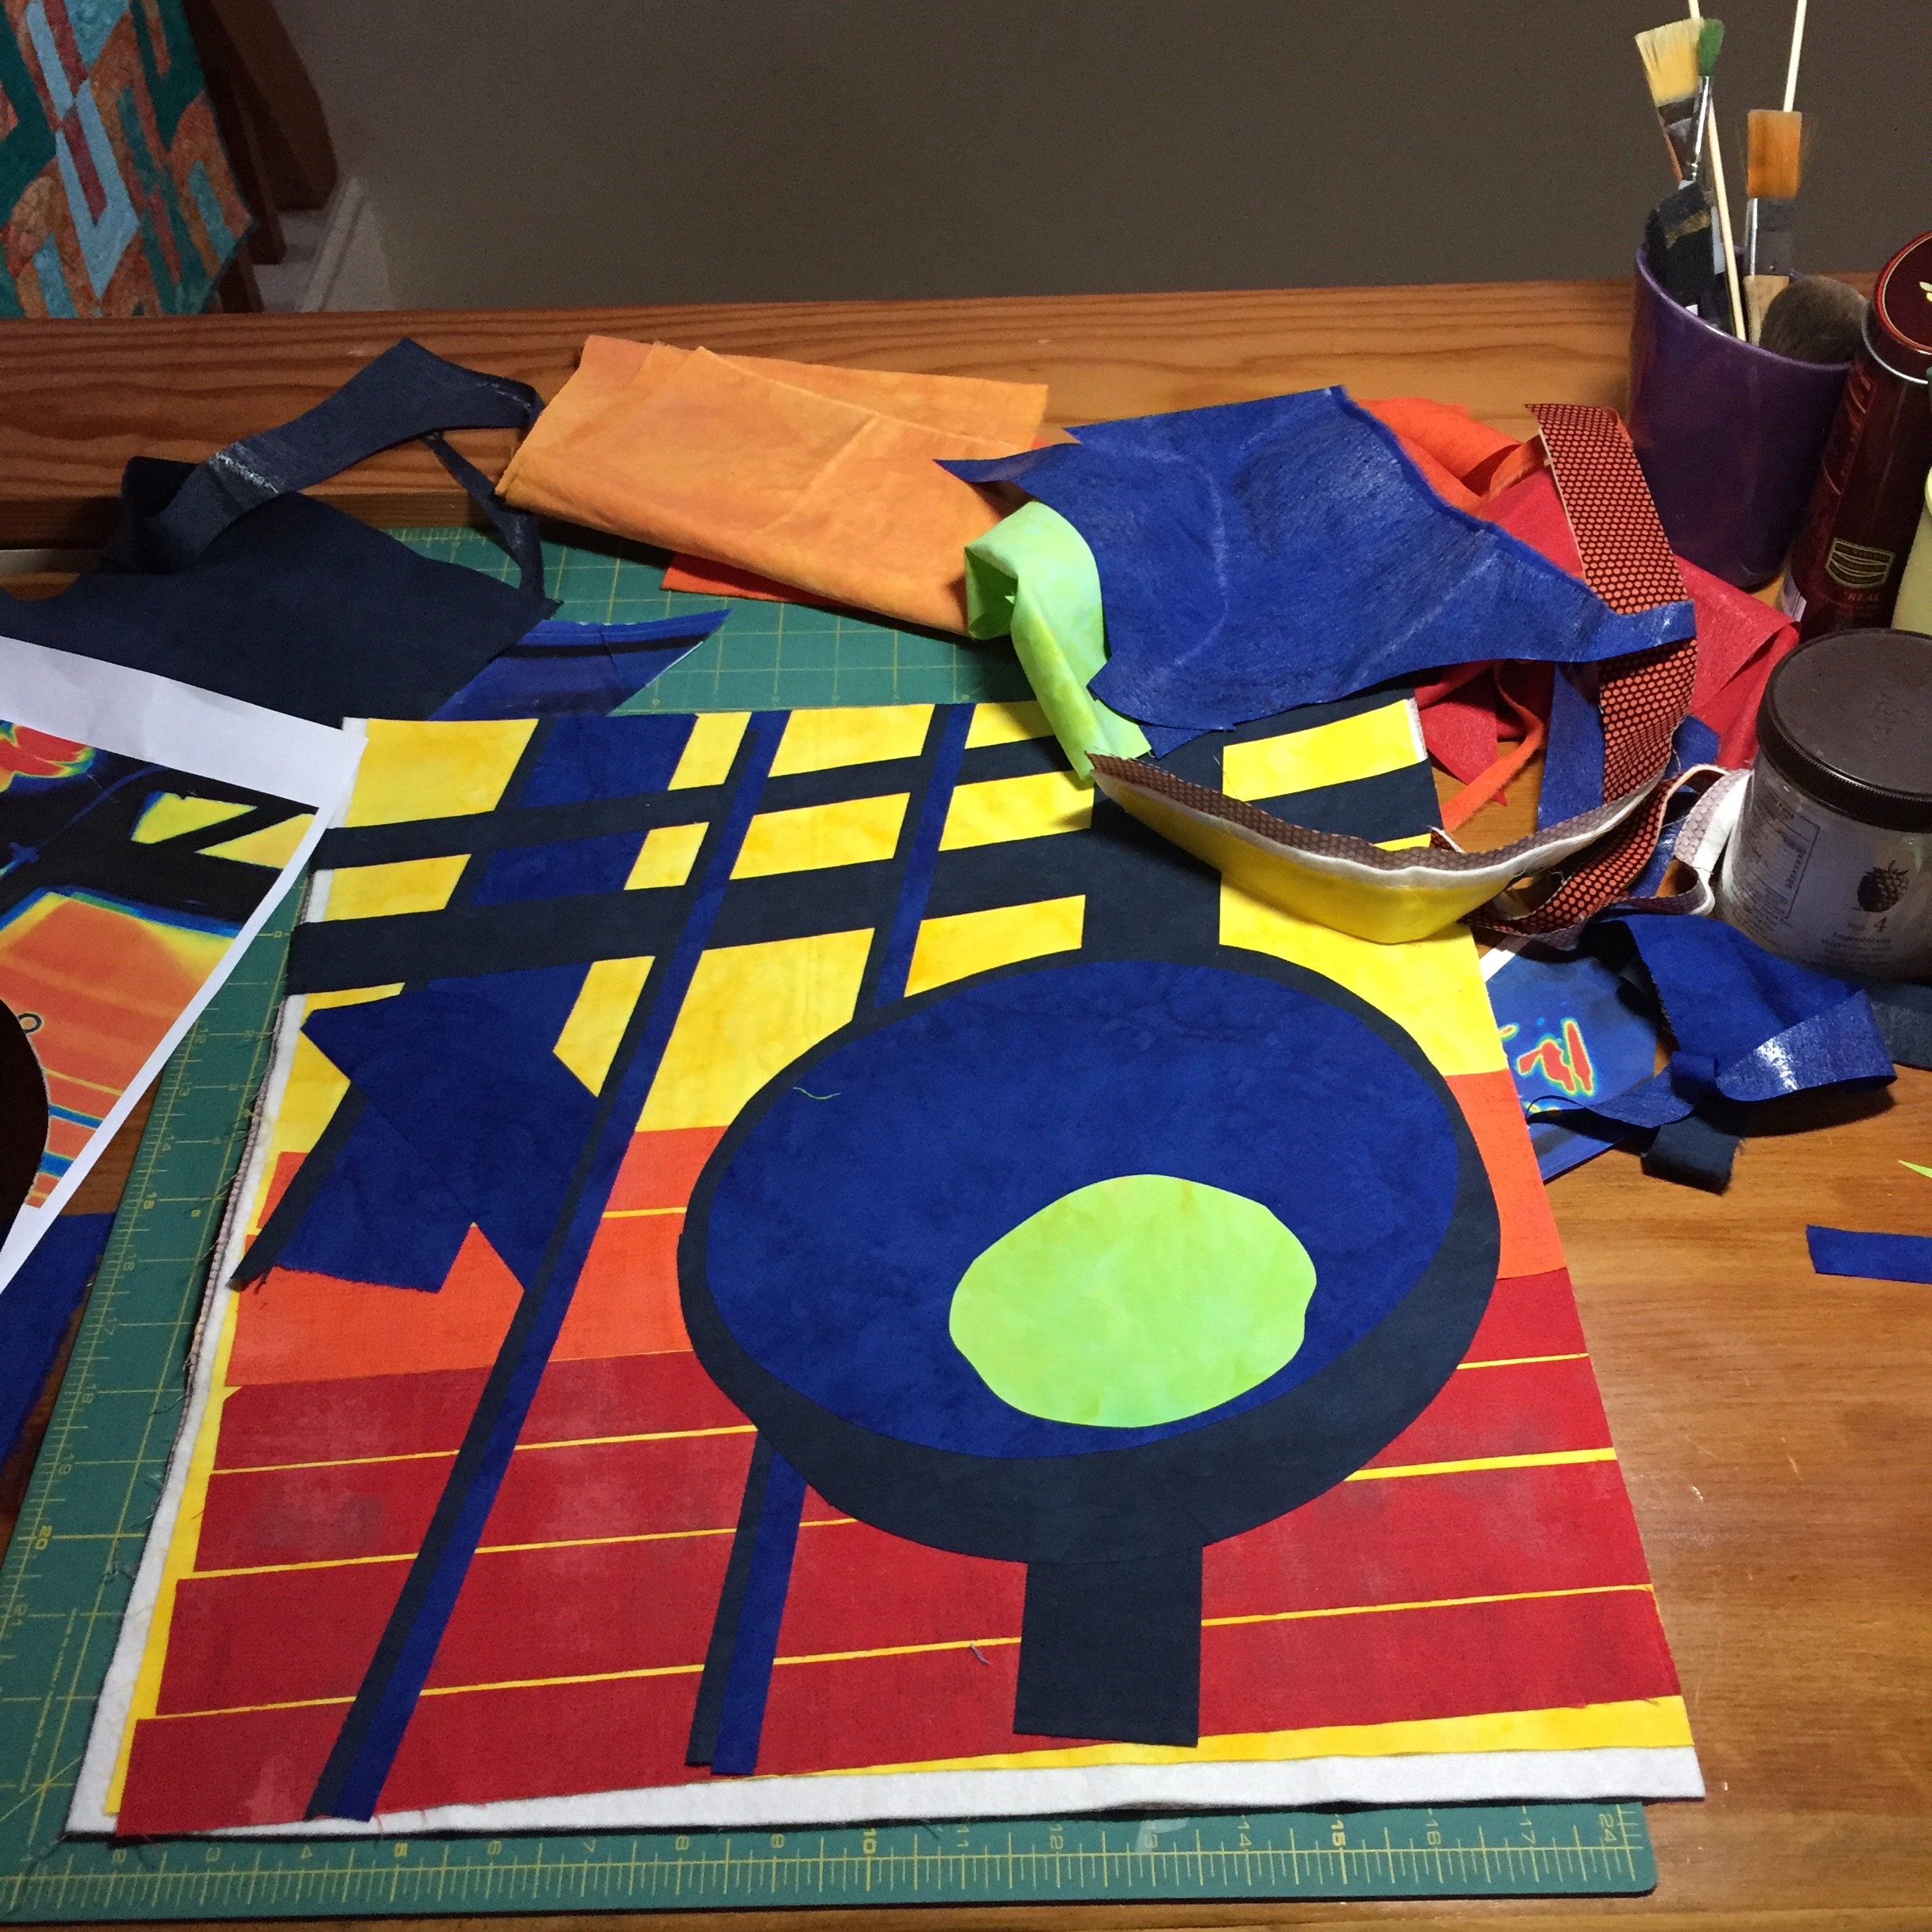
I like to take the strongest elements from my photos and wait to include details until the piece progresses. As you can see, I used a lot of simple straight cutting here, with the exception of the clock face and the brilliant green “sunspot” on the face. I inked in the clock details and brushed in a few shades of orange in the “sky” as well as a few green highlights…I can then use these ink marks as a road map for my stitching. On to the thread – my favorite part! I have my personal dozen Aurifil basics for my neon pieces:
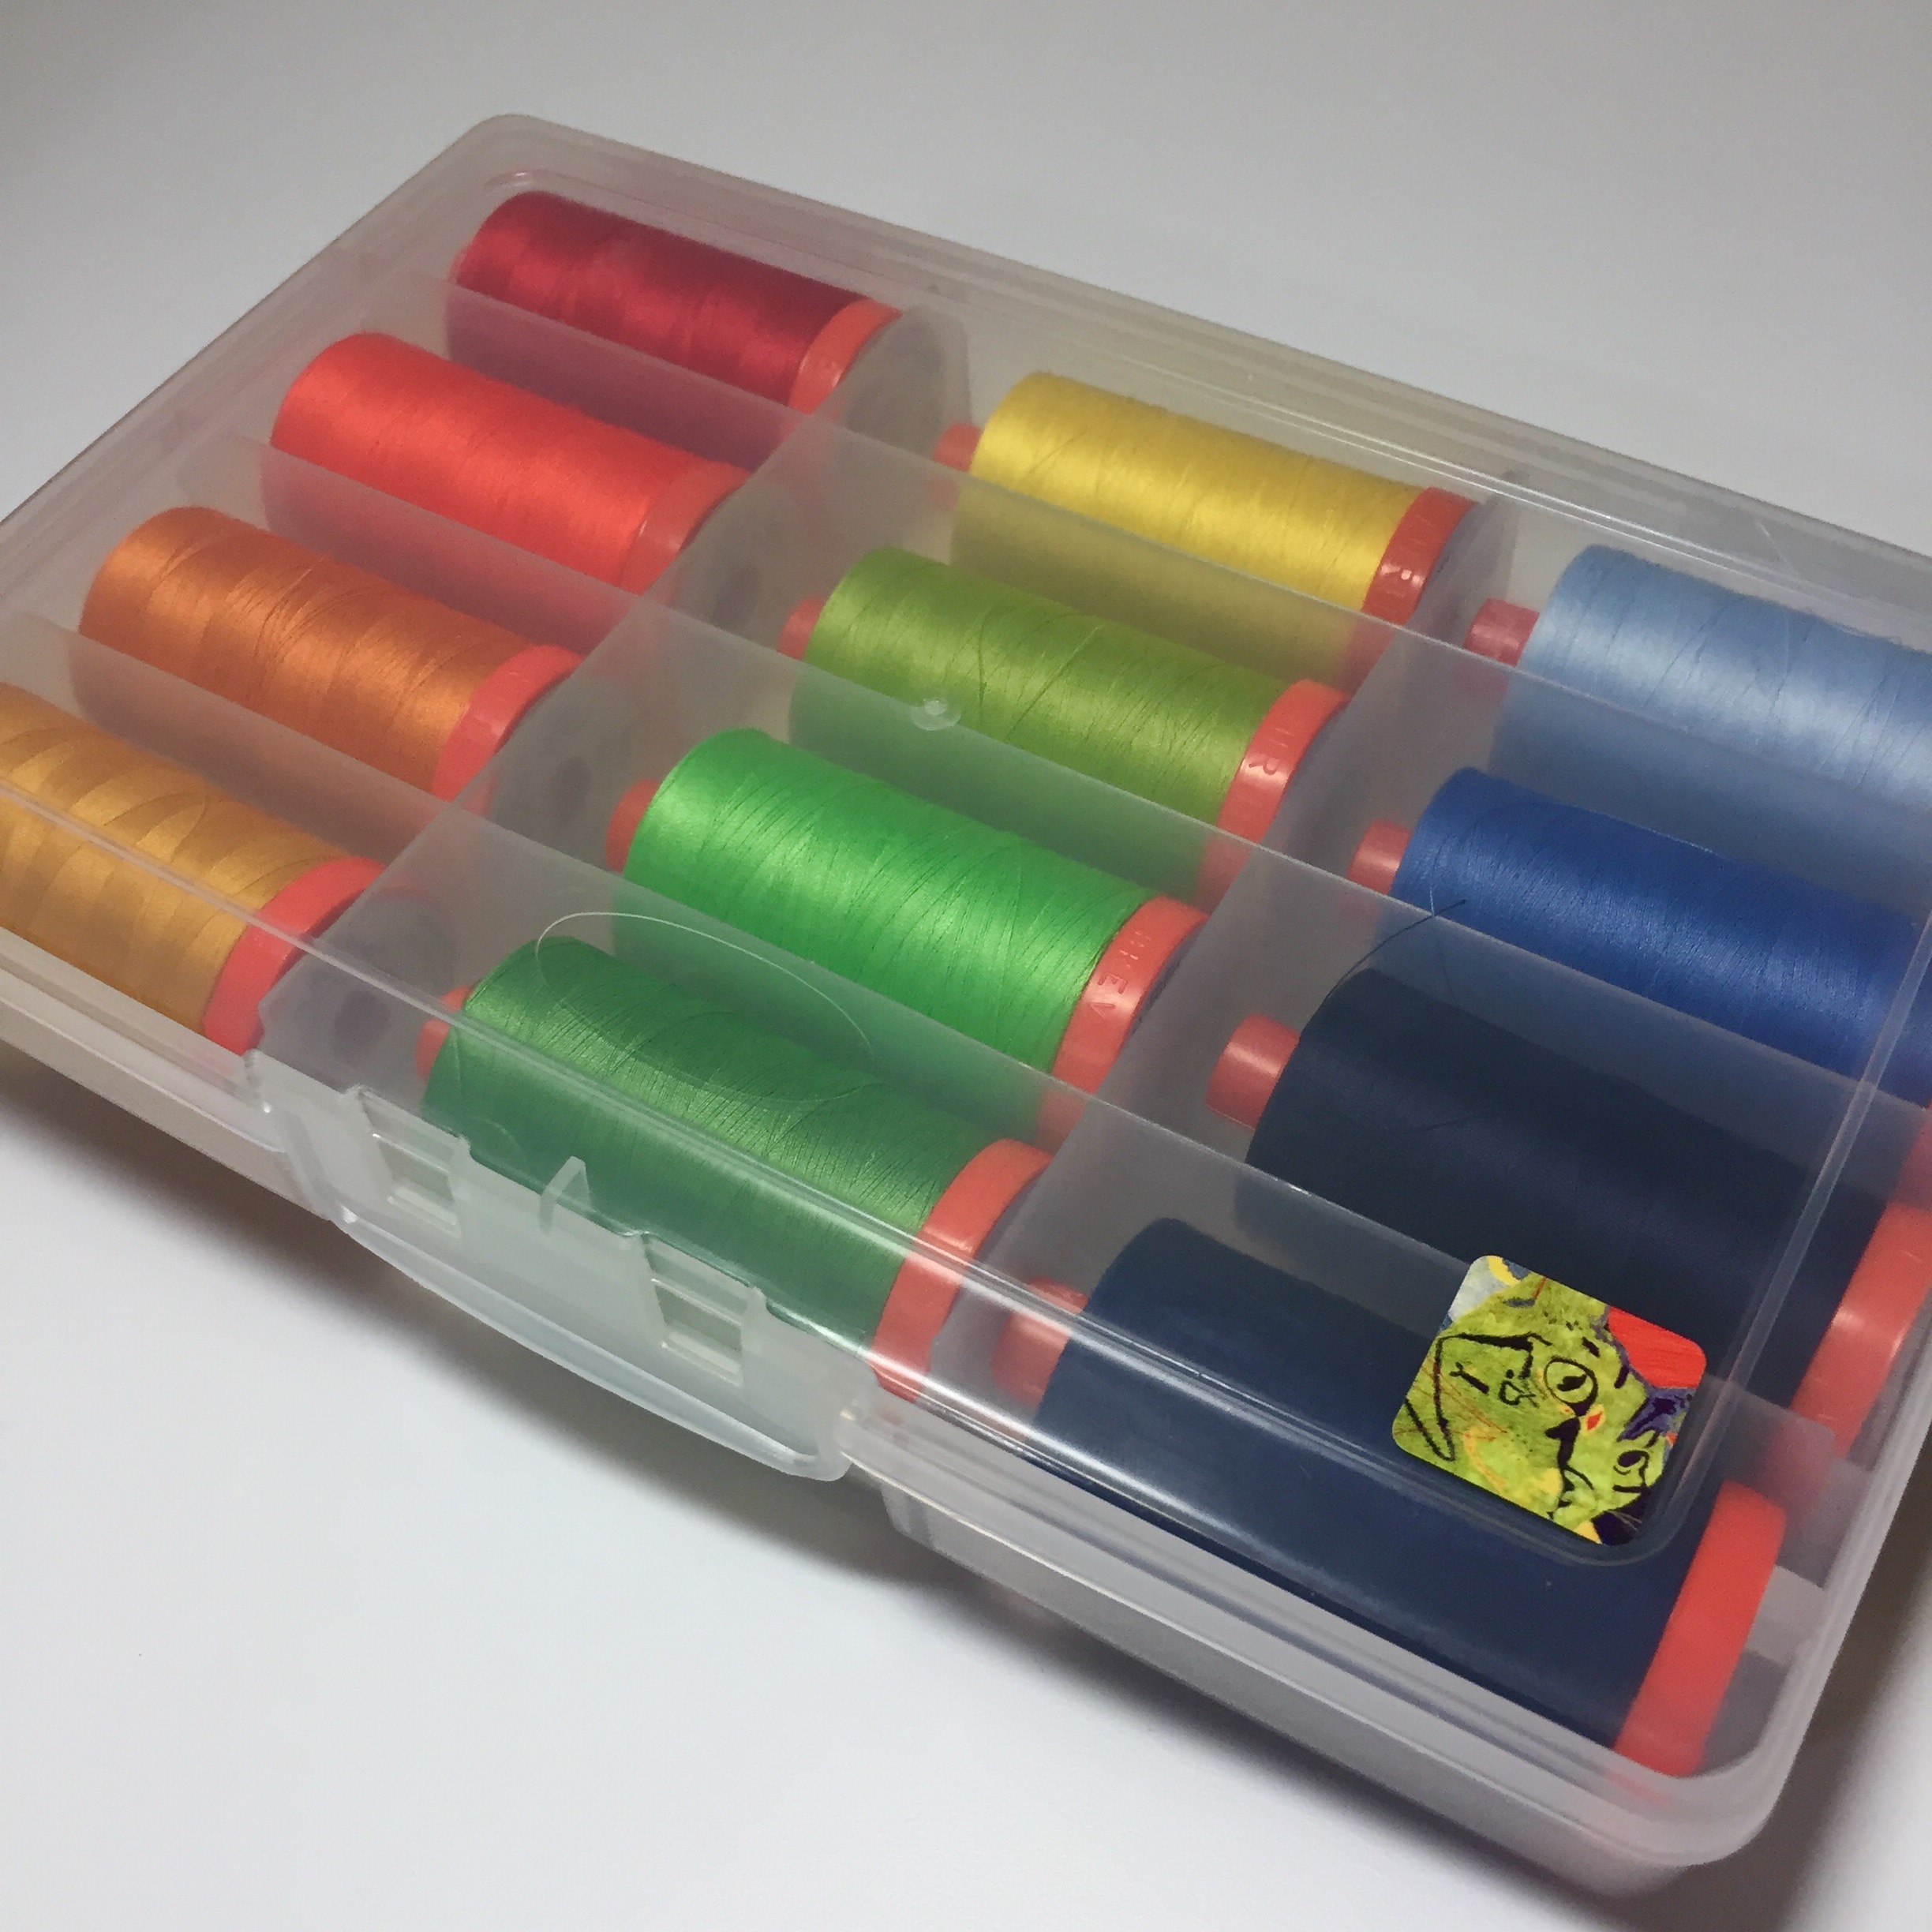
I adore all of these shades! If you are curious, here are the shade numbers for these Aurifil 50wt beauties (my names on the colors, simply for reference here).
RED – 2270…ORANGE – 1104…LIGHTER ORANGE- 1133…YELLOW ORANGE- 2140…YELLOW-2120…YELLOW-GREEN-1231…NEON GREEN- 6737…GREEN- 2884…LIGHT BLUE-2710…MEDIUM BLUE-1128…MIDNIGHT BLUE-2785…DARK BLUE-2784
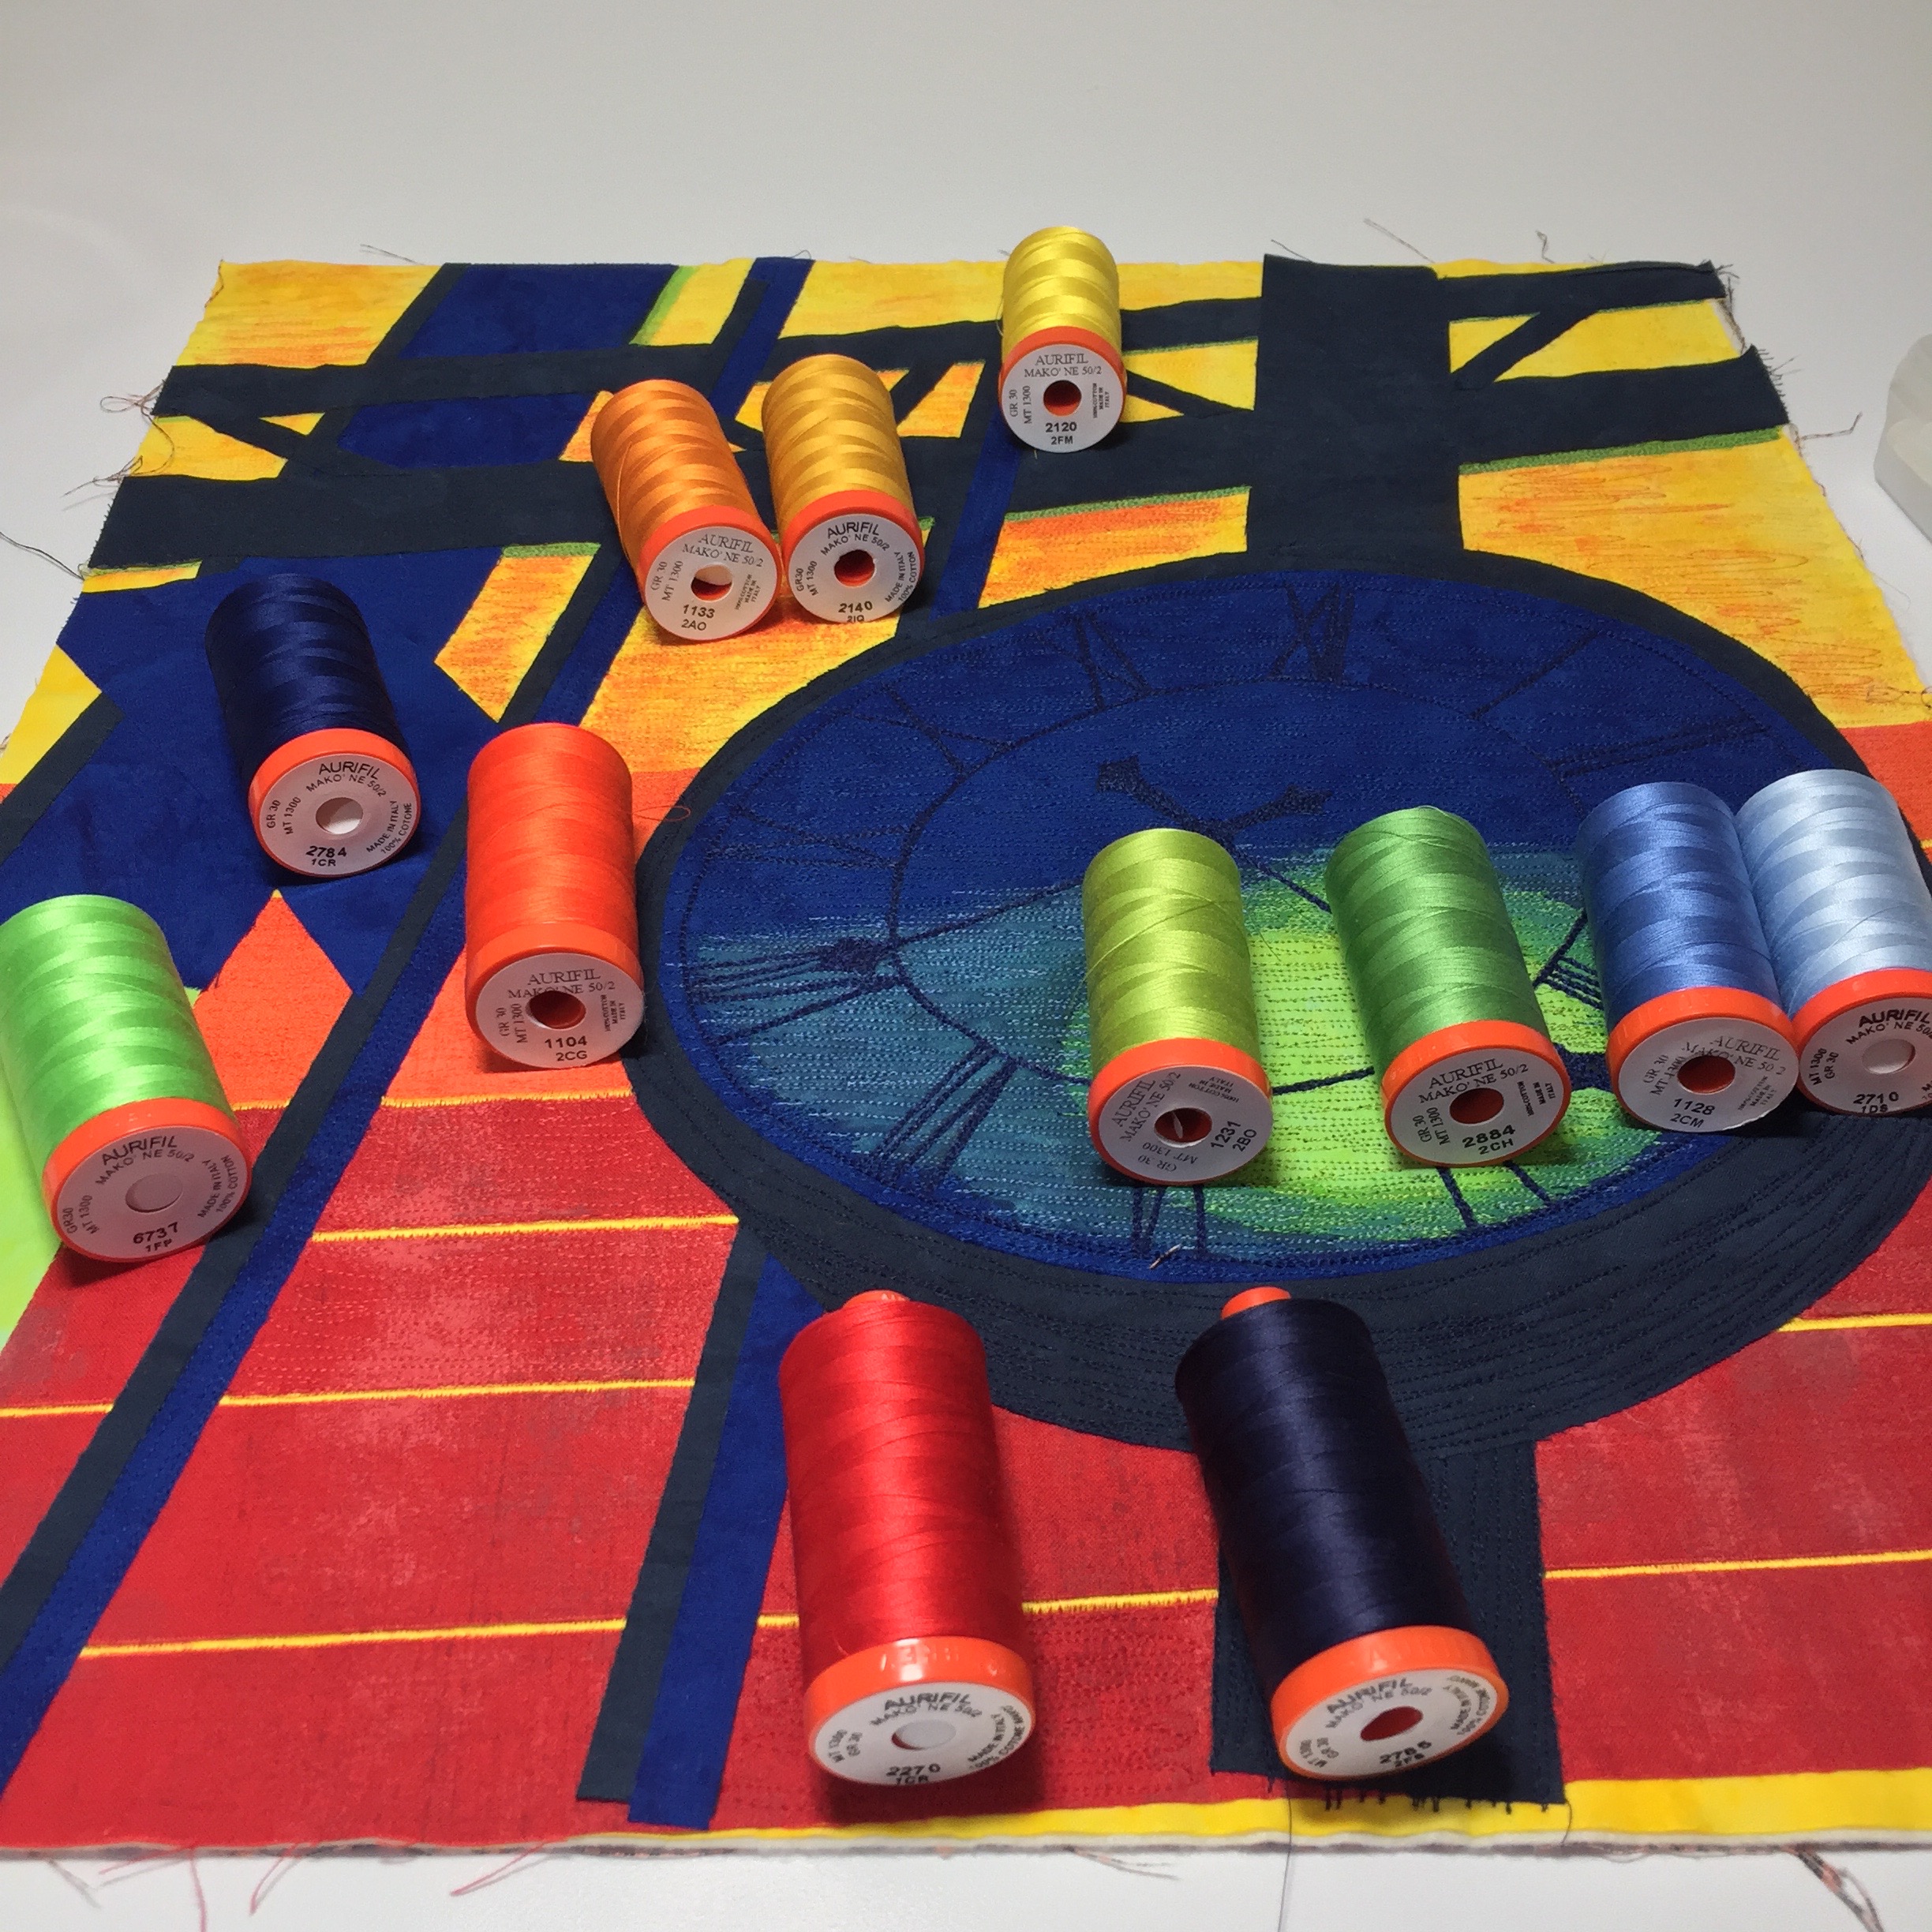
Another favorite step is deciding which thread shades to use where:
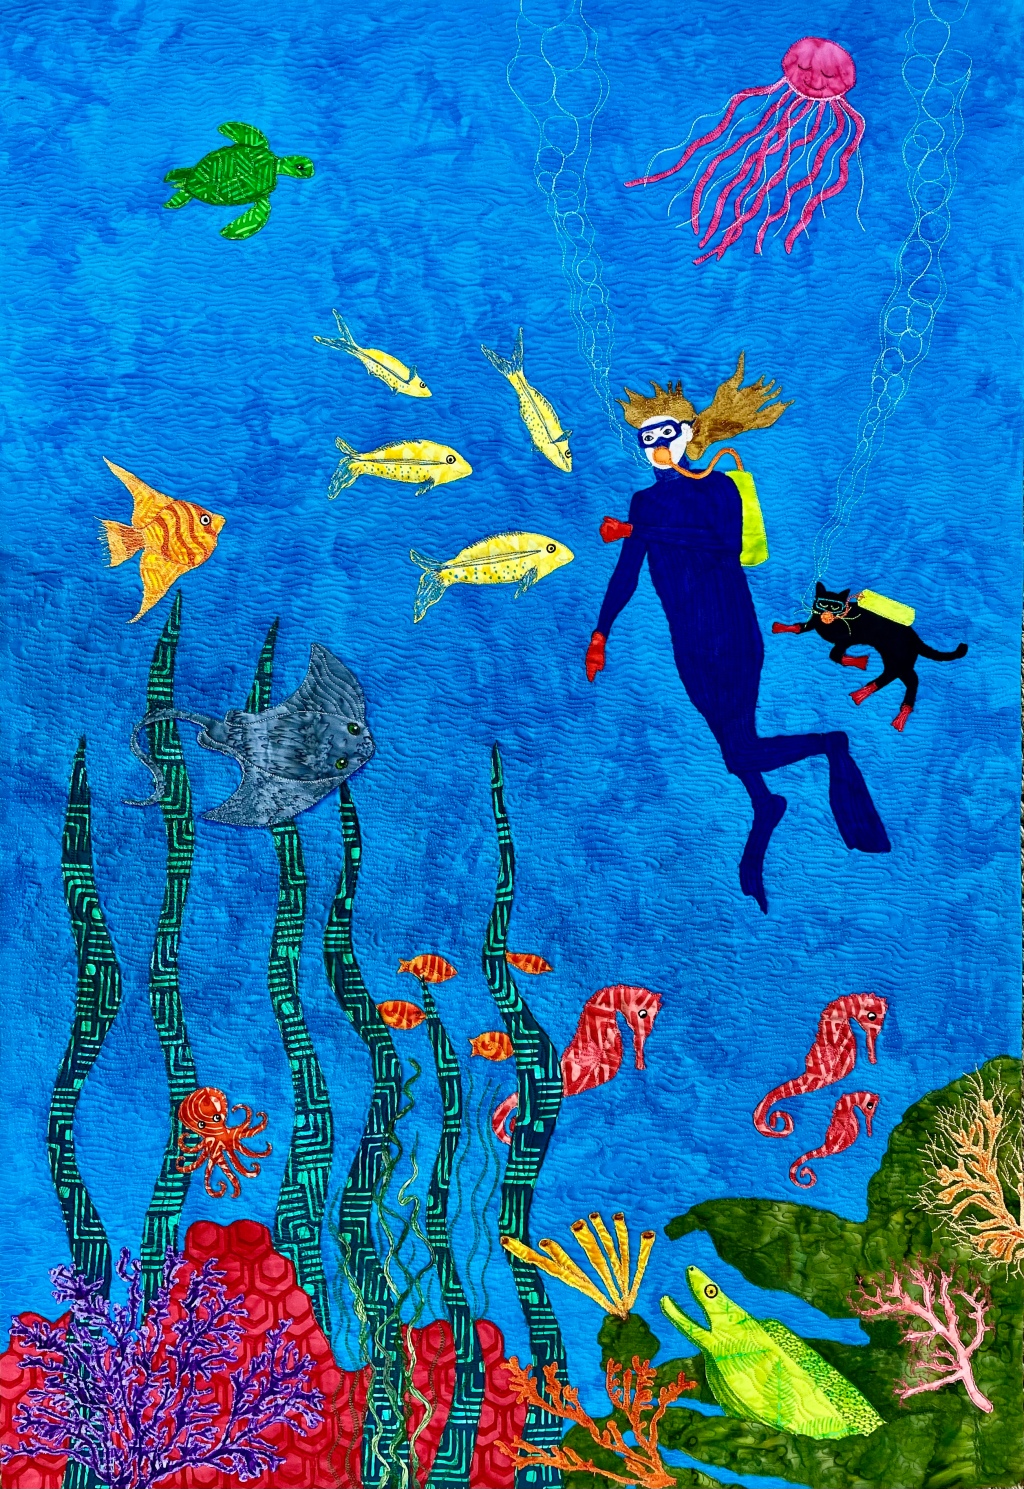
I usually delete a lot of details, and sometimes add ones that were not really there! I decided we needed a couple of birds on the wire to help the viewer see that these yellow lines were, in fact, wires…so, here are a couple of feathered friends discussing the latest train delays and agreeing they are happy that they can fly ;)…:

A million stitches or so later (OK, not literally…), I decide the piece is finished…usually when I can no longer find room to stitch. I decided to do a simple zigzag stitch to finish, edged with some piping to give the edges a little more heft. While my Bernina Stitch Regulator created 99% of this piece, I must give a shout-out to the 2A foot…much better than the open toe for taming edges on an art quilt. (Thanks to Cheryl Sleboda for this tip…her videos are always fabulous if you haven’t watched them!)

So…the next time you find yourself delayed in travel, use the time to grab some photos of seemingly-mundane objects…because you never know which will become your next inspiration!


You must be logged in to post a comment.