


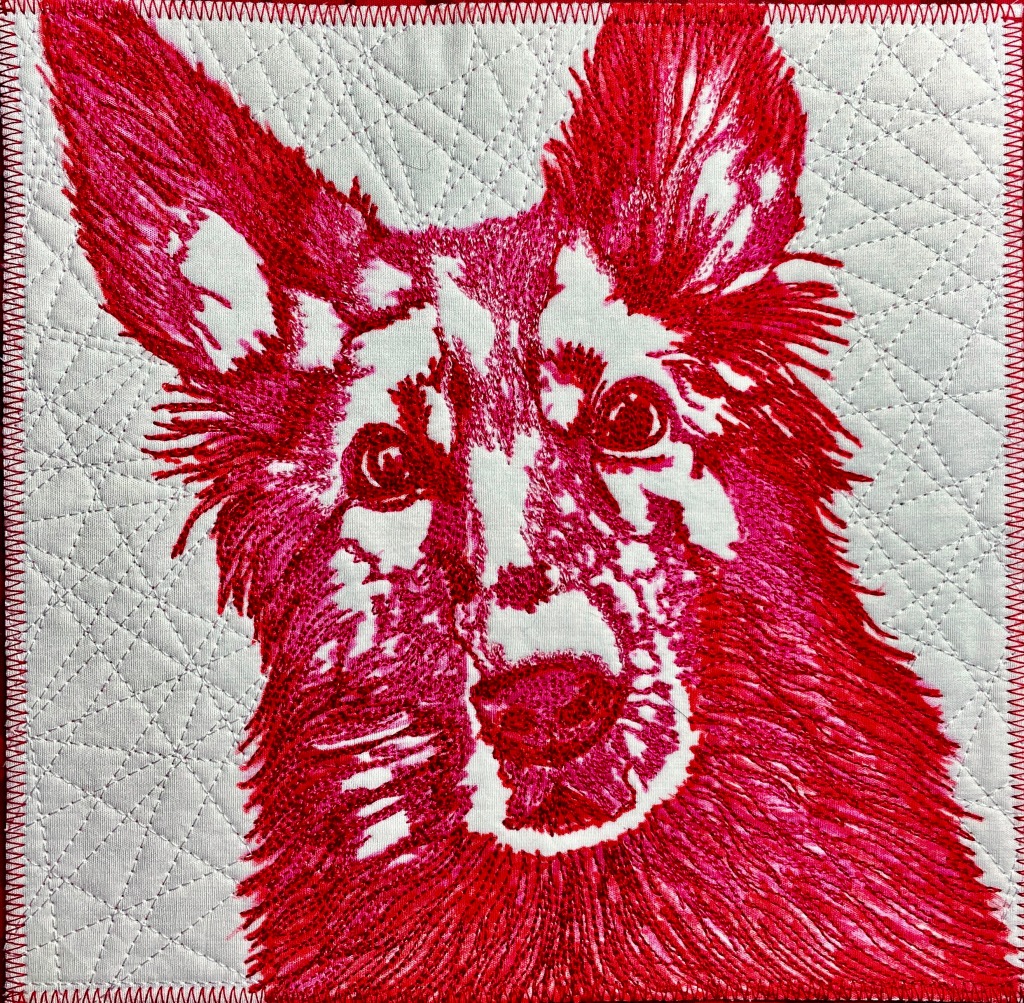
Anyone who follows my posts has probably noticed that I have become happily obsessed with the Procreate app for iPad 😁. There is actually a method to my madness as I have some big projects for which this will be incredibly useful…but as I cannot share those yet, I wanted to show you this tool with a photo of our kitten as an example ;).
So…first import the photo into Procreate. You will see this on the screen…

Next – IMPORTANT! – add a new layer. (You’ll see why in a moment.) Select the “fine tip” brush from the inking category…it will be the most precise for tracing the segments of your subject. Select a color (I use black unless it’s a very dark photo) and carefully trace around each piece. The pencil felt awkward to me at first but it is pretty amazing how quickly you can draw smoothly with it. Ok, now you will see:

Now, UNcheck the photo layer and you will have your drawing:

See why it’s important to trace in a different layer?
Now, decide your palette. You might decide to select colors that represent fabrics you know you want to use…or, simply play with the colors you see and adjust as you so. I like to title my palette for a specific piece:

Next – yup, another layer. This one will be for the colors you use to fill each area of your pattern. This is a great way to play around with different shades and see how they look before you commit to cutting fabric.

This step is time consuming but great fun…I am still learning the color drop method which is much faster than filling each section in with brush strokes. Lots more to do on this kitty but meanwhile, I can decide on the best background fabric by testing background colors. Add another layer (you can label them) which will be the background layer. Using the freehand drawing function, draw all around your subject (It might need to be in two parts because you need closed shapes) and use color drop to audition your colors:

Try it with a simple picture and have fun playing with the tools 🎨!


You must be logged in to post a comment.