


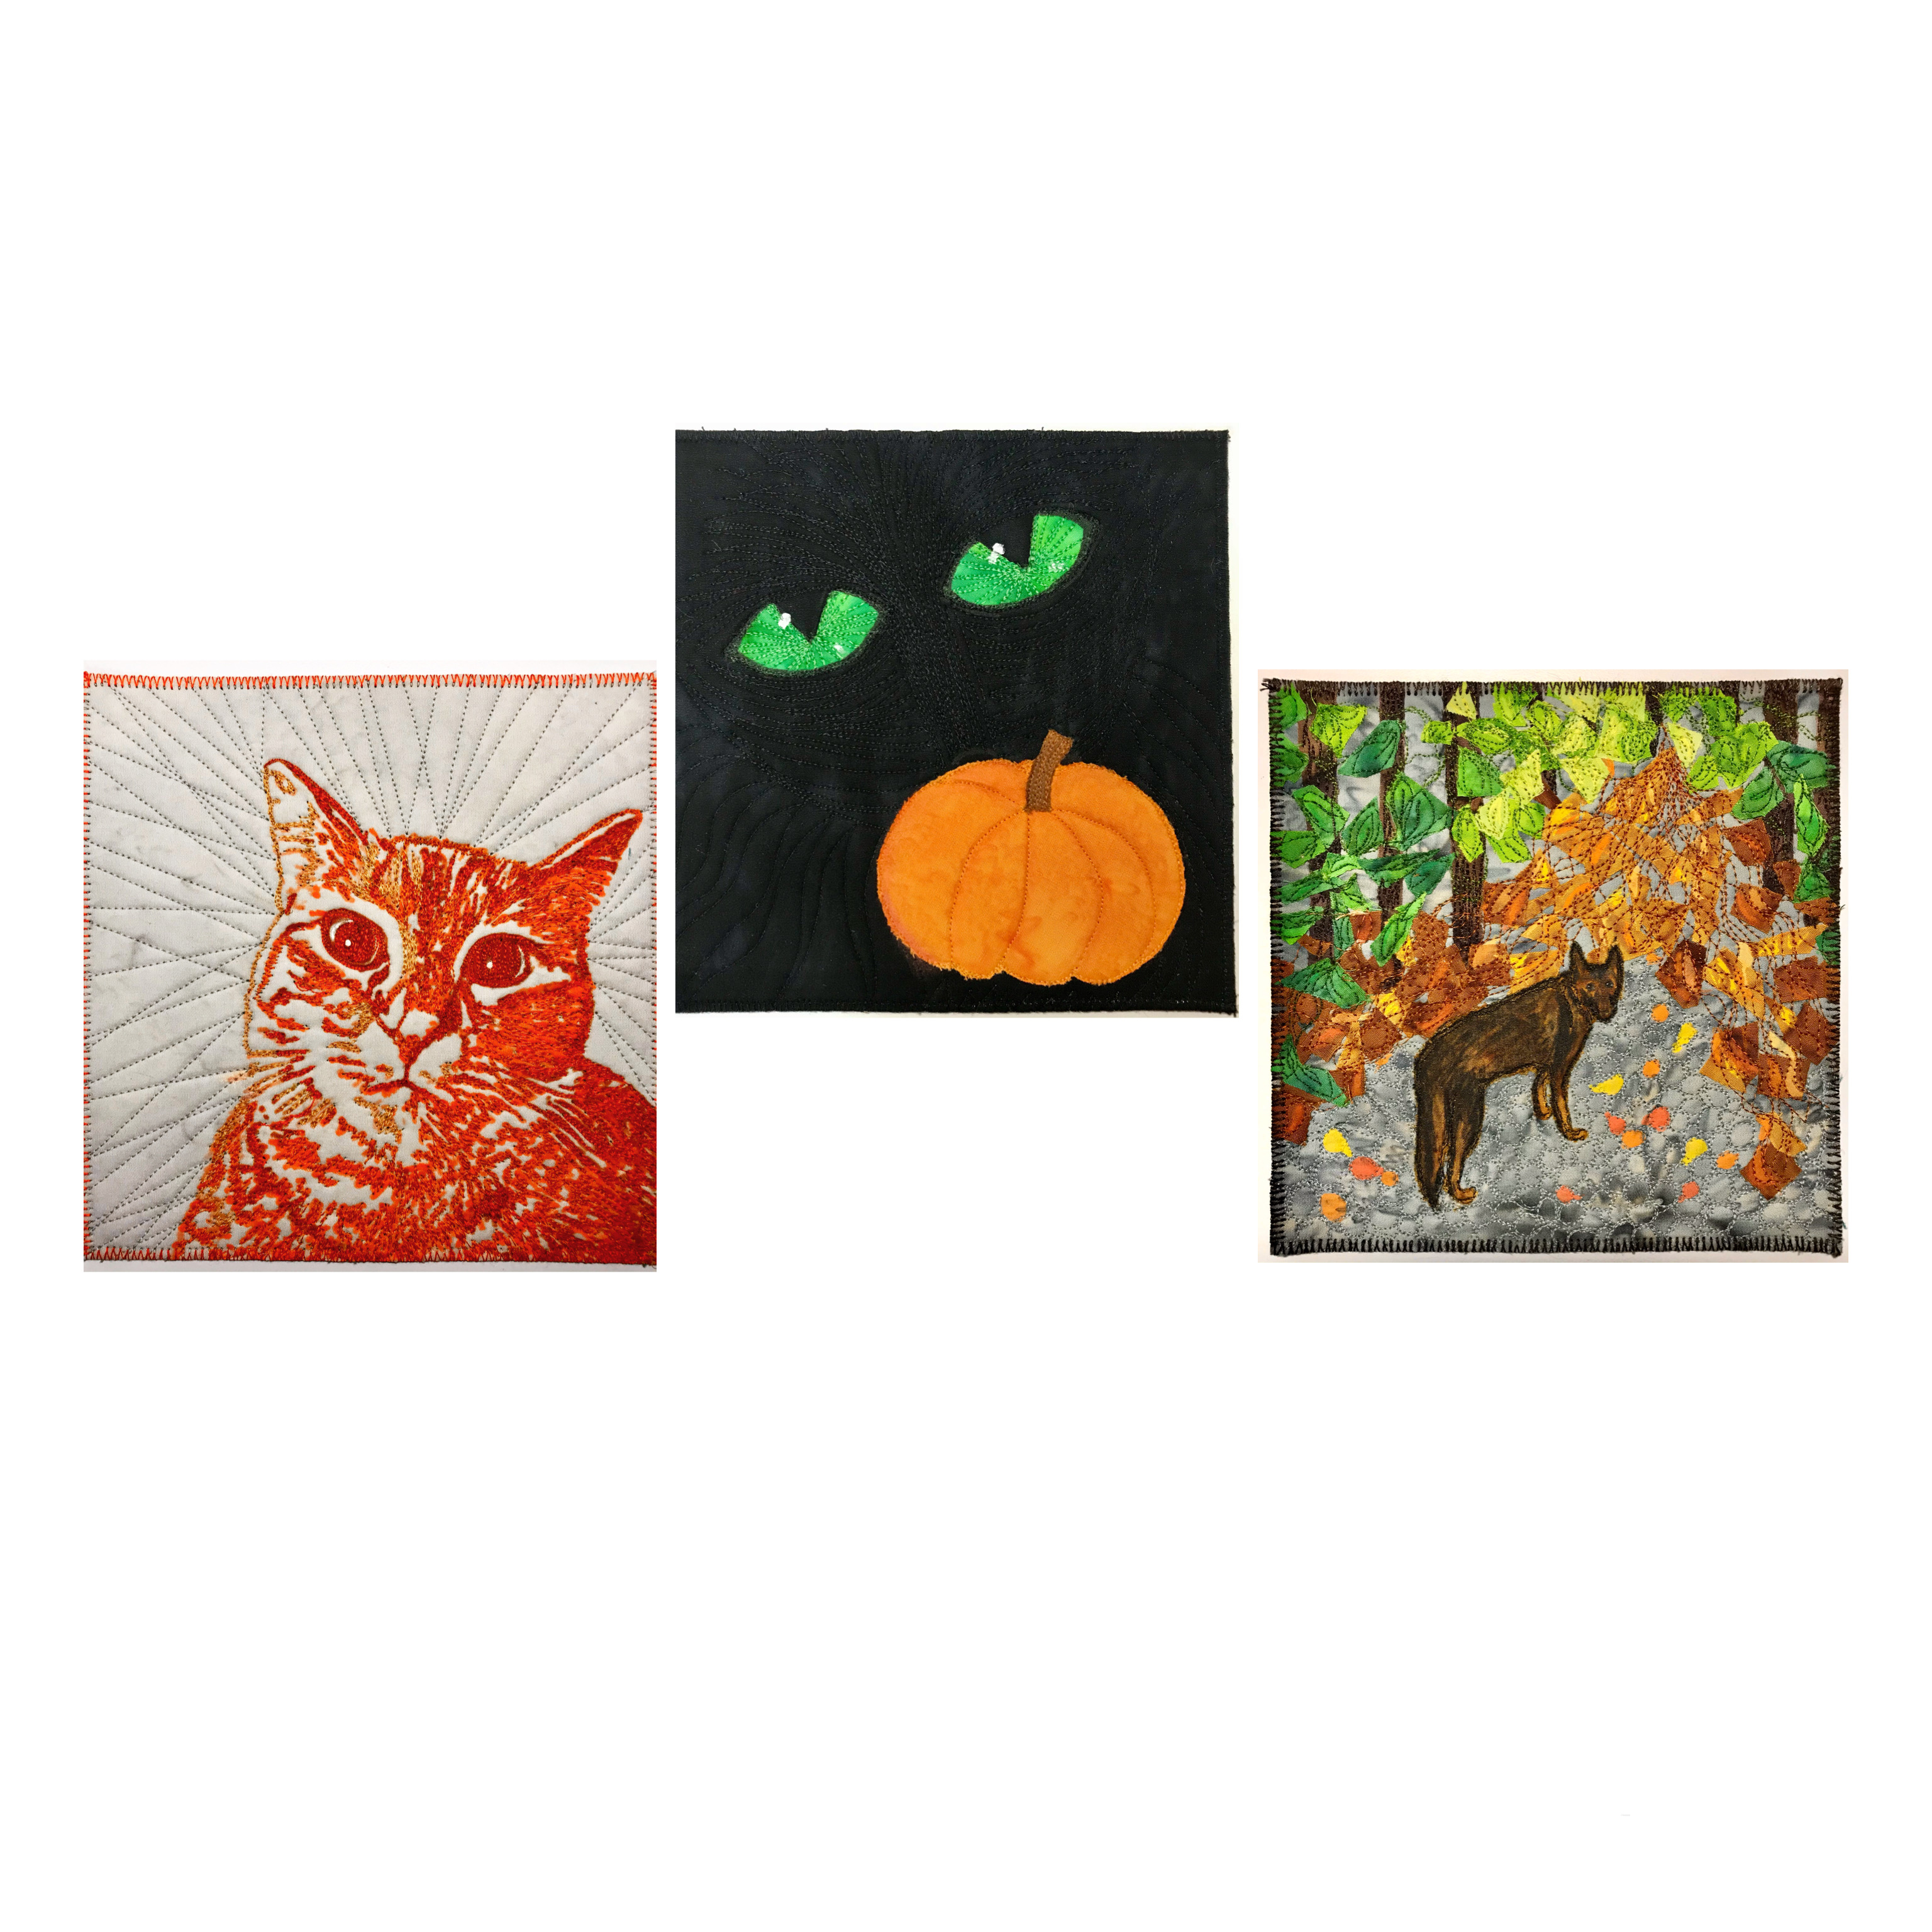
It was only a matter of time before my fur babies showed up in my Joy Quilt Project ;)…October provided the perfect inspiration as autumn colors and Halloween decorations moved in. Here is a quick look at how you can create art quilts using these techniques!

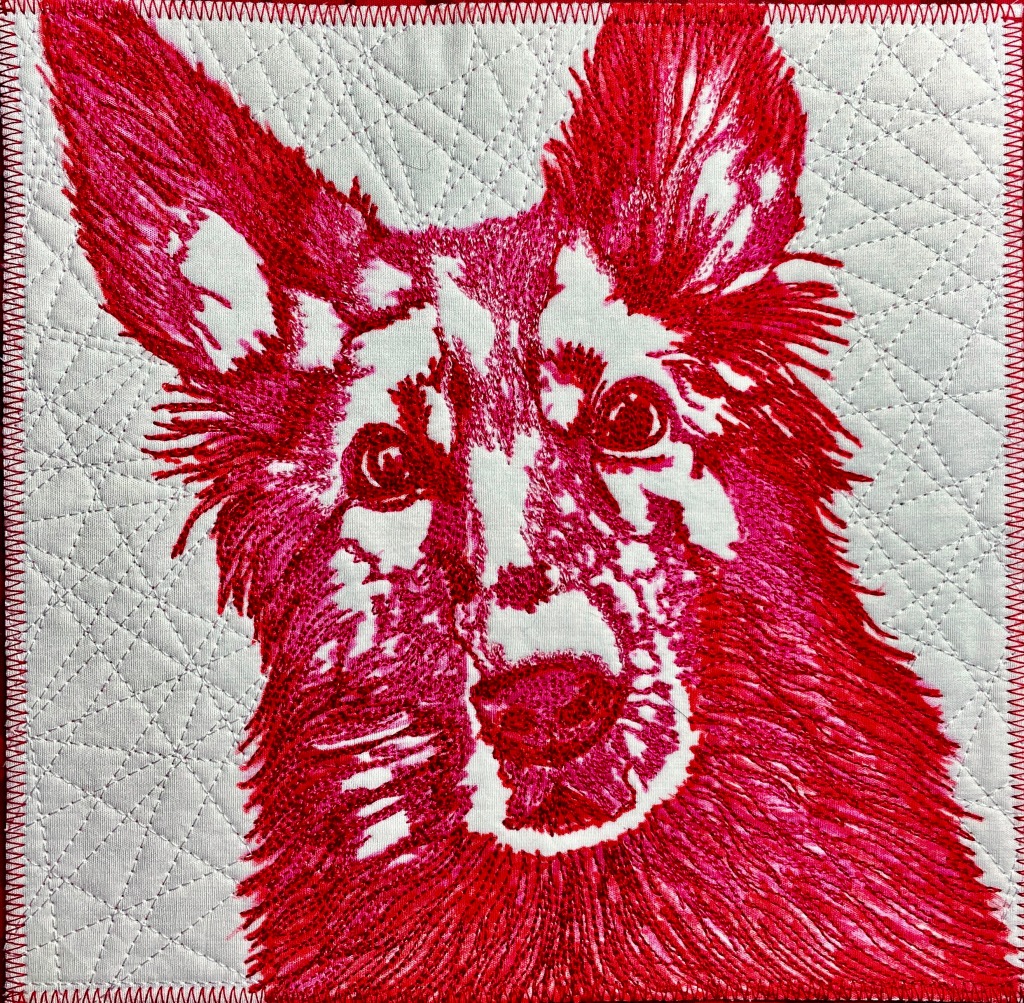
My ink-and-thread technique is a deceptively easy and very fun way to create a high-impact quilt.
It all begins with a great photo…in this case, our Loki with a very funny expression. I then opened the Popsicolor app: https://apps.apple.com/us/app/popsicolor/id534529577 and applied it to my original photo. (This app is so much fun…for these purposes, select black on top and bottom for the easiest-to-trace image.) I saved the new image to Photos, erased the background around his head and shoulders, and printed it.
Taping it to a light box, I layered a piece of Mistyfused light batik from Anthology Batiks’ terrific batik collection, Lava Solids, and traced the image with my favorite fabric ink pens (darkest for darkest area, lightest for paler areas, and so on). This is a perfect project for Aurifil Threads’ Color Builders – 3 shades of orange for my orange kitty! https://www.aurifil.com/color-builders
Layer your inked portrait to batting and backing (I use Mistyfuse between all layers to eliminate any shifting – https://www.mistyfuse.com/collections/mistyfuse-10yd-packages …then free-motion stitch each inked area with the corresponding thread. When you are pleased with the amount of quilting, add some simple radiating lines in light neutral thread to the background and you’re done!
This square was sketched first in Procreate, my favorite app for iPad!
https://apps.apple.com/us/app/procreate/id425073498
I had fun imagining a VERY simple portrait of Jackson – simply appliquing his huge green eyes and a Halloween pumpkin onto black batik, then making him more recognizable through lots of black stitching to depict his fur. This was a fast fun one:

One of my favorite parts of pet portraits is the eyes! Using more than one shade of thread for the iris makes them look a bit more realistic, then the crucial step – tiny dots of white fabric ink to add highlights.

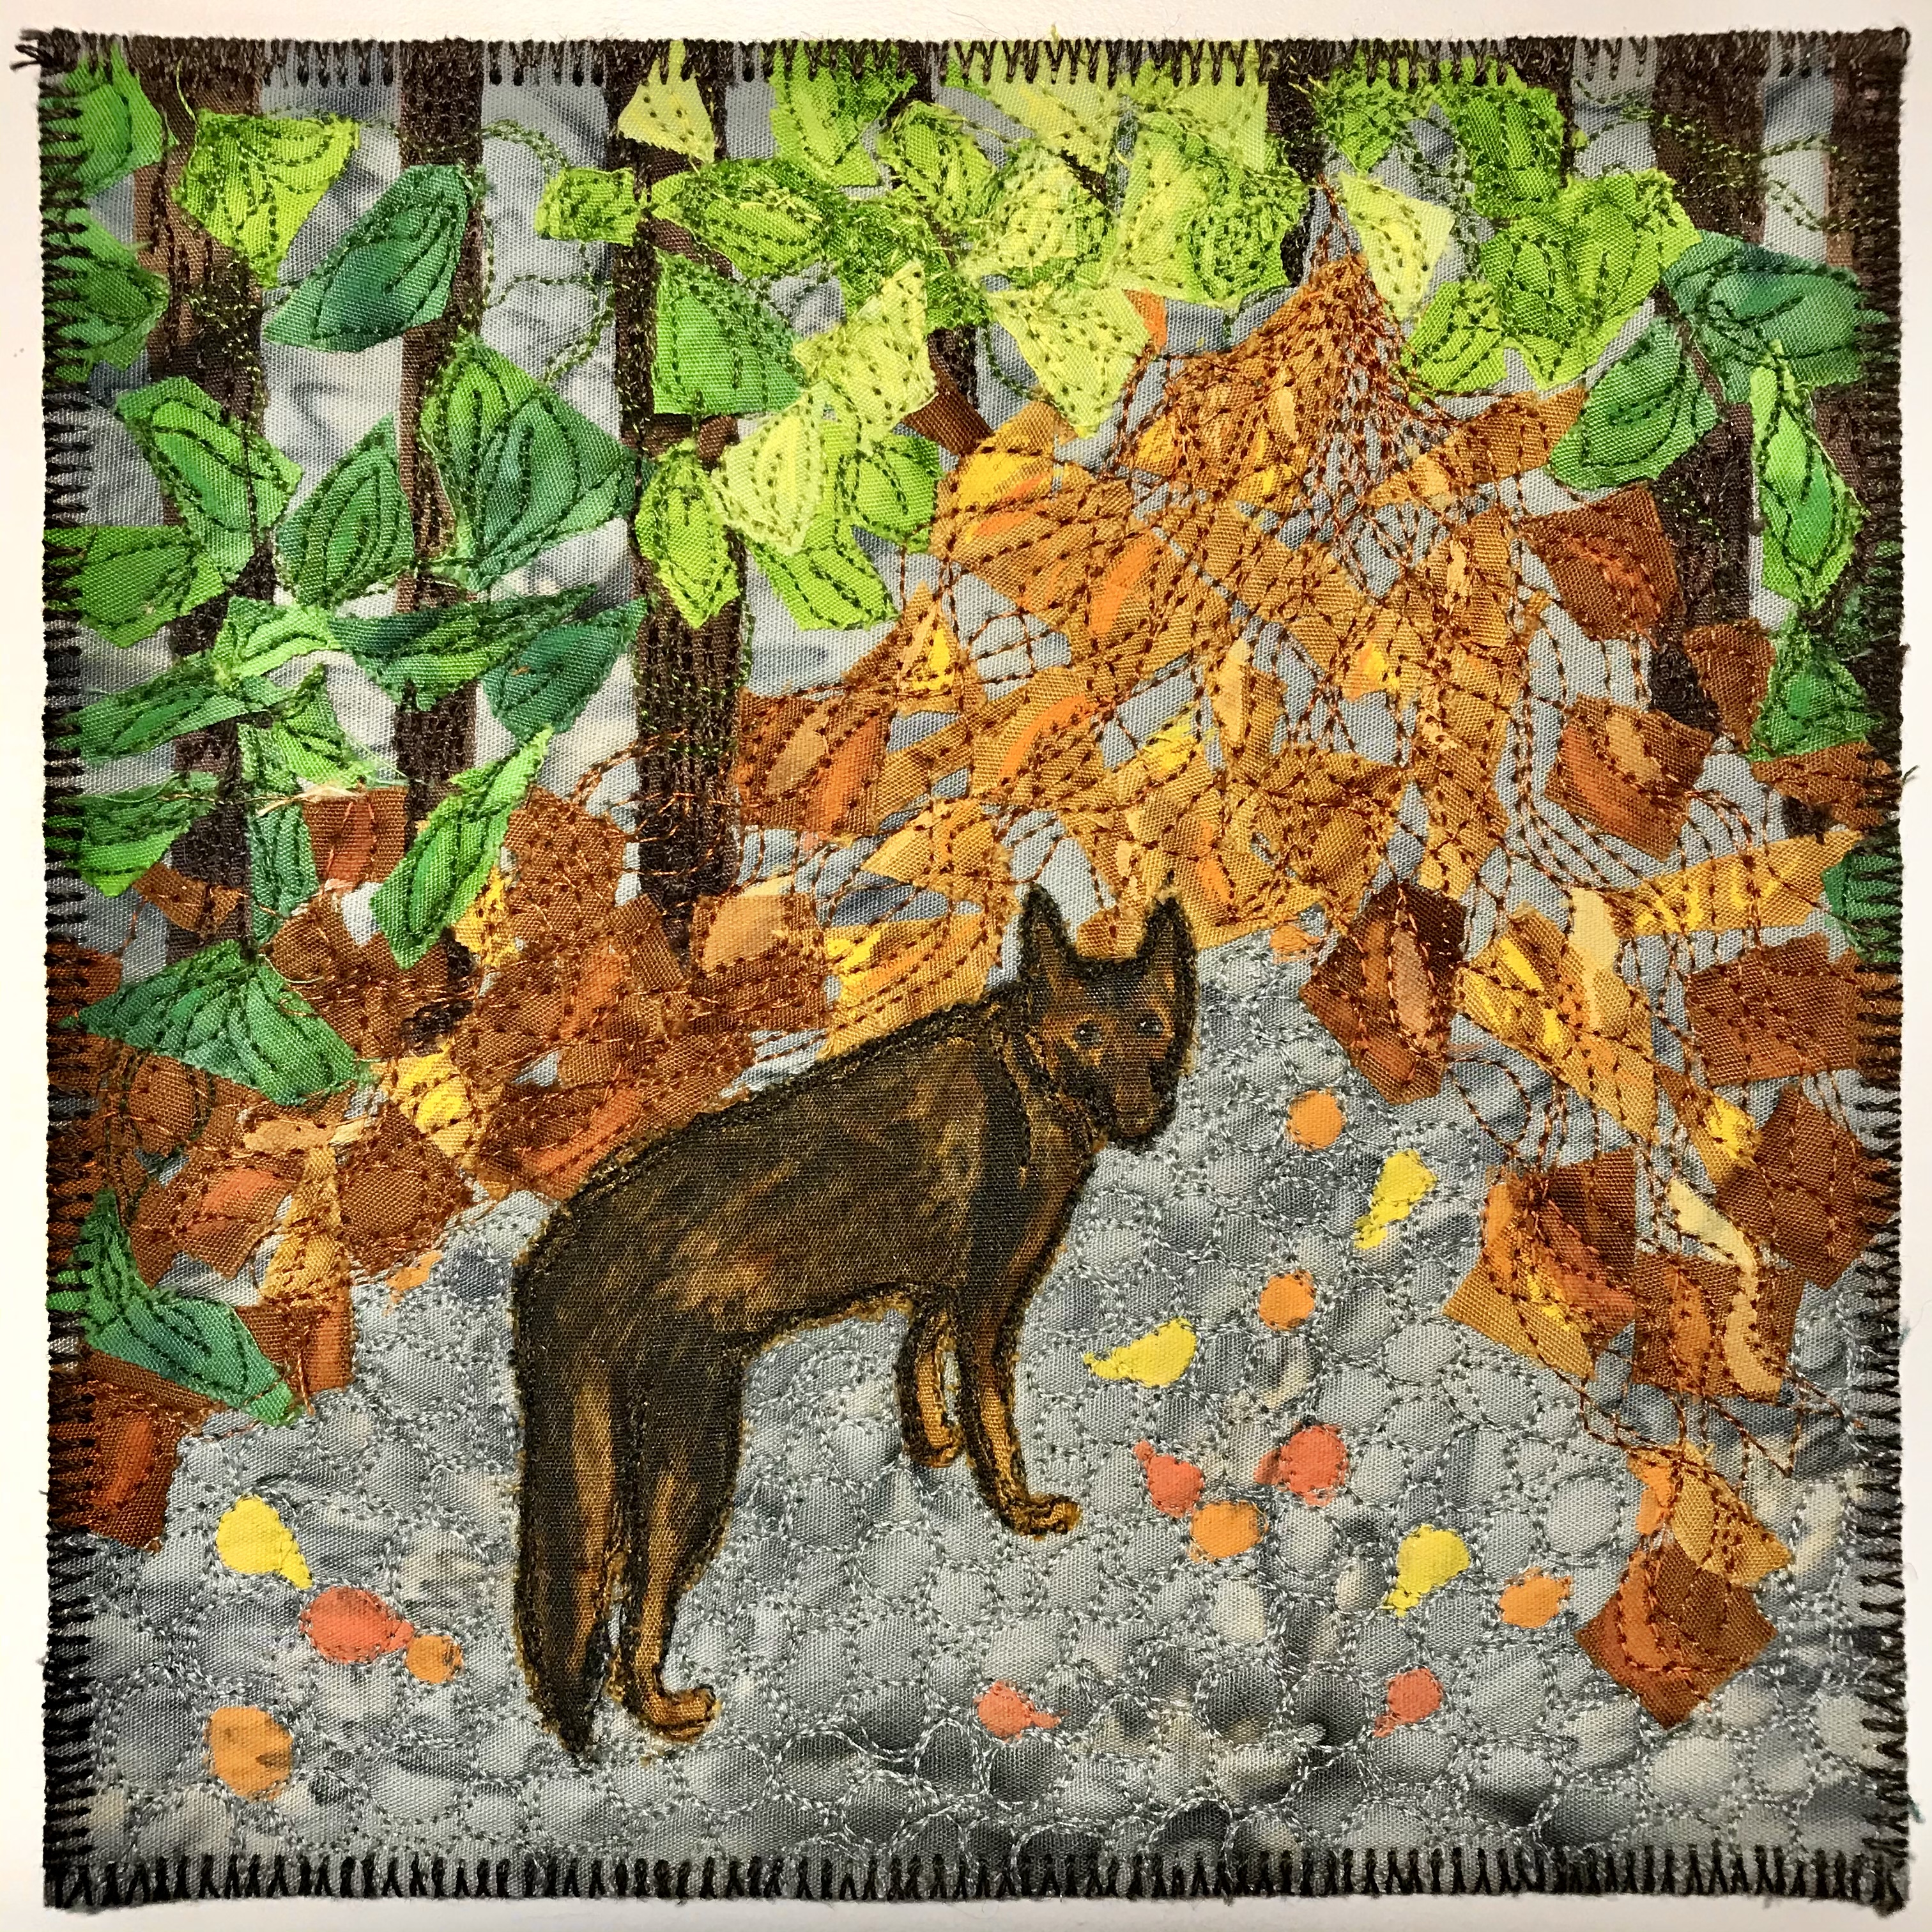
I couldn’t resist taking a picture of my beloved Kane with the autumn landscape around him…as we crunched through those leaves, I decided to make a small “confetti” quilt. I learned parts of this technique from the lovely and gifted artist Noriko Endo – if you are not familiar with her work, you are in for a treat! https://www.norikoendo.com/
My piece is a very simple adaptation of Noriko’s technique…first I fuse the fabric, then slice it with my rotary cutter in a random fashion. So much fun! Kane was drawn in Procreate, then downloaded to my digital cutter to achieve his precise outline (inks added his “fur”). Your cutting mat will look like this during a confetti quilt project ;):

To quilt this, select the right shade of Aurifil thread and free-motion some leafy patterns through the green, then lines suggesting a path through the brown leaves on the ground. The ground was grey gravel under the leaves, so a pebble stitch creates the right texture. It is fun to add spots of bright autumn-leaf color with Posca Paint Pens after you finish quilting. https://www.posca.com/en/
Happy weekend and happy stitching!


You must be logged in to post a comment.